

Adobe Lightroom Classic — Mac download
Download (3.7 GB) Earlier builds
Ticked

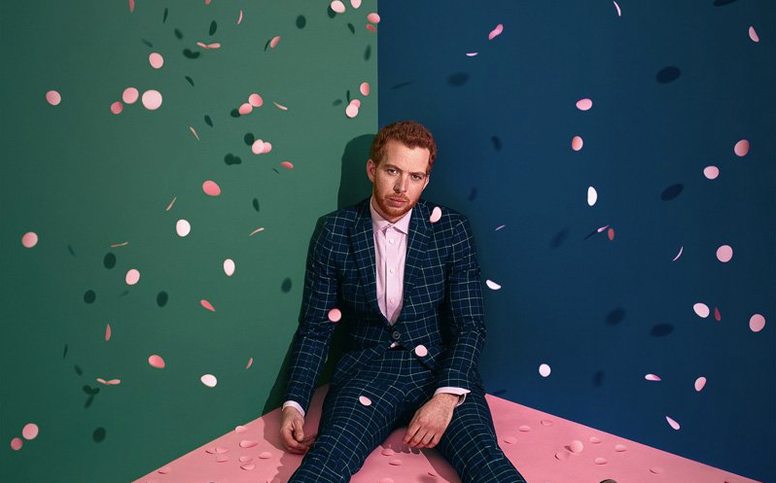


Photographers who keep their libraries on local drives, not in the cloud. Wedding shooters with thousands of RAWs to cull. Anyone who needs folder-based file management alongside serious editing tools.
Files stay on your Mac, where you put them
You want full control over image storage. Files stay in folders on your Mac, exactly where you put them. No uploads, no syncs. The catalog system tracks every edit, keyword and collection without touching your original negatives. Masking tools now ship with Feather and Edge controls, so selections blend properly. Cropping shows the discarded area at adjustable opacity — helpful when you are recomposing a shot and need to see what you are losing. Once edits are done, Render to DNG bakes adjustments into a fresh DNG file, useful for archiving or handing off to a client.
Edits won't follow you to iPad and phone automatically
Edits that need to follow you across an iPad and phone automatically. This is the desktop workhorse, not the cloud-synced Lightroom app. If your workflow starts on set with a tablet, you will want the other one. If your Mac is stuck on Monterey, the current version needs macOS 14 or later. And if you prefer a single-window interface without module switching, this is not it — the Library and Develop split is baked in.
A typical session: culling a wedding import
- Insert the card. The import dialog opens. I set Destination to my
2025/Weddings/Bryony-Tomfolder, apply a develop preset for baseline colour, and tick Build Smart Previews so editing stays snappy. - Import completes. The grid view fills the screen. I switch to Loupe view (E) and work through the ceremony shots. Flags: P for picks, X for rejects. The left hand never leaves the keyboard.
- Rough cut done. I filter to flagged picks only, then switch to Survey view (N). Five near-identical frames of the ring exchange. I click to select, tap N again to compare, and isolate the one where the groom’s eyes are sharpest.
- Into Develop. Gradient mask across the left edge where window light blew out. The new Feather slider softens the mask edge so the transition reads naturally. Exposure down half a stop. Done.
- Thirty frames later, a confetti shot needs cropping. C key. I drag the frame tighter, then hold the O key to toggle the crop overlay. The new opacity control shows the cropped-out confetti in ghosted grey — handy for checking nothing important is about to vanish.
- Final pass: select all picks, hit Cmd-Shift-E for a batch export to full-res JPEGs in a delivery subfolder. Catalog backs up on quit.
Workflow: building an HDR real-estate shot from brackets
A three-bracket set of a kitchen in flat afternoon light. Exposures at -2, 0 and +2 stops. All three live in a folder on the desktop.
- In Library, select the three frames. Right-click, choose Photo Merge > HDR.
- Dialog previews the merge. Auto Align stays on; Auto Settings stays off — I want the raw merge, not Adobe’s guess. Deghost amount set to Low because a plant moved slightly in the window.
- Merge renders. A new DNG lands alongside the originals. Double-click into Develop.
- Lens Corrections panel: enable profile correction for the 16–35mm. Transform panel: Guided Upright, drawing two vertical lines along cabinet edges and a horizontal across the worktop. The room squares up.
- Masking: Select Subject on the island unit, lift shadows 15 points. Invert mask, drop highlights on the window view to hold exterior detail.
- Tone Curve: slight S-curve for punch. HSL panel: desaturate orange in the wood floor — it was pulling too warm.
- File > Export with a preset that outputs 2048px-wide JPEGs for the agent’s portal, sRGB, sharpening for screen. The original DNG stays in the folder with all edits non-destructive.
First days: setup choices that pay off later
Five things to do before you edit a single image seriously.
- Point the catalog to the right disk. Create the catalog file on your fastest internal SSD. Store previews alongside it. Originals can live on an external Thunderbolt drive, but the catalog itself wants low latency.
- Set your default develop settings. Preferences > Presets. Choose a camera-specific profile under Raw Defaults rather than Adobe Color. You will save a click on every import for the life of the catalog.
- Customise the import filename template. Date-ShootName-Sequence is fine. Avoid spaces. Decide now — renaming thousands of frames later is tedious.
- Build 1:1 previews on import for your first big shoot. It takes longer up front, but Loupe view loads instantly while culling. Standard previews will frustrate you if you zoom in often.
- Learn the F-key row. F for full screen, G for grid, D for develop, E for loupe. Lightroom rewards keyboard fluency more than most apps. Tape a cheat strip to the bottom of your monitor if the muscle memory is not there yet.
If you have used an older build, remove it cleanly before installing version 15.5.1. The all-in-one installer handles the rest — no account needed for the offline setup. On Apple Silicon, expect import and preview generation that runs noticeably quicker than the Intel builds many were stuck on until recently.
Adobe Lightroom Classic 15.6.0 ships with the developer’s newest wave of under-the-hood corrections and performance polish.
- macOS 14 or later
- Apple Silicon or Intel 64-bit
Questions the team asks
The offline installer covered in this package does not require an account for activation.








Comments 0
Sign in or create an account to add a comment.
No comments yet. They go up after moderation.