

Affinity Photo — Mac download
Download (789 MB) Earlier builds
Ticked
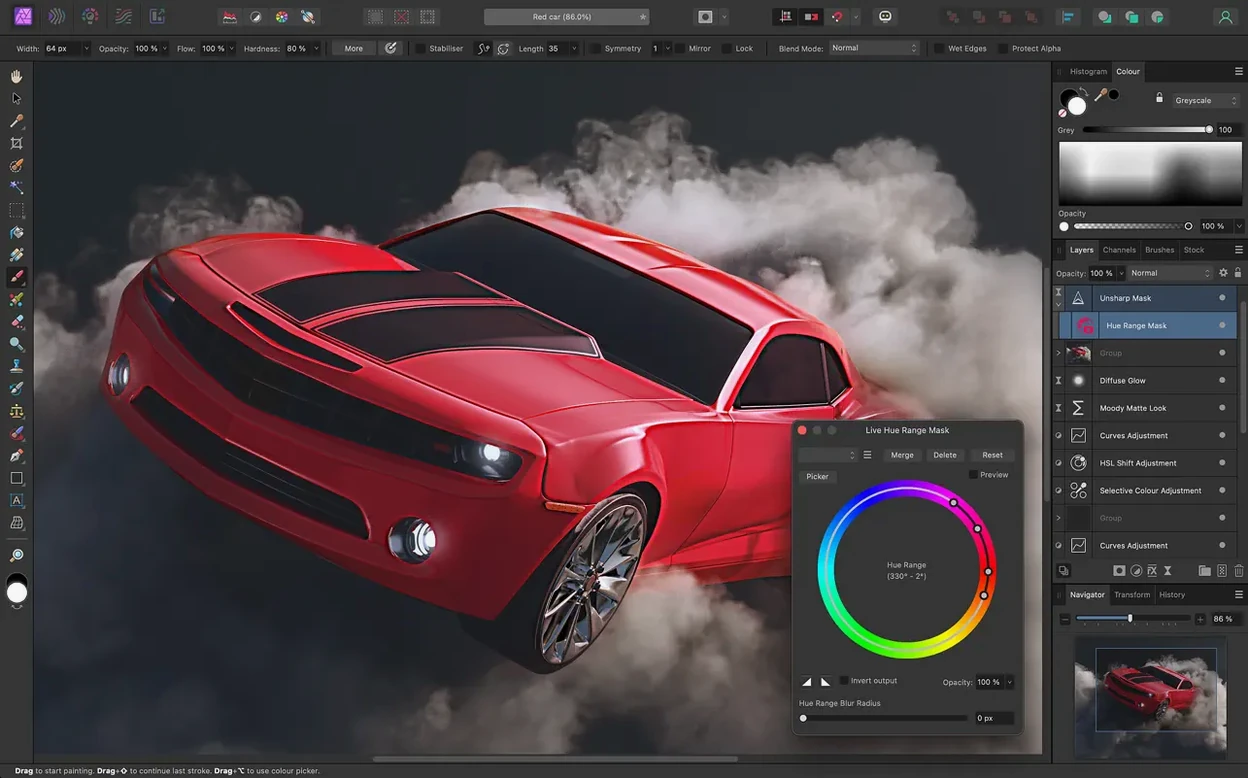
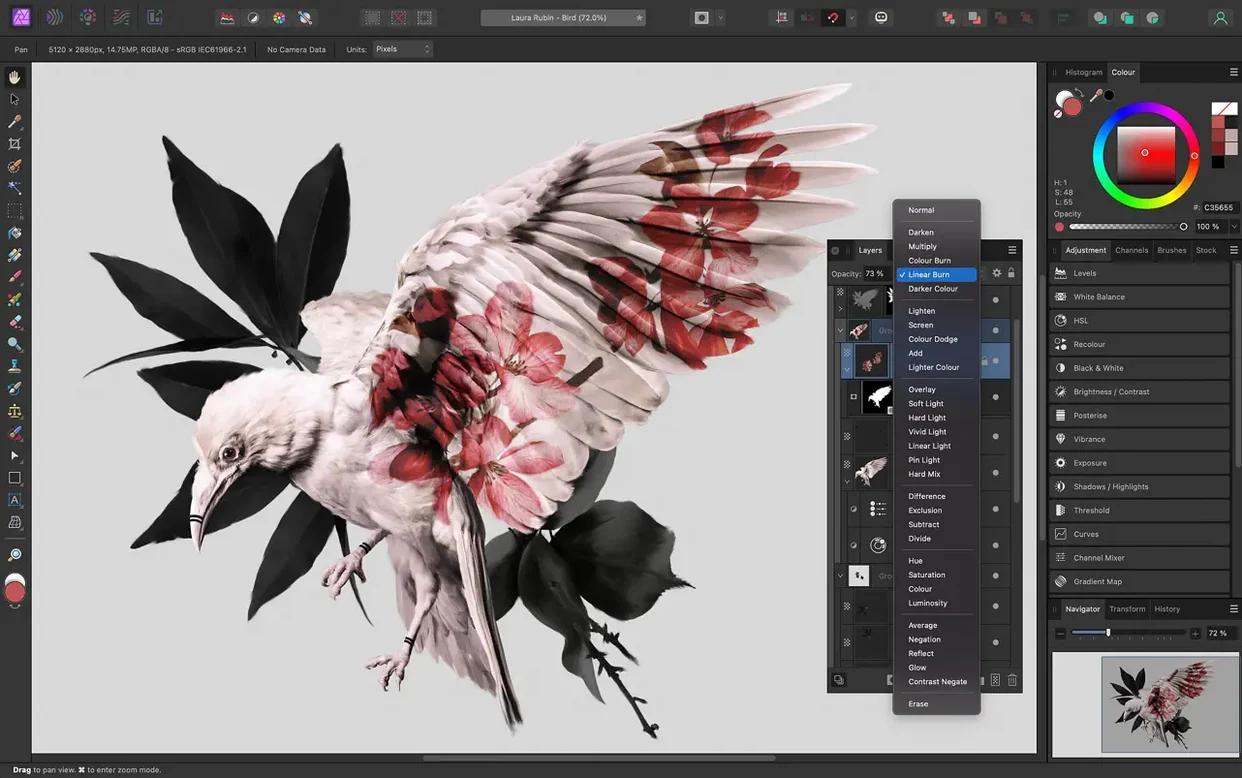
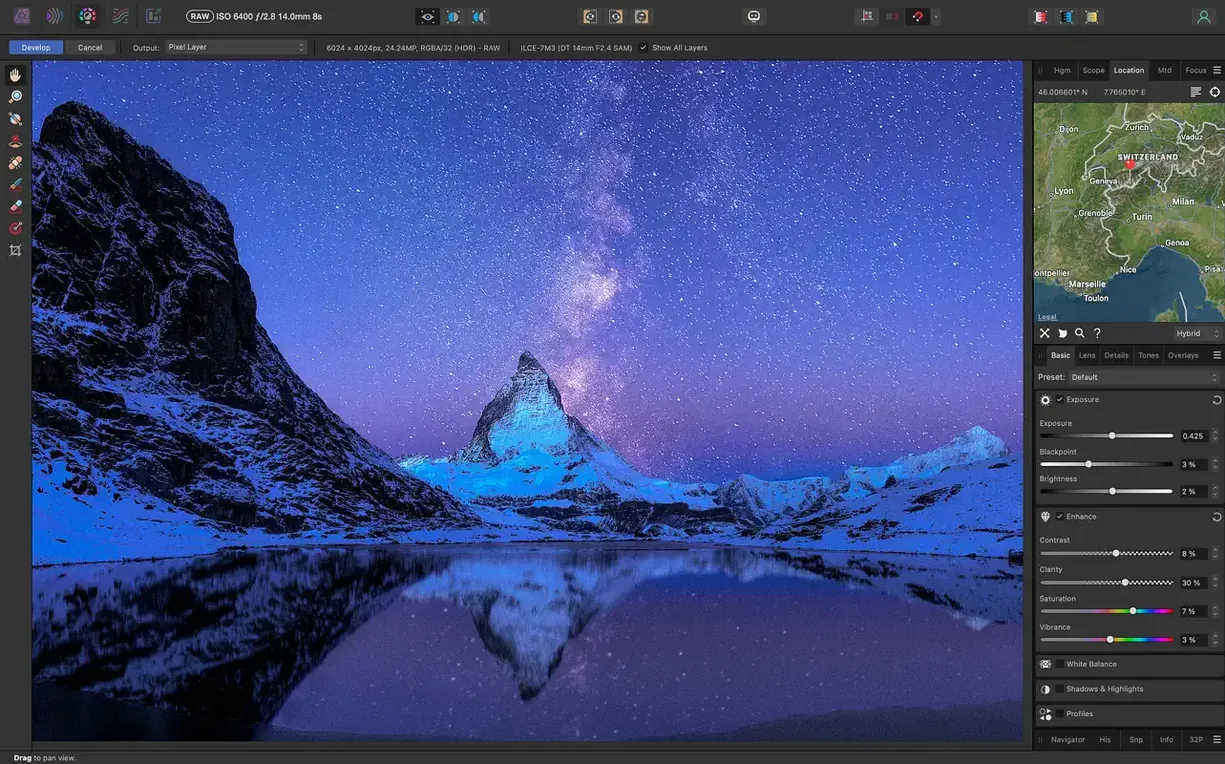
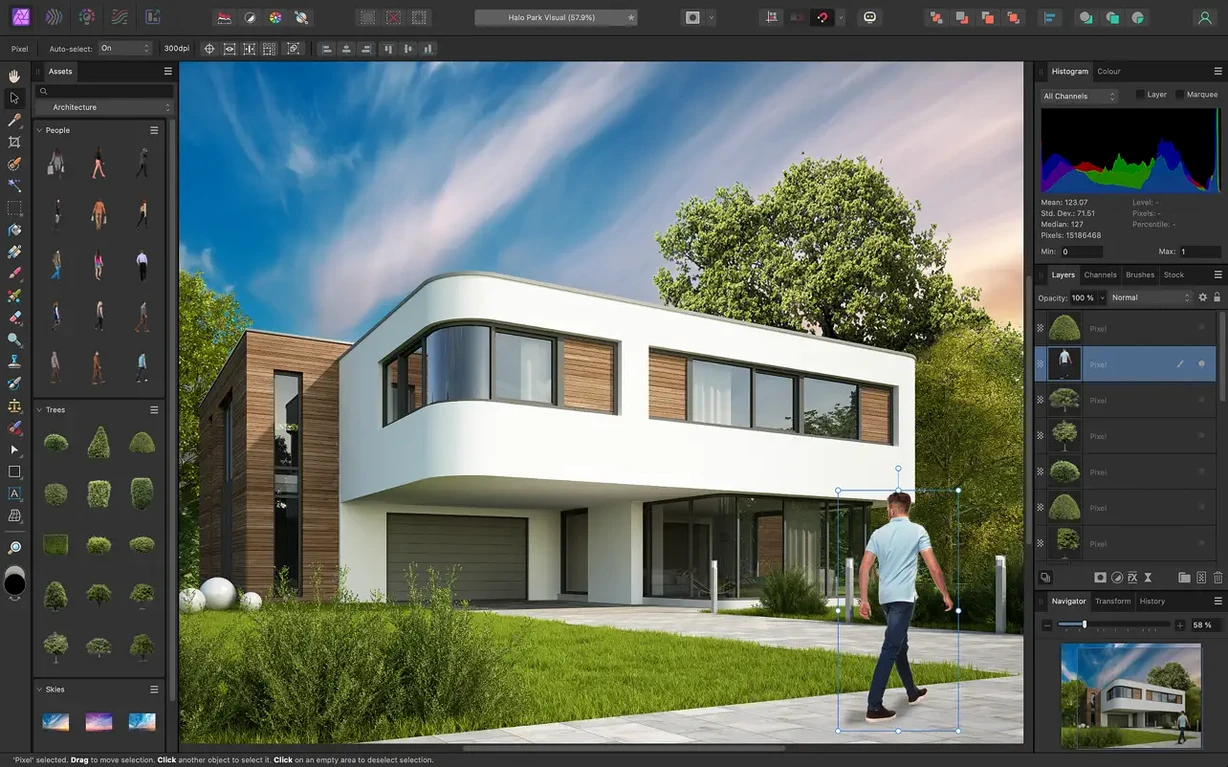
Frequency separation lands you straight in retouching territory without flattening a single pixel. Two layers split from one — colour and texture — so you can smooth skin on the low-frequency layer while the high-frequency one keeps pores and fine detail intact. It is a working method that feels built for people who already own a Wacom tablet, because pressure sensitivity and tilt control are recognised from the moment you open the brush panel.
The RAW workspace opens before the main editor, in its own pre-processing room. Lens corrections, chromatic aberration removal, edge fringing and vignette control sit in one column, ready to apply before you commit to pixels. Noise reduction is there too, so high-ISO shots get a cleanup pass before they land on the canvas. After that, the familiar layer stack takes over — non-destructive, with live filters for blur, tilt-shift, lighting and glow effects stacked and reorderable at any time.
PSD files open, edit and save without a round-trip to another app. That keeps it neighbourly with a Mac where Adobe apps might still live, or where old client files need a quick adjustment. An inpainting brush handles object removal on its own layer, and the edit history saves with the document, so you can close a file on Friday and undo a Tuesday mistake the following week.
The Affinity family — Photo, Designer and Publisher — shares a file format, so a multi-page layout or vector asset can pass through without export gymnastics. It runs on Intel and Apple silicon Macs back to Catalina, which covers a lot of machines still in daily use.
PSD support in both, but Affinity launches without the legacy weight
Affinity Photo vs Adobe Photoshop. Both handle PSD files. Both offer non-destructive layers, RAW processing and CMYK support. The difference is felt in the pace. Photoshop carries decades of menus, panels and legacy code paths — Affinity Photo opens fast and stays fast, even on older Intel Macs. Where Photoshop relies on Adobe Camera Raw as a companion, Affinity Photo builds RAW preprocessing directly into the app. No bridge, no separate launcher. The trade-off: plug-in support is narrower, and some third-party filters written for Photoshop simply will not load here.
Affinity Photo vs Pixelmator Pro. Pixelmator Pro leans on macOS frameworks — Core Image, Metal, machine learning — which makes interface animations smooth and automatic subject selection quick. Affinity Photo takes a different path, with its own rendering engine and a toolset aimed at compositing and high-bit-depth work. CMYK, LAB colour and soft-proofing are present in Affinity Photo and absent in Pixelmator Pro. For web graphics or quick edits, Pixelmator Pro feels lighter. For print work or layered composites with dozens of adjustment layers, Affinity Photo gives you more room to move.
Affinity Photo vs GIMP. GIMP handles similar tasks — layer editing, masking, plug-ins — but the macOS version runs through XQuartz and feels disconnected from the system. Affinity Photo uses native Cocoa windows, recognises Wacom pressure and tilt without configuration files, and opens PSDs with adjustment layers intact. GIMP rewards patience and customisation. Affinity Photo rewards a checklist-driven workflow where tools are discoverable and immediately usable.
Searching menus for develop controls instead of switching to the Develop Persona
- Forgetting to switch persona. Five personas sit at the top-left of the toolbar: Photo, Liquify, Develop, Tone Mapping and Export. Beginners stay in Photo Persona and search menus for develop controls that live in the Develop Persona. If the sliders for exposure and black point are missing, check which persona is active.
- Rasterising a layer too early. Live filters and adjustment layers stay editable until you deliberately rasterise them. New users often right-click and flatten a layer to apply a quick fix, then realise they need to undo it three steps later. Leave layers live. The file size stays manageable and the edit history is your safety net.
- Working on the wrong layer. The Layers panel shows a highlight on the active layer, but it is subtle. A common pattern: painting on a blank pixel layer while the mask next to it is selected, then wondering why nothing appears. Lock layers you are not touching. The lock icon is small but effective.
- Ignoring the Channels panel. Affinity Photo stores pixel selections as spare channels automatically. Beginners make a careful selection, deselect it by clicking elsewhere, then rebuild it from scratch. The spare channel is still there — scroll down the Channels panel and reload it with a click.
Tap Q to paint a quick mask instead of opening Refine Edge
- Quick mask toggle. Press
Qto enter Quick Mask mode. Paint with a soft brush to refine a selection edge, then pressQagain to return to marching ants. Faster than the Refine Edge dialogue for simple touch-ups. - Bracket key brush sizing. The left and right square brackets resize the brush tip. Hold
Shiftwhile tapping to adjust hardness. The brush preview circle updates in real time, so you never open the brush panel for a size change. - Studio panel shortcuts. Double-click a panel tab to collapse the group. Drag a panel tab to the edge of the screen to dock it in a new column. Right-click any toolbar and choose Customise Toolbar to add the Macro and Library buttons — they are hidden by default and save repetitive steps.
- Asset drag-and-drop. The Assets panel accepts any selected layer or group. Drag it in, name it, and it becomes a reusable element across documents. If you retouch product shots with the same watermark or colour grade, store the adjustment layer stack as an asset and drop it into the next file.
- Quick export with slices. The Export Persona lets you draw rectangular slices over a layout and export each slice in a different format — PNG for one section, JPEG for another — in a single pass. The slice names become the file names automatically.
- History scrubbing. Hover over the History panel and drag up or down. The document scrubs through states in real time, no clicking required. Release to land on the state you want.
- macOS 10.15 Catalina or later
- Intel or Apple silicon Mac








Comments 0
Sign in or create an account to add a comment.
No comments yet. They go up after moderation.