

Capture One — Mac download
Download (1.2 GB) Earlier builds
Ticked
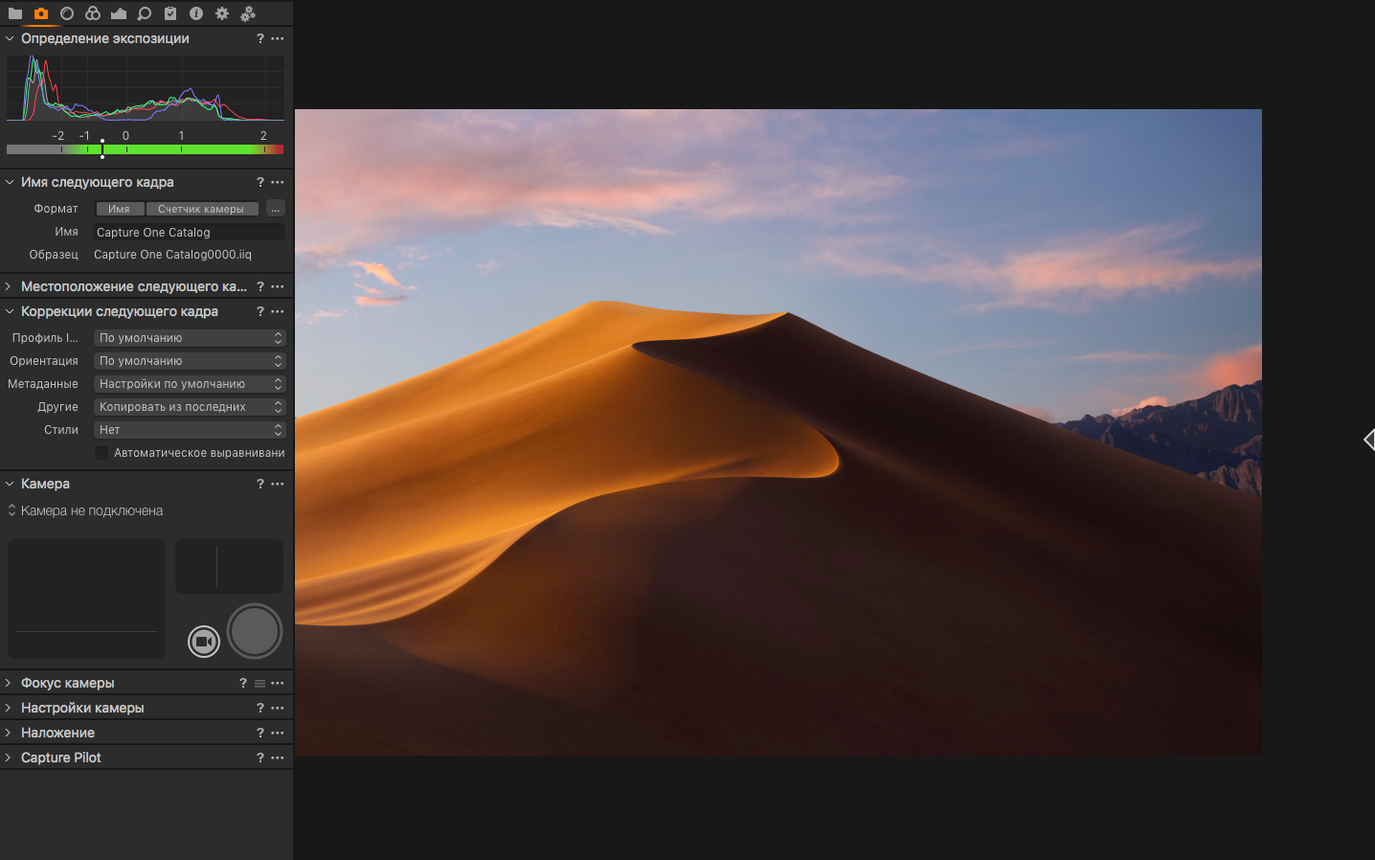
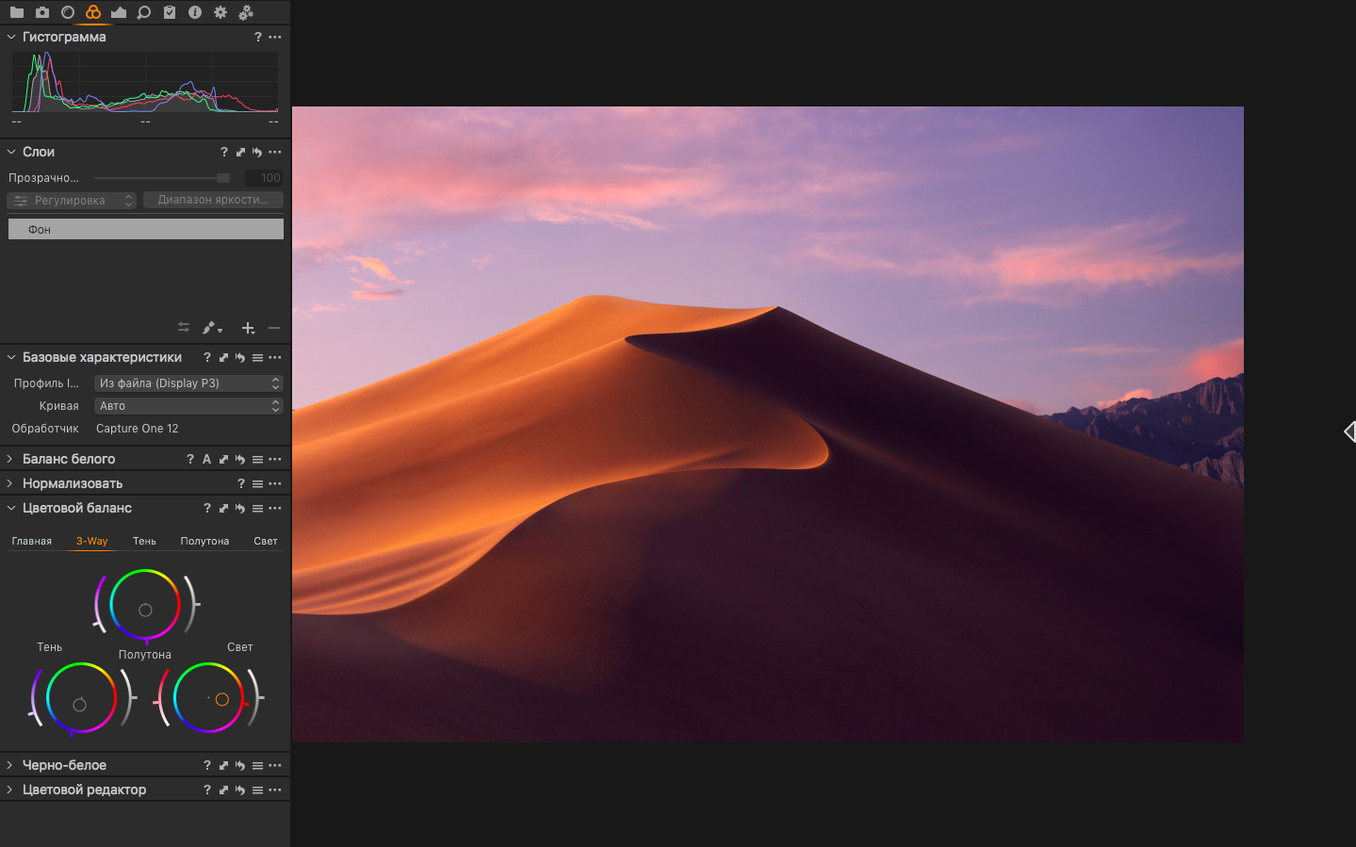
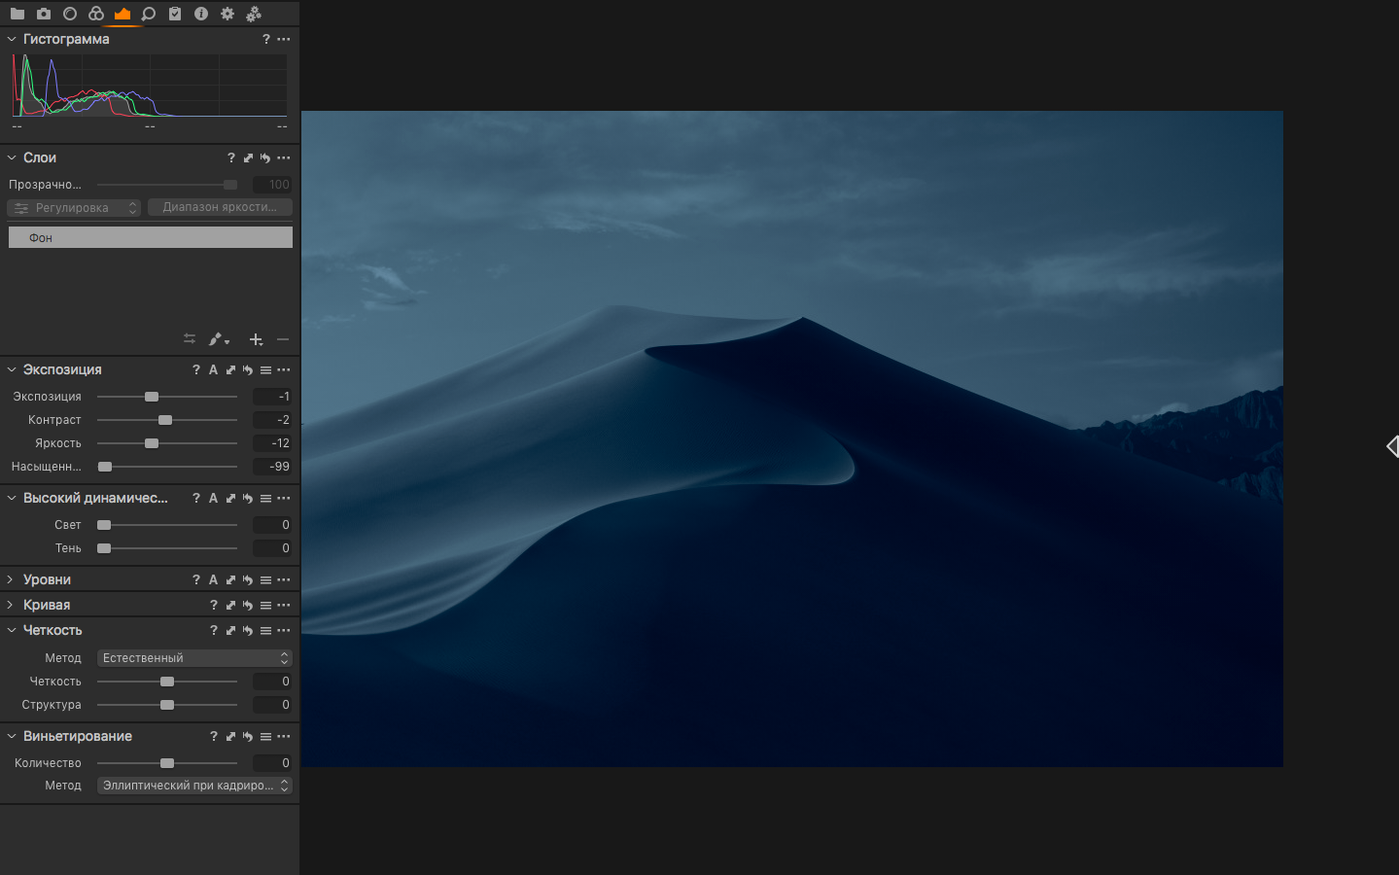
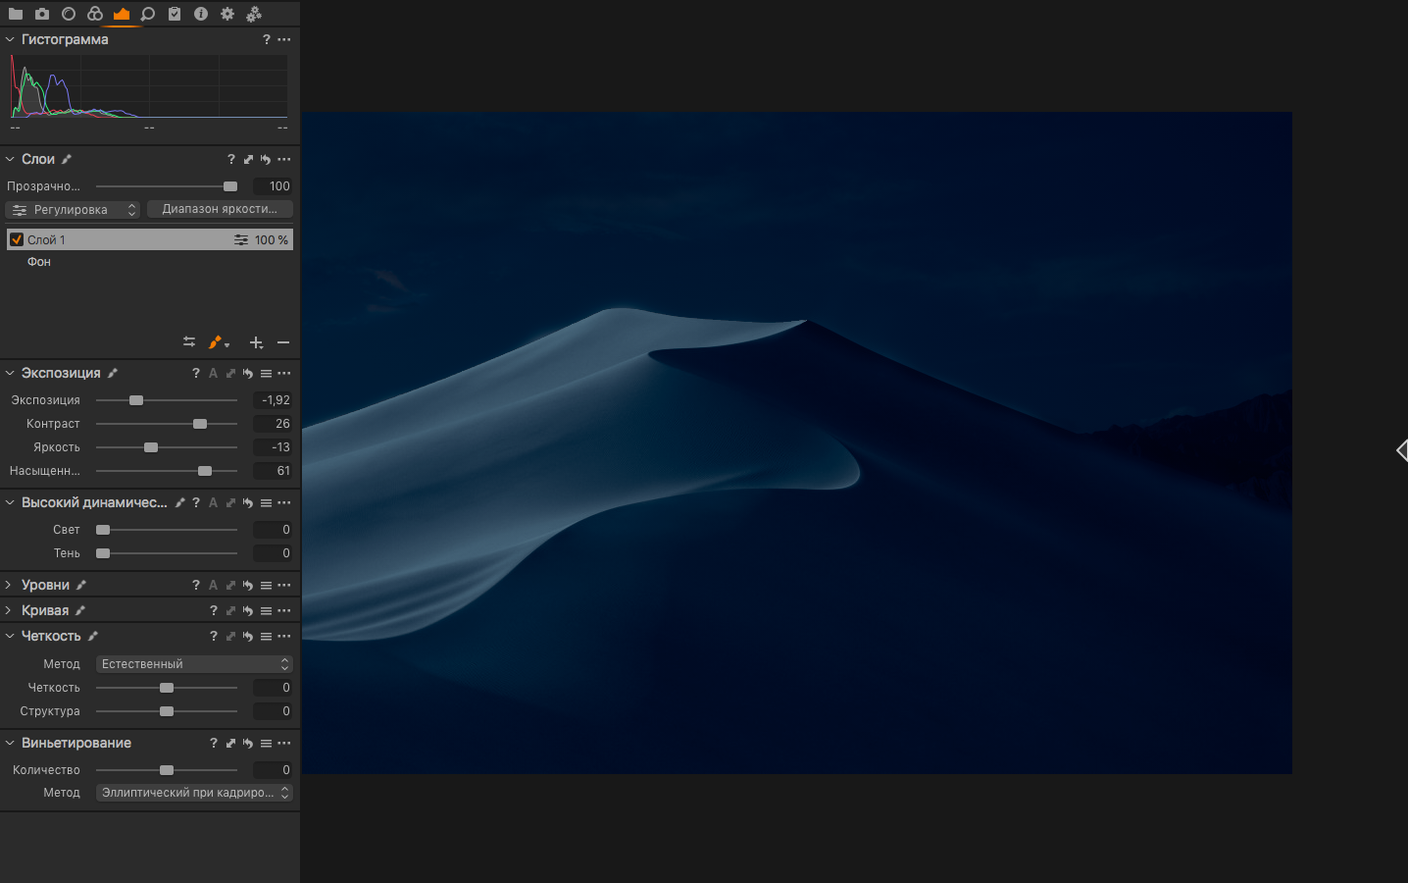
You've just wrapped a tethered studio shoot. 800 frames from a Phase One IXM-RS250 are sitting on your Mac. The client wants three distinct colour treatments of the hero shot before lunch. This is where Capture One's deeper toolset earns its place.
How do correction variants actually work?
Each variant references the original RAW file as its starting point. You can build a high-contrast black-and-white version, a desaturated editorial look and a clean product-grade edit, all from the same capture without duplicating a single byte of source data.
What batch-processing controls do I get?
Convert files on the fly in single-image or batch modes. Apply a preset, rename output files and process an entire contact sheet while you move on to the next set. The new contact sheets introduced in 16.8 make selecting those batches faster.
Can I extend it with plug-ins?
Yes. Capture One provides a developer portal for plug-in creation. Tools that integrate directly into the colour and export pipeline let you automate repetitive grading or add custom output formats.
Small conveniences you can miss
Some of the most useful tools sit in plain sight but never get clicked. Here are a few worth knowing on day one.
- Normalise tool. Found in the Exposure tool tab. Select a reference point across multiple images and Capture One matches exposure and white balance across the batch. Hugely useful when light shifted mid-session and you forgot to lock settings.
- Copy adjustments from the clipboard. Copy settings from one image, then use
Edit > Paste Adjustmentswithout opening the Adjustments Clipboard panel. Hold Shift while pasting to apply only the tools you last changed. - Process recipe tokens. When naming export files, insert tokens like
Recipe Name,Image NameorDatedirectly in the Output Naming field. You get consistent filenames without retyping per batch. - Hide the browser during tethering. Press
Cmd+Bto collapse the thumbnail browser. The extra screen space matters when you are checking focus on a laptop in the studio. - Guided rotation. Hold
Optionwhile dragging the Straighten tool to snap the horizon to 0.5-degree increments. Quicker than typing numbers into the Angle field.
A retoucher's morning
Clara edits catalogue work for a fashion brand. She receives 200 selects from yesterday's shoot by 9am. By 10am she needs three colour variants of the same 12 frames for the creative director to review.
She opens the session folder, applies a baseline preset on import and hits Assisted Review. The feature, added in 16.8, groups frames by detected similarity. Duplicate poses, near-identical expressions, frames where the model blinked and the next one where they didn't. Clara marks the keepers with star ratings, then filters to show only 4-star and above.
From one hero frame she creates two extra variants. Variant one gets lifted blacks and a cool shadow tint. Variant two gets a warm, high-key treatment with skin tone kept neutral via the Skin Tone tool. Three distinct looks, all from the same RAW file, exported to the shared review folder inside five minutes.
A tethered capture workflow
A studio photographer is shooting a ceramic product range on a Phase One IXM-RS250, tethered to a Mac Studio running capture one pro mac.
- Create a new session. Tick the option to include a Capture folder, a Selects folder and an Output folder. Name the session after the product line and date.
- Set the Capture tool to show overlay. Load a reference sketch of the product layout as a guide overlay. Set opacity to 40% so it does not distract during framing.
- Apply a pre-shot Style. Choose a base curve and a white balance preset tailored to the studio's strobe temperature. All incoming captures inherit this look automatically.
- Use the Focus tool on the first frame. Check critical edges at 100% on the monitor, not the camera LCD. Adjust the lens if needed.
- Shoot the set. The Next Capture Adjustments panel lets you tweak exposure and contrast mid-session without touching the camera. Any change applies to the next shot only.
- Rate and colour-tag during pauses. Green for approved, yellow for needs crop, red for discard. Use the Filters bar to isolate green-tagged frames before export.
- Process with two recipes. One outputs full-size TIFF in Adobe RGB for the retoucher. A second outputs sRGB JPEG at 2048px long edge for the client web gallery. Both recipes fire at once from the same selected variants.
First days with Capture One
A few habits to build early. They save time later.
- Set up your Process Recipes before you edit. Define at least one TIFF recipe and one JPEG recipe on day one. When you need a quick export you are not stopped by a setup dialog.
- Learn the
Cmd+Shift+C/Cmd+Shift+Vpattern. Copy and paste adjustments without opening panels. It becomes muscle memory within a week. - Customise the toolbar. Right-click the toolbar and add the tools you reach for most: Normalise, Keystone, Black & White, Spot Removal. Remove icons you never use so the bar stays lean.
- Use a session, not a catalogue, for day-to-day work. Sessions keep files in a portable folder structure. Easier to archive, hand off to a colleague or move between Macs.
- Take five minutes with the Colour Balance tool. Master the three-way colour wheels early. Shadow, midtone and highlight control in one panel is what separates a clean grade from a flat one.
- Check hardware acceleration. Under Preferences, confirm that hardware acceleration is set to use the Apple Silicon or AMD GPU in your Mac. Processing times drop noticeably when it is enabled.
- Enhanced denoise added for cleaner high-ISO files
- Assisted review speeds up culling by flagging similar shots
- New contact sheets make batch selection quicker
- macOS 12 or later
- Apple Silicon or Intel 64-bit Mac
Questions the team asks
Set white balance with an eyedropper by clicking any neutral gray point in the image. The picker samples the area and adjusts the Kelvin and tint values instantly.








Comments 0
Sign in or create an account to add a comment.
No comments yet. They go up after moderation.