

Topaz Gigapixel AI — Mac download
Download (372 MB) Earlier builds
Ticked
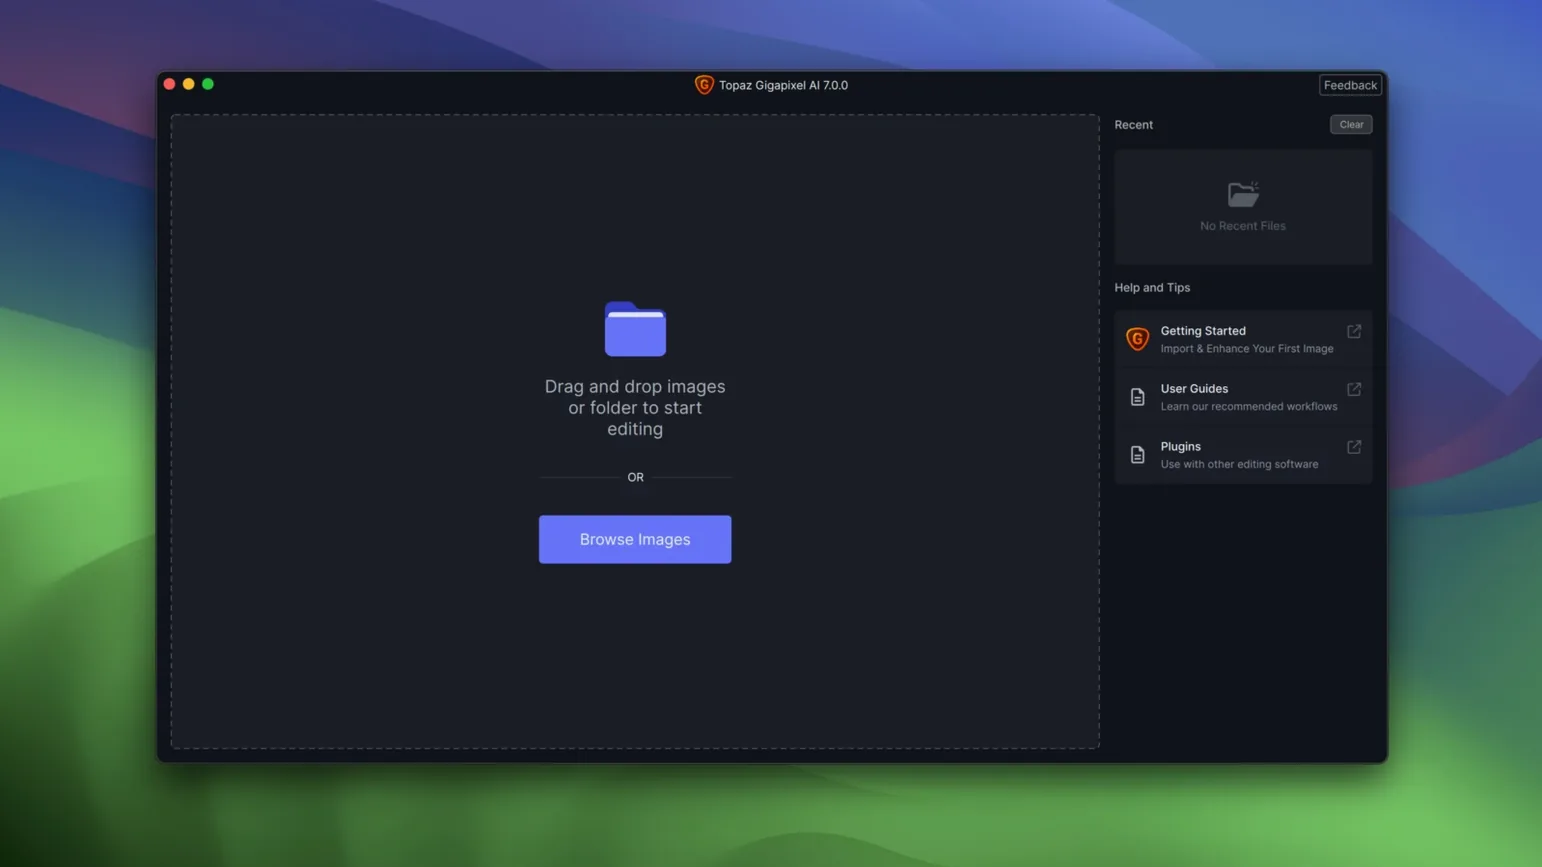
Think of the last time a low‑resolution JPEG landed in your layout. Photoshop’s Preserve Details 2.0 helps, but it can only stretch pixels so far before edges turn to mush. Topaz Gigapixel AI steps in at that point — a dedicated desktop upscaler that rebuilds missing detail with a trained model, which often saves a shot you would otherwise bin.
Pick the native Apple Silicon or Intel build for your Mac
It is not a photo organiser or an editor. Open an image, choose a scale factor, and let it run. The version 1.3.5 package includes separate builds for Apple Silicon and Intel 64‑bit Macs, so you pick the right architecture at install time. Interface language is English.
What it handles best
The model is tuned for faces, line art and compressed PNGs. It brings back definition in old family scans, cleans blocky graphics pulled from the web, and restores portraits where skin looks smeared by heavy JPEG compression. For a project manager, that means less time chasing replacement assets and fewer awkward conversations about image quality.
Triple the resolution when Photoshop’s 10% bump fails
Does it replace Photoshop's upscaling? No. Gigapixel AI handles the rescue jobs Photoshop cannot manage — extreme enlargements, artifact removal, face recovery. Use Photoshop for a 10% bump. Reach for this when you need to triple the resolution of a 600-pixel-wide portrait.
Will it slow down my Mac while processing? It will use whatever GPU and CPU headroom you give it. On Apple Silicon, a 4x enlargement of a moderate JPEG takes 15–30 seconds. Intel Macs with older GPUs take longer. Queue processing for a coffee break if you are feeding it a folder of 200 RAW files.
Does batch mode really work? Yes. You drop a folder, set scale and output format, and walk away. It chews through files one by one. No watching progress bars if you would rather not.
What about file formats? It reads common still-image formats and writes JPEG, TIFF, PNG. RAW support depends on the camera model. Test a sample file first if you shoot in a less common format.
A designer’s snapshot
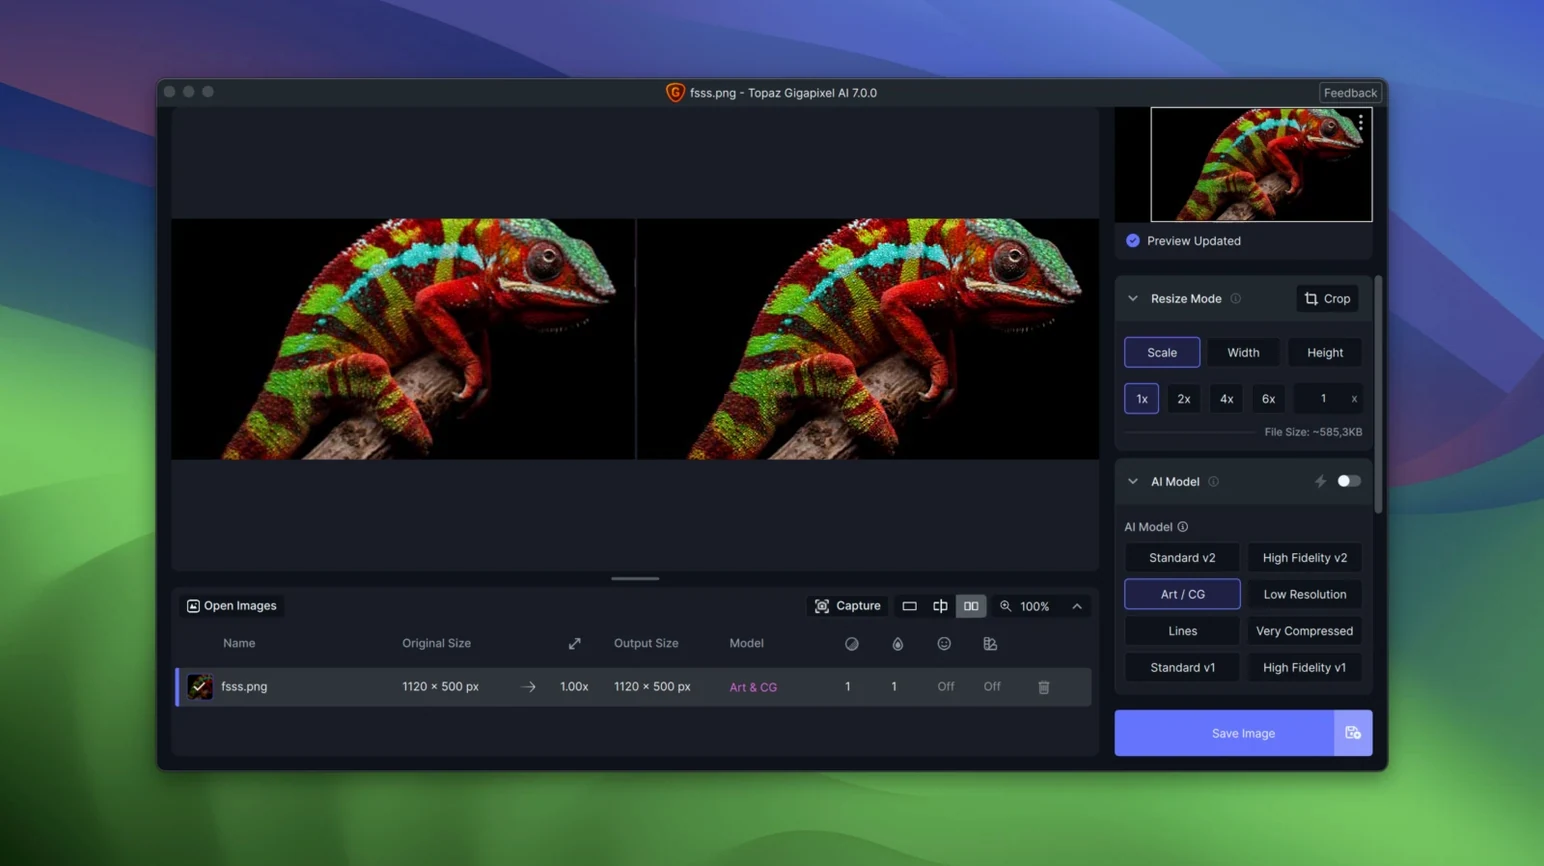
A freelance brand designer inherits a client’s old product shots — 800 pixels wide, shot on a phone in 2015, re-saved a dozen times. She needs to print them at A4. Photoshop’s enlargement turns fabric texture into watercolour blobs. She opens the best frame in Gigapixel AI, sets 4x scale with the Art & CG model, and exports a TIFF. The result holds enough thread detail to survive print. She batch-processes the remaining 14 shots while answering emails. Deliverable saved.
Switch to the Lines model when jagged diagrams appear
You open the app and drag a low-resolution PNG from a presentation deck onto the window. The preview loads at 100% — pixelated letters, jagged curves. You switch the model to Lines because the image is a diagram, not a photo. You set scale to 3x and tick Suppress Noise at 20%. The preview refreshes. Text edges sharpen; the blocky staircase on diagonal lines nearly disappears. You hit Save Image, name the output, and pick PNG. While it writes, you drag the next file in. That is the rhythm: preview, tweak, export, repeat. No layers panel, no history states to manage — just one job done cleanly.
- macOS 12 or later
- Apple Silicon or Intel 64‑bit Mac








Comments 0
Sign in or create an account to add a comment.
No comments yet. They go up after moderation.