

Dehancer Pro — Mac download
Download (382 MB) Earlier builds
Ticked
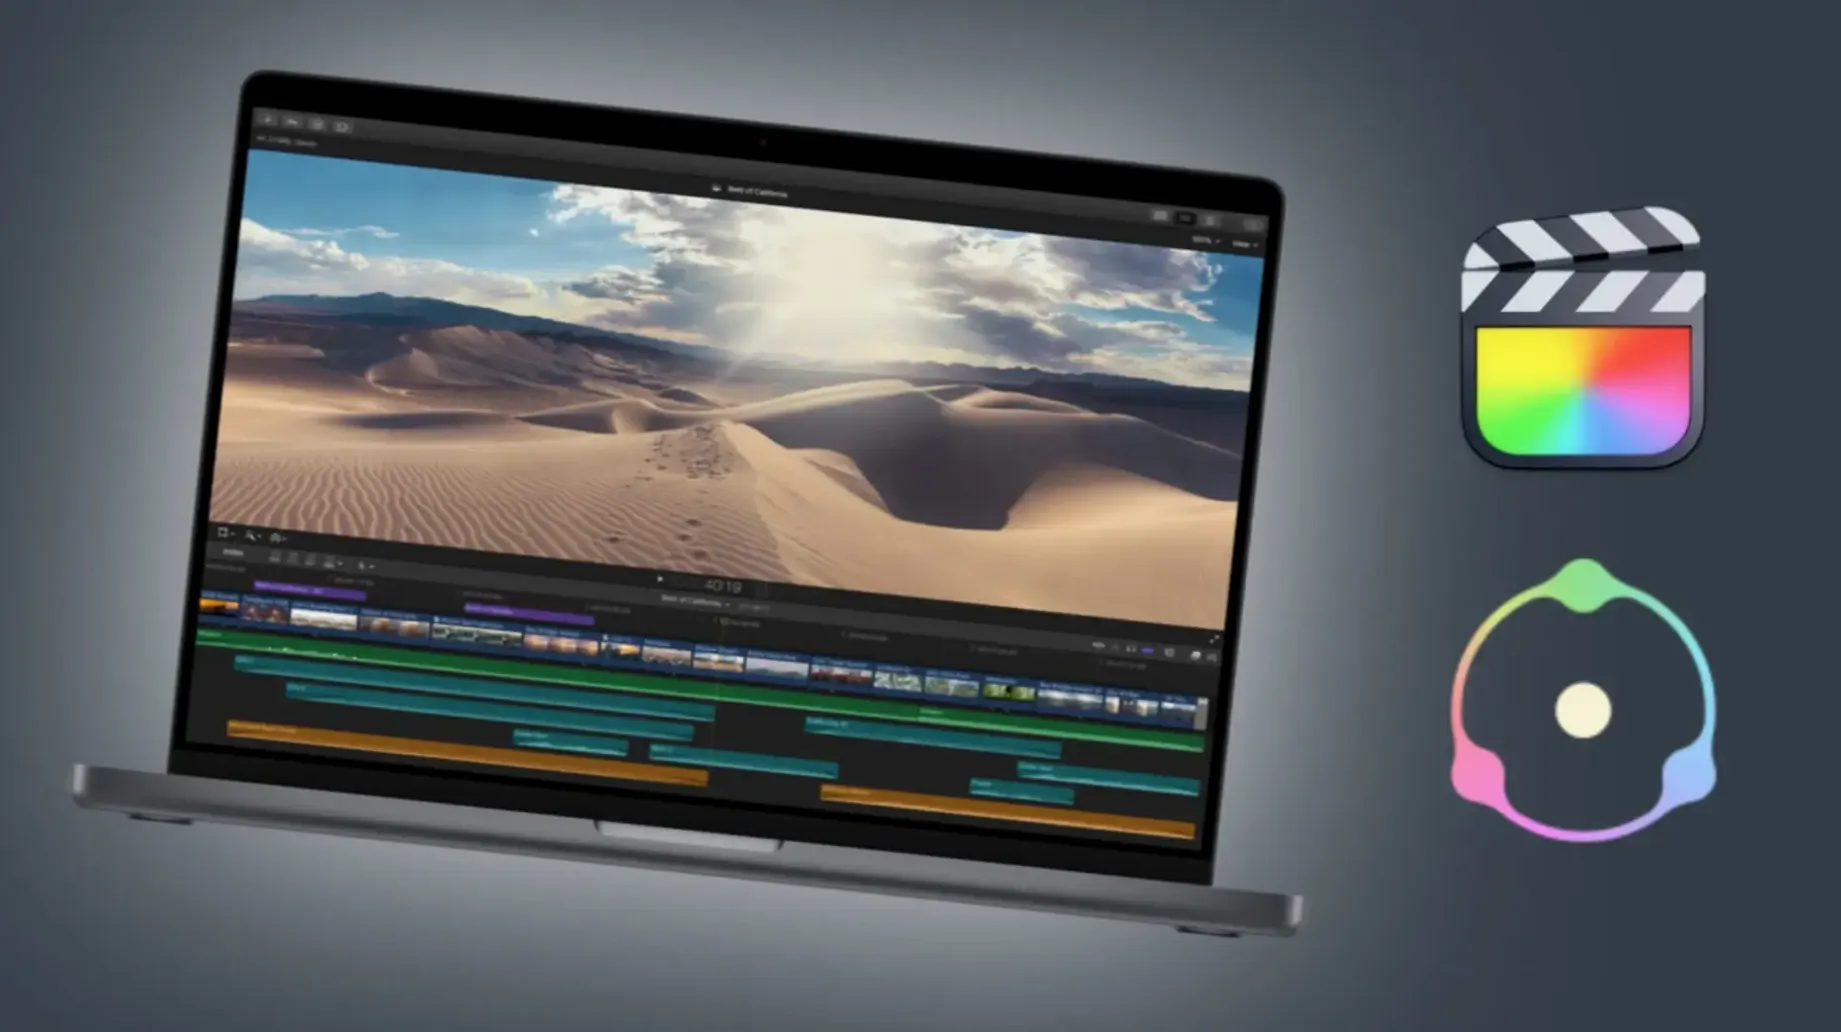
Dehancer Pro runs on any Mac with macOS 11 Big Sur or later, on both Intel and Apple Silicon machines. Once installed, it slots straight into Final Cut Pro, Adobe After Effects or Premiere Pro as a native plugin.
| Quick facts | |
|---|---|
| Developer | Dehancer |
| Current version | 7.3.4 |
| Hosts | FCP, After Effects, Premiere Pro |
| macOS | 11+ (Intel & Apple Silicon) |
What to try first when you open the plugin. Load a clean clip, then browse the film stock list and pick a colour negative profile — Kodak Vision3 50D is a safe starting point. Pull the grain slider up to about 40% so you can see the texture without it dominating. Next, add a slight halation glow and check the gate weave toggle; both add subtle movement and imperfection that digital footage lacks. Leave the false colour and defringe tools off until you spot an issue. Work in this order and you will have a baseline film look inside five minutes.
Tuesday edit, 90-second reel, one adjustment layer
Imagine a Tuesday. A 90-second highlight reel sits on your timeline in Final Cut Pro. Colours are corrected but sterile. You drop Dehancer Pro onto an adjustment layer above the whole edit.
- Open the plugin panel. The film strip browser fills the left side. You scroll past the slide film profiles — too saturated for this mood — and land on Kodak Portra 400. You select it. Skin tones shift warm, contrast softens.
- Grain comes next. 35 mm gate, optical, 40% strength. You toggle the preview at 100% zoom and check the shadows. Grain pattern reads natural, not noisy.
- Halation. You set it to 15%. Backlit highlights catch a faint orange-red fringe. Feels right for golden hour footage.
- Bloom at 8% lifts the window light in the ceremony shots without making them glow unnaturally.
- You switch to the false colour panel to check exposure on the dance-floor clip. Two spots clip red. A quick curves adjustment in the host app fixes it. Back to Dehancer.
- Gate weave stays off for the locked-down tripod shots, on for the handheld reception clips. You keyframe the toggle — subtle instability enters exactly where it helps.
- Final pass: film damage. Dust and scratches at 10%, hairs at 0. You watch the reel end-to-end. One scratch lands across the bride's face in close-up. You nudge the random seed until it shifts away.
Twenty minutes total. The timeline plays back smooth on an M1 Max MacBook Pro — no dropped frames, no pre-render needed.
Short grain export stills from a timeline
Apple Silicon holds 24 fps with one stock
It depends on the host and hardware. On Apple Silicon, a single film stock with grain and halation typically plays back at full frame rate in Final Cut Pro without rendering. Stacking multiple effects — bloom, film damage, gate weave — will push you into orange render-bar territory. Intel Macs feel the hit sooner. A sensible habit: set up your look on a short representative clip, copy the settings, then apply to the full timeline once you are happy.
Will Dehancer Pro work in my language?
The interface is English-only. The controls are visual though — sliders, film strip thumbnails, colour swatches — so navigation stays straightforward even if English is not your first language.
Workaround for stills: export a frame
The plugin is built for video hosts. No Lightroom or Capture One support. That said, plenty of editors export stills from a timeline in Final Cut Pro or Resolve just to run them through the film profiles and grain engine.
What if I try a dehancer torrent or dehancer pro torrent and it misbehaves?
Strange behaviour usually comes from mismatched version and host combinations. Missing profiles, blank preview windows, and activation loops are common symptoms when someone grabs a dehancer cracked build or a Dehancer Pro Mac torrent that bundles an older release. A clean install of version 7.3.4 into a supported host on macOS 11 or later avoids most of these. Production License Server support added in this version also changes how multi-seat setups activate, so older Dehancer Mac torrent packages simply need the matching license server version to work properly.
Footage arrives through Resolve or FCP first
Dehancer Pro is not a standalone. It lives inside a host. On a typical post-production Mac, the chain looks like this: footage comes in from Resolve or FCP, basic correction happens with the host's colour tools or an input LUT, then Dehancer applies the film emulation on top. Export settings stay unchanged — the plugin writes its look into the rendered frames, so you can send ProRes masters or H.264 dailies straight out without extra steps.
It pairs well with scopes. Use the host's waveform and vectorscope while dialling in the film profile, then switch to Dehancer's false colour overlay for quick exposure sanity checks. The plugin's LUT generator exports a .cube file you can drop onto an adjustment layer in After Effects or share with a colourist who works in a different suite. No round-tripping necessary.
macOS colour management does its part too. Dehancer reads the display profile active in System Settings, so what you see on a P3 MacBook screen matches the rendered output — provided you keep reference modes consistent across apps. On multi-monitor setups, drag the plugin panel to your grading display and leave the timeline on the other screen. The panel remembers its position between sessions.
- Bug fixes and performance improvements across all supported hosts.
- macOS 11 Big Sur or later
- Intel or Apple Silicon Mac
- Final Cut Pro, Adobe After Effects, or Adobe Premiere Pro
Questions the team asks
The plugin works in Final Cut Pro, Adobe After Effects and Adobe Premiere Pro on macOS.









Comments 0
Sign in or create an account to add a comment.
No comments yet. They go up after moderation.