

MouseBoost Pro — Mac download
Download (17 MB) Earlier builds
Ticked
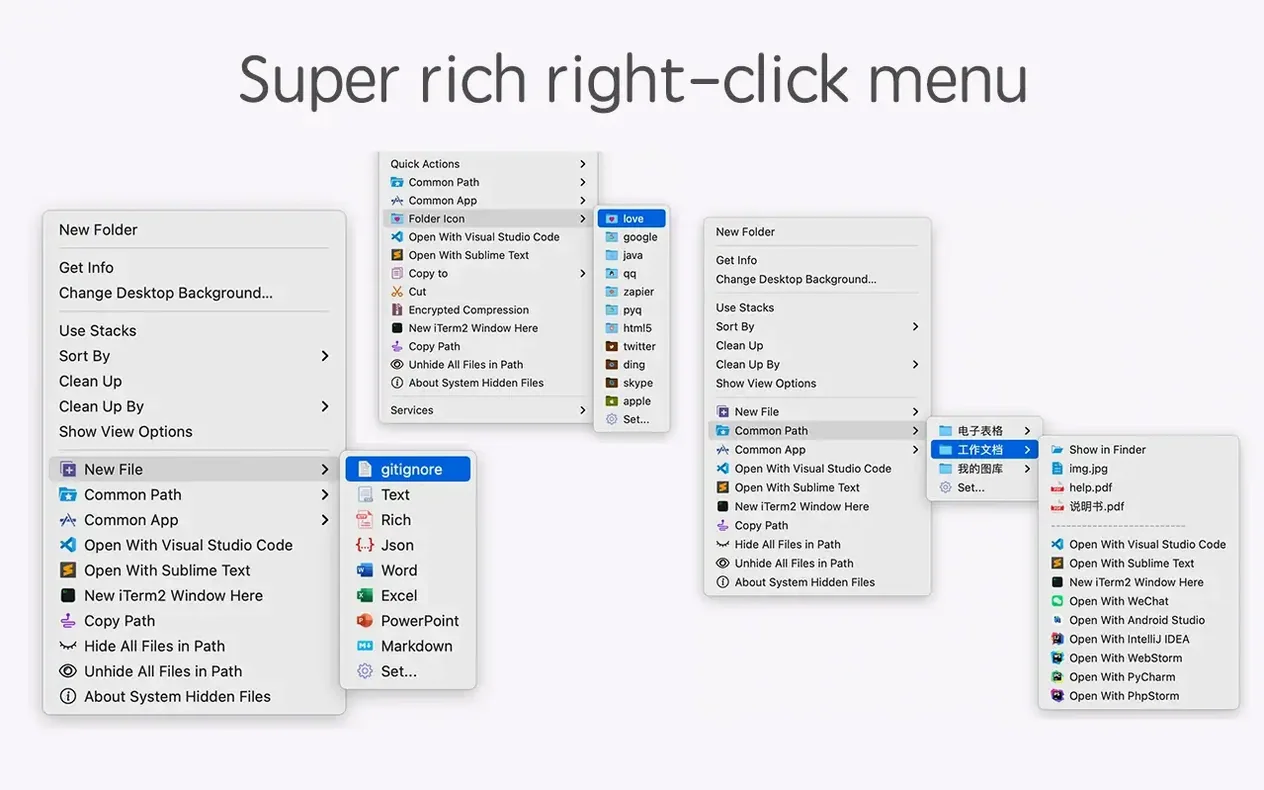
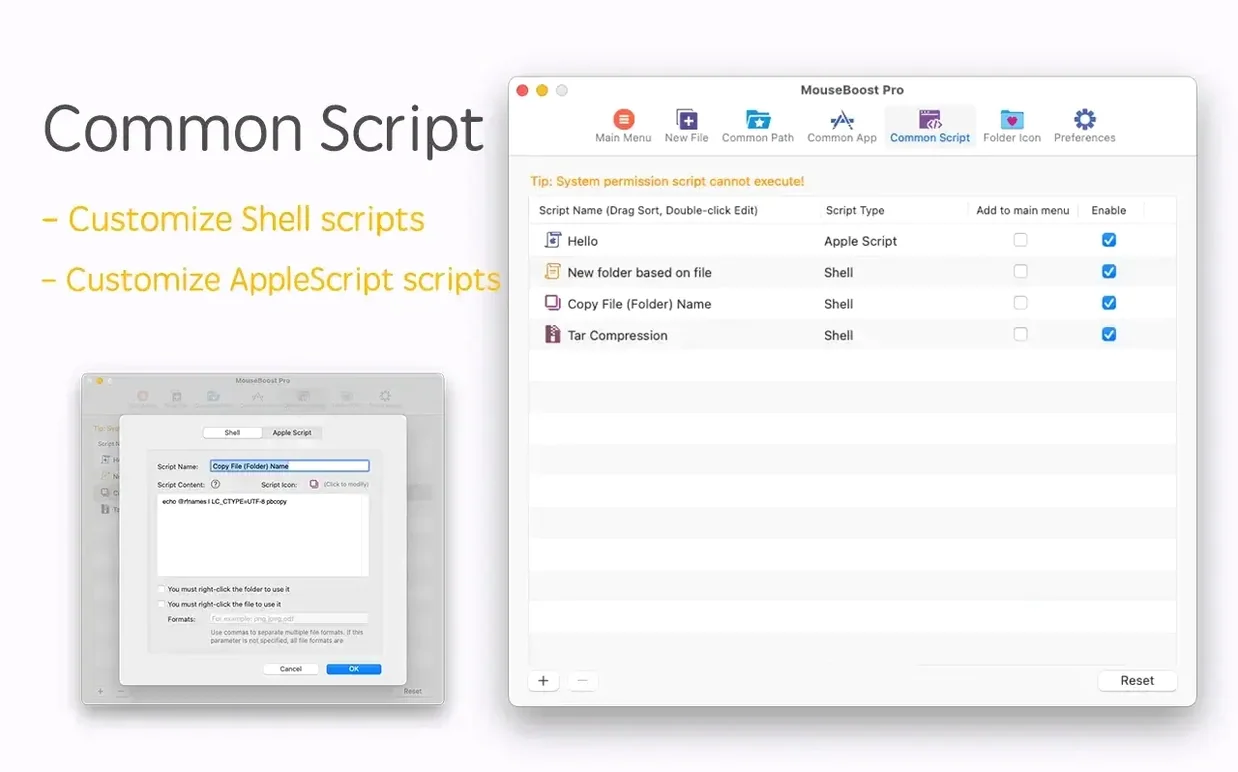
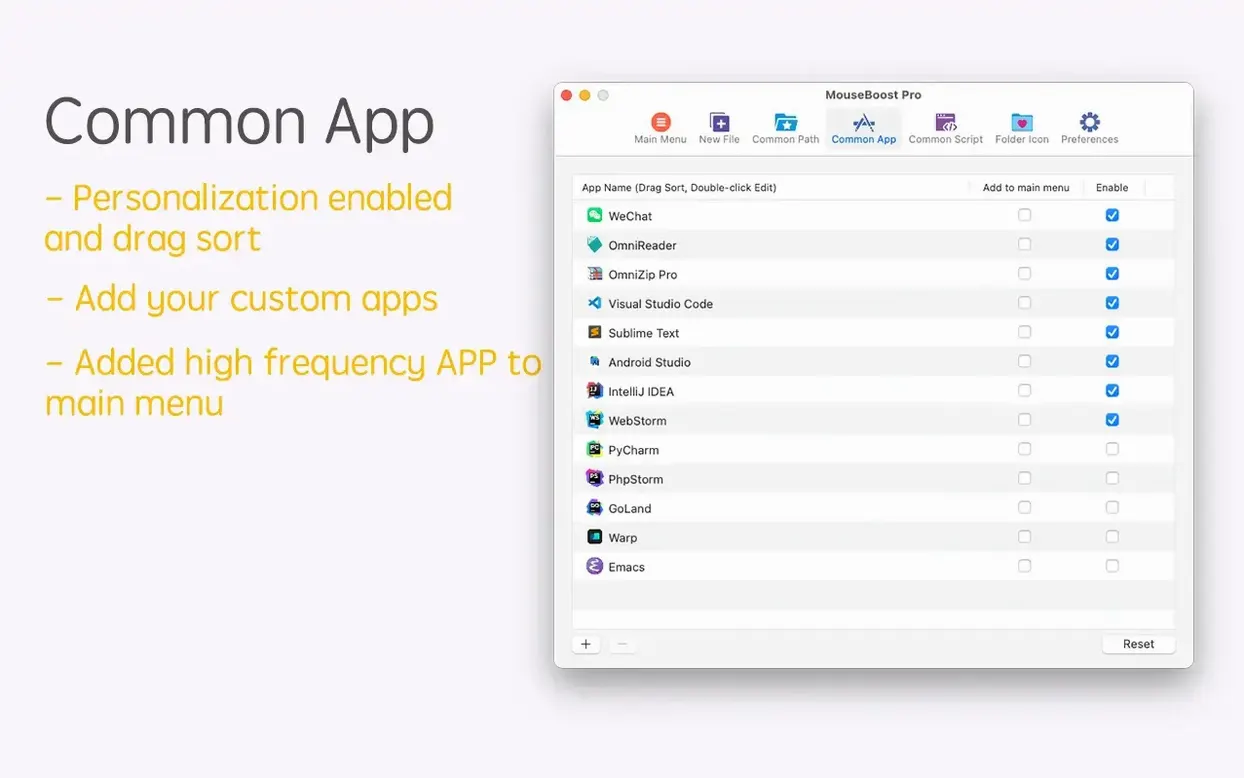
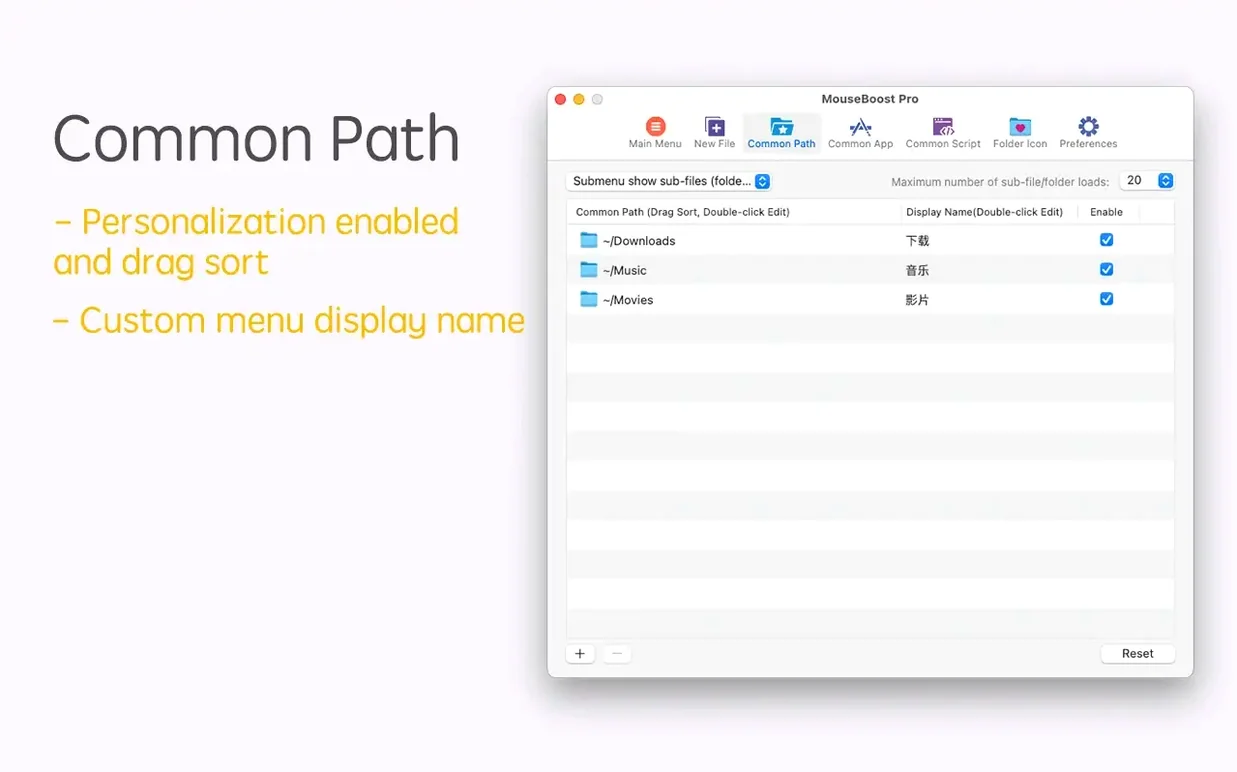
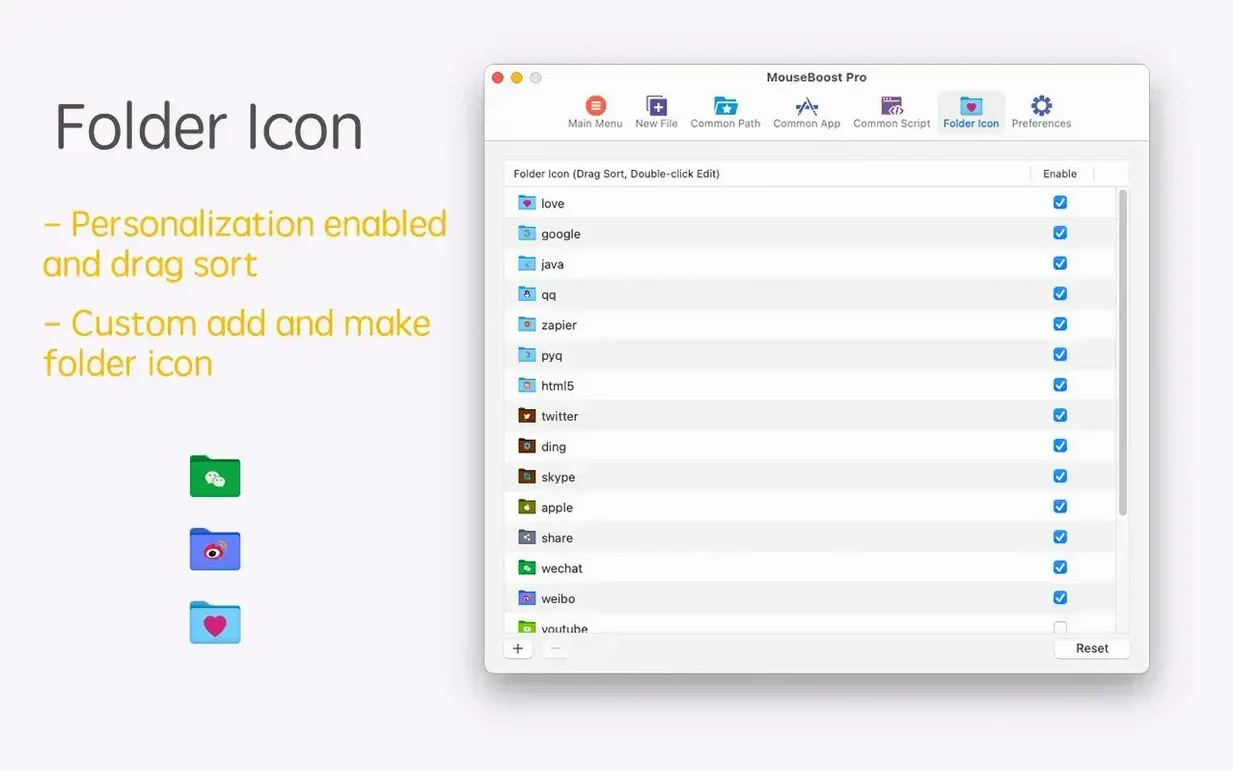
Finder is where every project folder lives. Without an extension, the right-click menu is a fixed set of options. MouseBoost Pro slots extra actions into that menu, keeping file work in one place.
One task: structure a new project folder
- Right-click on the desktop and pick a custom new-file template — say, a Markdown brief — without opening an editor first.
- Name the file, then select the folder and copy its path straight from the context menu. Paste that into the brief.
- Create a 'Wireframes' folder, right-click, and send it to VSCode to open the whole directory tree.
- Move a batch of assets from Downloads into the project folder with cut-and-paste actions that sit in the right-click menu.
Why a project manager would use it
The menu is fully sortable, so the actions you use most appear first. Custom file types let you create meeting notes, briefs, or spreadsheets without opening the parent app. When a brief needs a quick edit in Sublime Text or Emacs, the folder or file can be sent there directly. It removes a few clicks from repetitive Finder work, and those clicks add up across a working week.
Turn off unused tools for a leaner right-click menu
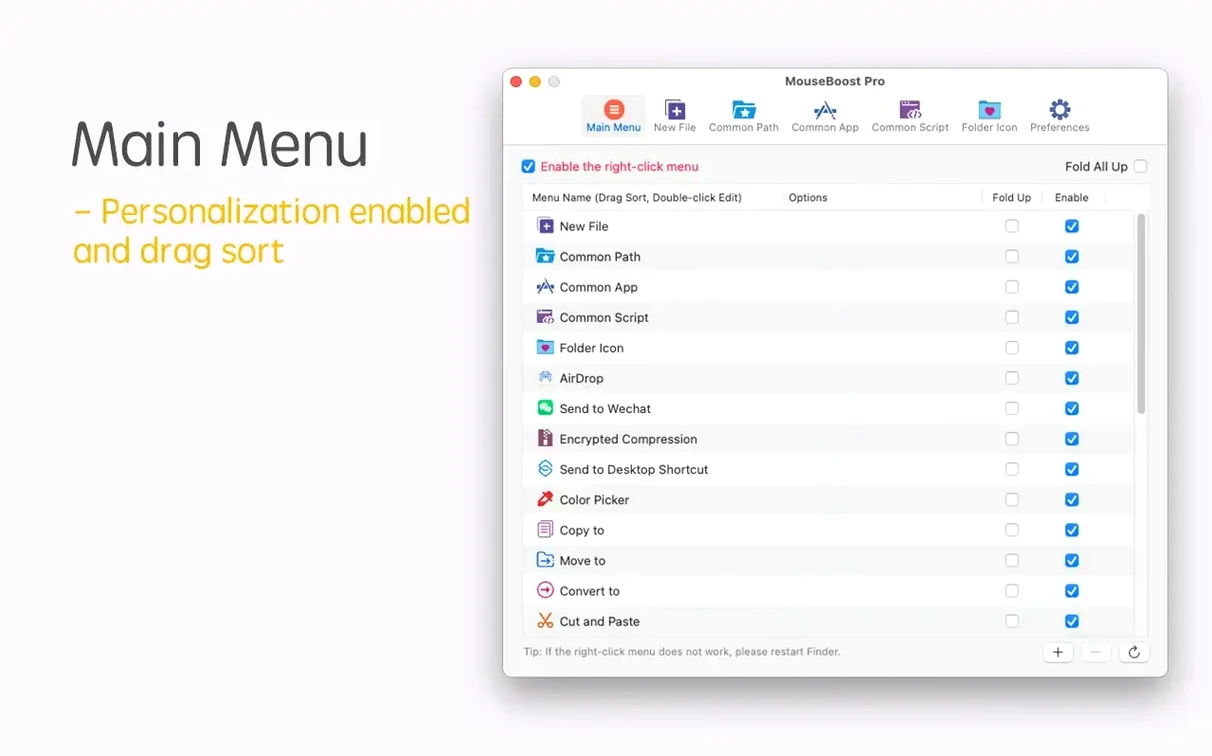
Open MouseBoost Pro from the menu bar and go straight to the preferences pane. A few switches make the right-click menu feel less cluttered straight away.
- Trim the default menu. The extension ships with every tool turned on. Disable actions you rarely touch — permanent delete, iTerm2, or file-info checks — so the menu shows only what you need.
- Reorder the list. Drag New File and Copy Path to the top if you create briefs and share folder locations all day. The sort order updates instantly in Finder.
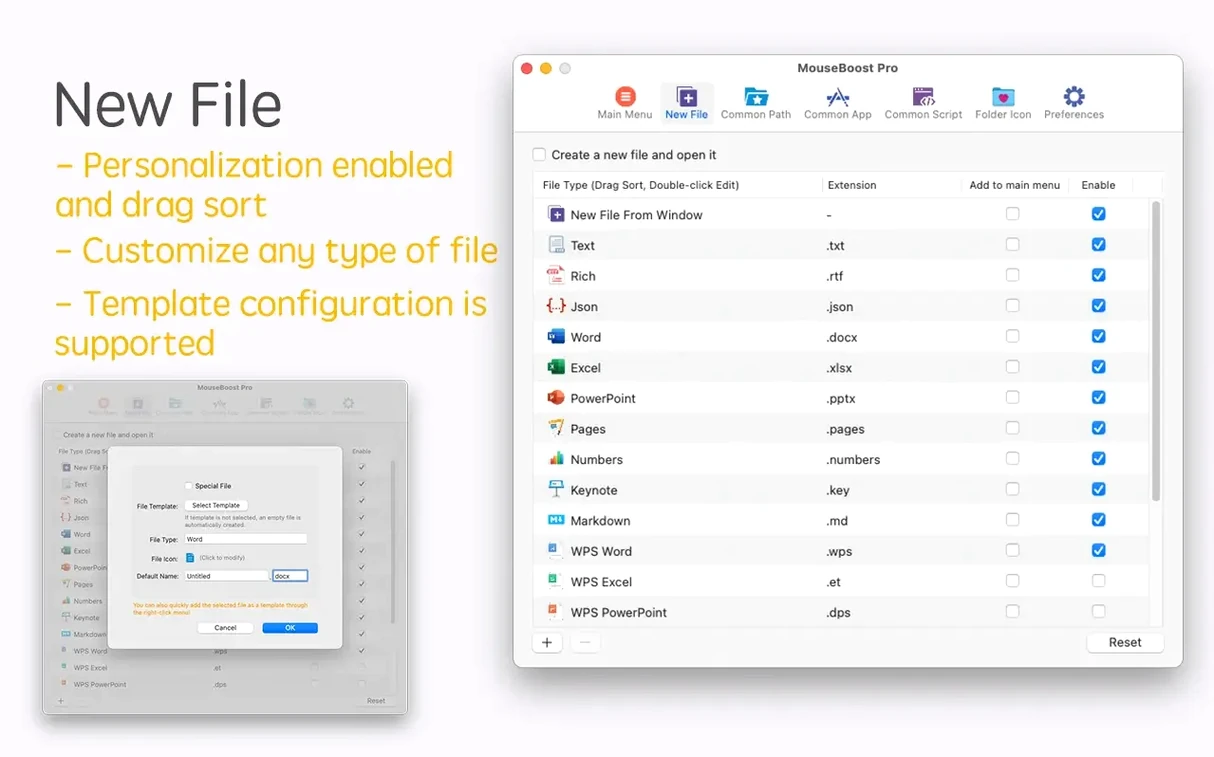
- Set custom file templates. Under Custom Types, add plain-text or Markdown stubs for daily docs — meeting notes, risk logs, stakeholder updates. Tick the extension you want, and it appears in the right-click menu.
- Pick your terminal. If you use iTerm2 instead of Terminal, toggle the option so Open in iTerm2 grabs the correct directory every time.
- Confirm before delete. Switch on the delete-confirmation prompt. Permanent file deletion sits right in the menu, and one mis-click is enough to lose a working file.
Enable the Finder extension when the menu stays hidden
Most issues with mouseboost pro come down to permissions or missing apps, and both are quick to fix.
- Menu doesn't appear after install. Open System Settings > Privacy & Security > Extensions > Finder Extensions and tick the MouseBoost Pro entry. If the tick is already there, untick it, wait a few seconds, and tick it again. Then relaunch Finder by Option-right-clicking its Dock icon and choosing Relaunch.
- Send-to-app actions are greyed out. MouseBoost checks for VSCode, Sublime Text, and Emacs in the Applications folder. If you installed them elsewhere or renamed the app bundle, the menu item will sit greyed out. Point the extension to the correct path in preferences, or symlink the app back into
/Applications. - Terminal opens in the wrong directory. This happens when you right-click a file instead of a folder, or when the selected item sits inside a symlinked path. For reliable results, right-click the target folder itself, or hold Option while clicking to ensure the selection is the container you want.
- Batch rename overwrites files unexpectedly. If you use 'rename from list', make sure the list has exactly the same number of lines as the selected files. A mismatch will leave leftover files unrenamed or cause naming collisions — sort both lists alphabetically before you apply the rename.
- Encrypted archive won't decompress on another Mac. The built-in Archive Utility doesn't handle all encrypted zip formats cleanly. The Unarchiver or Keka will open it without issue, so keep one of them installed if you share compressed files often.
Workflow: create a weekly status report from a template
This sequence uses mouseboost pro mac to spin up a status report, drop it into the right project folder, and open it for editing — all from Finder without launching an extra app beforehand.
- Set up the template once. In MouseBoost preferences > Custom Types, add a new file type called Status Report. Give it the extension
.mdand paste in a short skeleton: date line, project name, three bullet sections for Progress, Blockers, Next Steps. Tick the checkbox to enable it. - Create the file. In Finder, navigate to the project folder for the current week. Right-click, choose New File > Status Report, and name it
2025-06-12_status.md. - Grab the folder path. Right-click the project folder itself and choose Copy Path. Paste that into the top of the report so anyone reading it knows exactly where the working files live.
- Open it in your editor. Right-click the new file and send it to VSCode or Sublime Text. The whole project directory is visible in the sidebar, so you can reference previous reports without leaving the editor.
- Compress a copy for the client. At the end of the week, right-click the report and choose Compress (encrypted). Set a password you've already shared with
- Quick preview added for folder trees.
- Aspect ratio selection and automatic OCR copy now available.
- Scrolling capture improved.
- Batch renaming: insert text at a specific position, and rename from a list.
- Maximum depth setting added for file and directory trees.
- Known issues fixed.
- OS X 10.11 or later
- Apple Silicon and Intel 64-bit
Questions the team asks
It runs on Apple Silicon (ARM) and 64-bit Intel Macs, from macOS 10.11 onwards.
Yes, custom file types can be created so you can generate project-specific templates straight from Finder.









Comments 0
Sign in or create an account to add a comment.
No comments yet. They go up after moderation.