
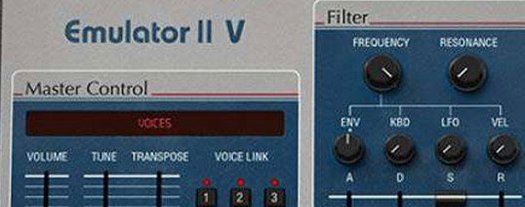
Arturia Emulator II V — Mac download
Download (700 MB) Earlier builds
Ticked
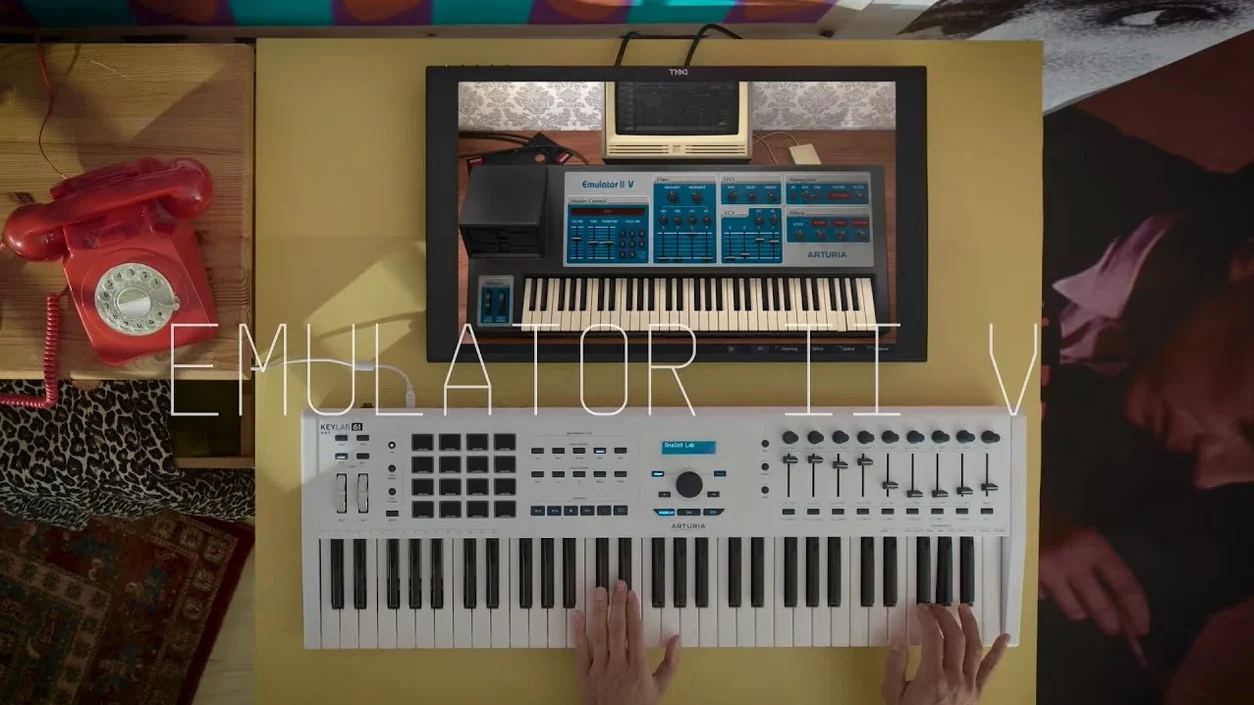
27.7 kHz sample rate. That is the original specification, and Arturia’s TAE technology keeps it accurate here. The Emulator II V gives you 32 voices of polyphony right on a software track.
Layer an 8‑bit choir with modern samples for lead synths
- Lead synth tracks — Layer an 8-bit choir with a modern sample from the curated library.
- Drum buses — Send the arpeggiator to a percussion part. The low bit depth adds crunch.
- Pad layers — Stack Emulator and Synclavier samples for wide, grainy beds.
How it behaves in a session
Drop it on an instrument track. The 32-voice polyphony means you can hold chords without voice stealing, something the original 1984 hardware could not manage. The arpeggiator syncs to your DAW tempo. It processes samples with the original 8-bit companding engine, so the output sits in a mix exactly where you expect an early sampler to land.
Connections with other tools
The Emulator II V loads in any DAW that hosts AU or VST instruments. It also works inside Arturia's own Analog Lab if you have it installed, though the plugin runs fully standalone too.
Drag audio from Finder into the sample slots. It reads the same file formats your DAW records — WAV, AIFF — so you can feed it stems bounced from Logic or Ableton Live and re-sample them through the 8-bit engine. The arpeggiator sends MIDI out, which means you can route patterns to a different software instrument on another track. The plugin also responds to MIDI program change messages from hardware controllers, letting you switch presets from a pad controller or keyboard without touching the screen.
macOS integration is straightforward. The AU component sits in the Components folder. MIDI Learn works with any class-compliant controller Bluetooth or USB connected. Audio follows Core Audio routing, so aggregate devices and multi-output setups work without extra configuration.
Compared to similar instruments
The obvious neighbour is Inphonik RX950, which models the Akai S950 12-bit sound. The RX950 is a simpler plugin — fewer controls, no sample library, no arpeggiator. It does one thing well: the S950 converter and filter. The Emulator II V gives you a complete instrument with a curated library and modulation routing.
Plogue Chipcrusher takes a broader approach. It emulates several retro codecs and speaker models, including the Emulator II DAC. But Chipcrusher is an effect, not an instrument. You run audio through it rather than building patches inside it. If you want hands-on control over multisampled layers and a full synthesis engine, the Emulator II V is the more direct tool.
Then there is TAL-Sampler, which models four vintage sampler engines including an 8-bit mode. TAL-Sampler loads your own samples and gives you a clean set of synth-style controls. It does not include a curated historical library or model the specific companding curves of the E-Mu hardware. The Emulator II V is narrower in scope but deeper in emulation detail.
Audition all 250 factory presets before building your own patch
- Audition the 250 factory presets first. Open the preset browser, set the tag filter to "Emulator" and work through them. Note which ones use single layers versus stacked layers. This shows you what the engine can do before you start building your own patches.
- Load a drum loop from your DAW timeline. Drag a hi-hat or percussion stem onto a sample slot. Set the start point short and crank the VCF cutoff down to around 800 Hz. You get instant lo-fi percussion with the 27.7 kHz sample rate biting at the top end.
- Map the arpeggiator to a second track. Create a MIDI track in your DAW, set its input to the Emulator II V MIDI out, and assign a different instrument. Now the arpeggiator pattern drives both the sampler and a synth pad underneath it.
- Stack three layers of the same sample with different ADSR settings. Keep one tight, stretch the release on the second, and add a slow attack on the third. This turns a single choir patch into a shifting texture without touching any effects.
- Assign two hardware knobs to filter cutoff and LFO rate. Right-click the parameters, choose MIDI Learn, twist the knobs. The immediacy of tweaking through the 8-bit engine with physical controls is where the plugin feels most like the original hardware.
- macOS 11 or later
- Intel or Apple Silicon Mac
- English interface


Comments 0
Sign in or create an account to add a comment.
No comments yet. They go up after moderation.