

CapCut — Mac download
Ticked
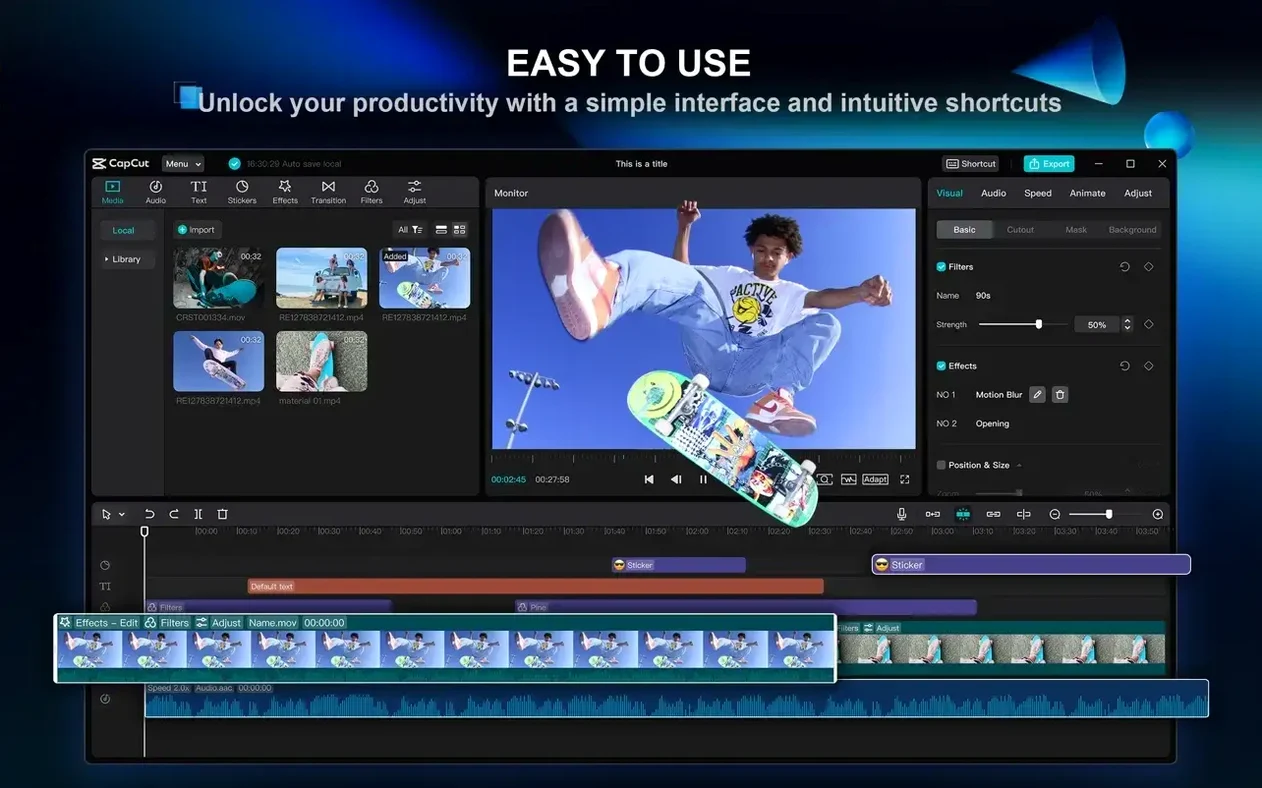
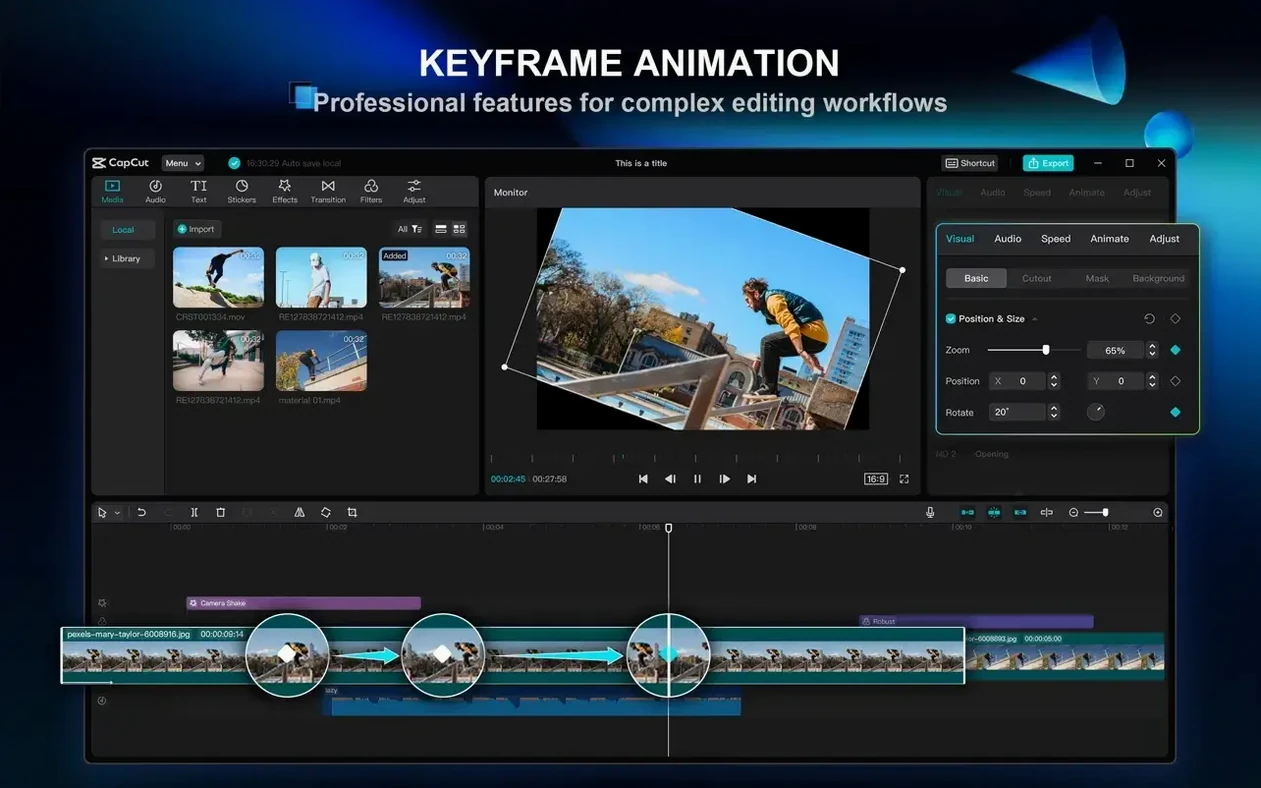
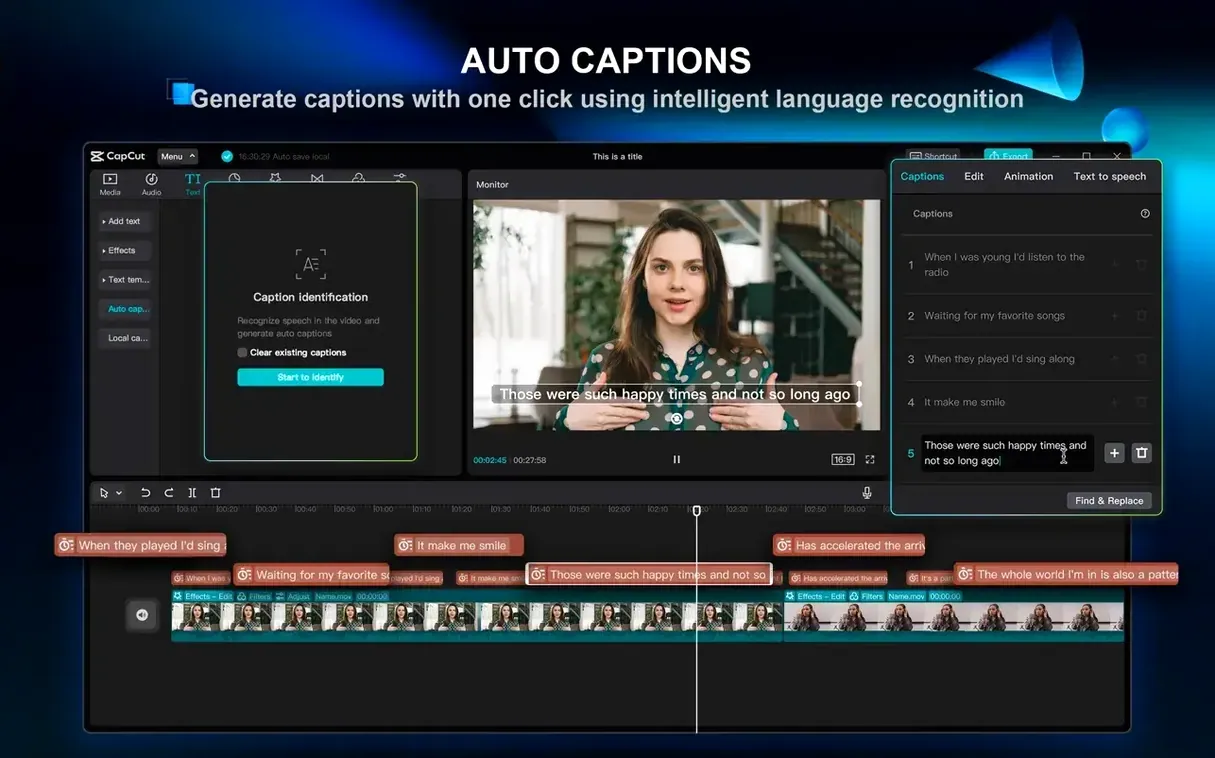
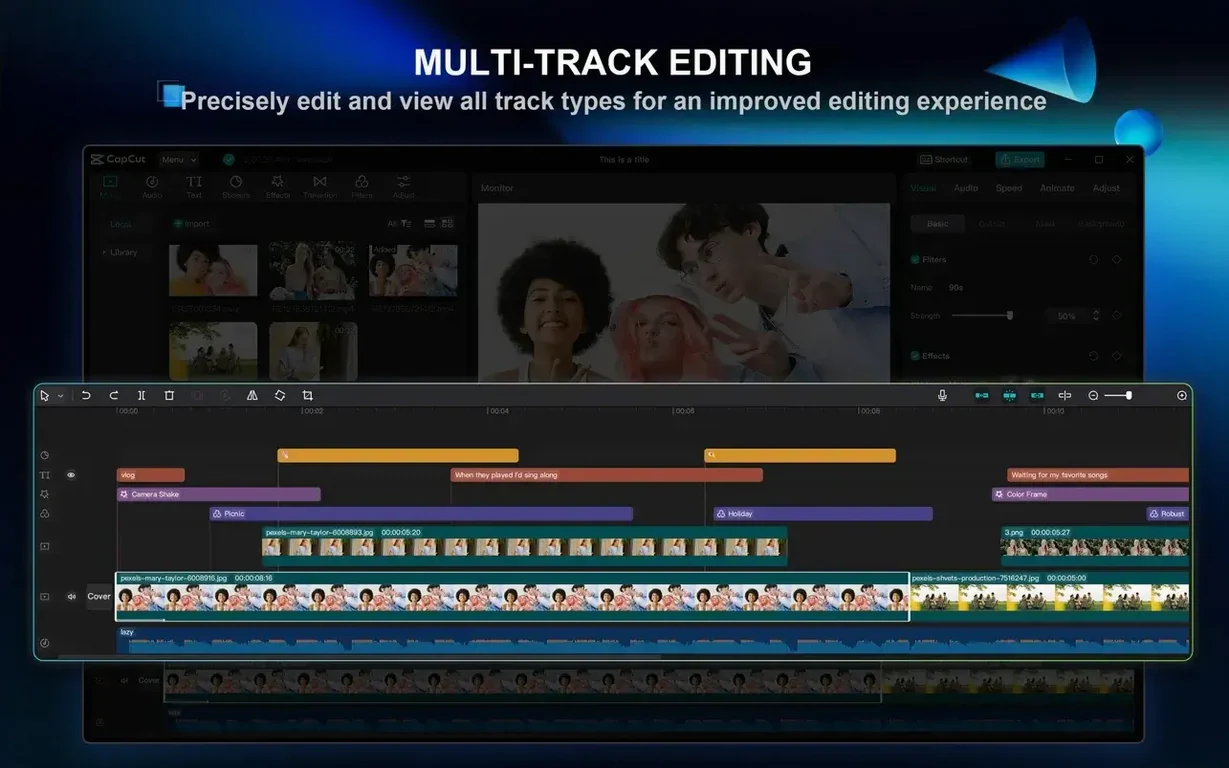
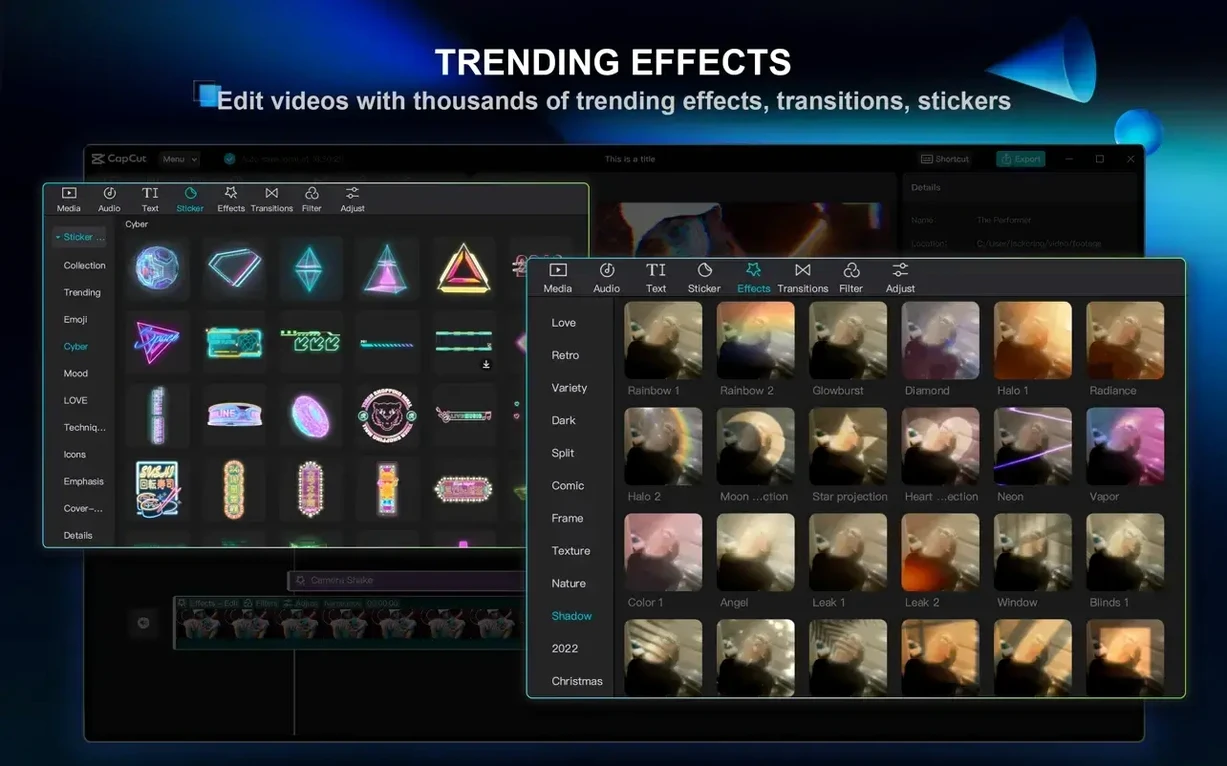
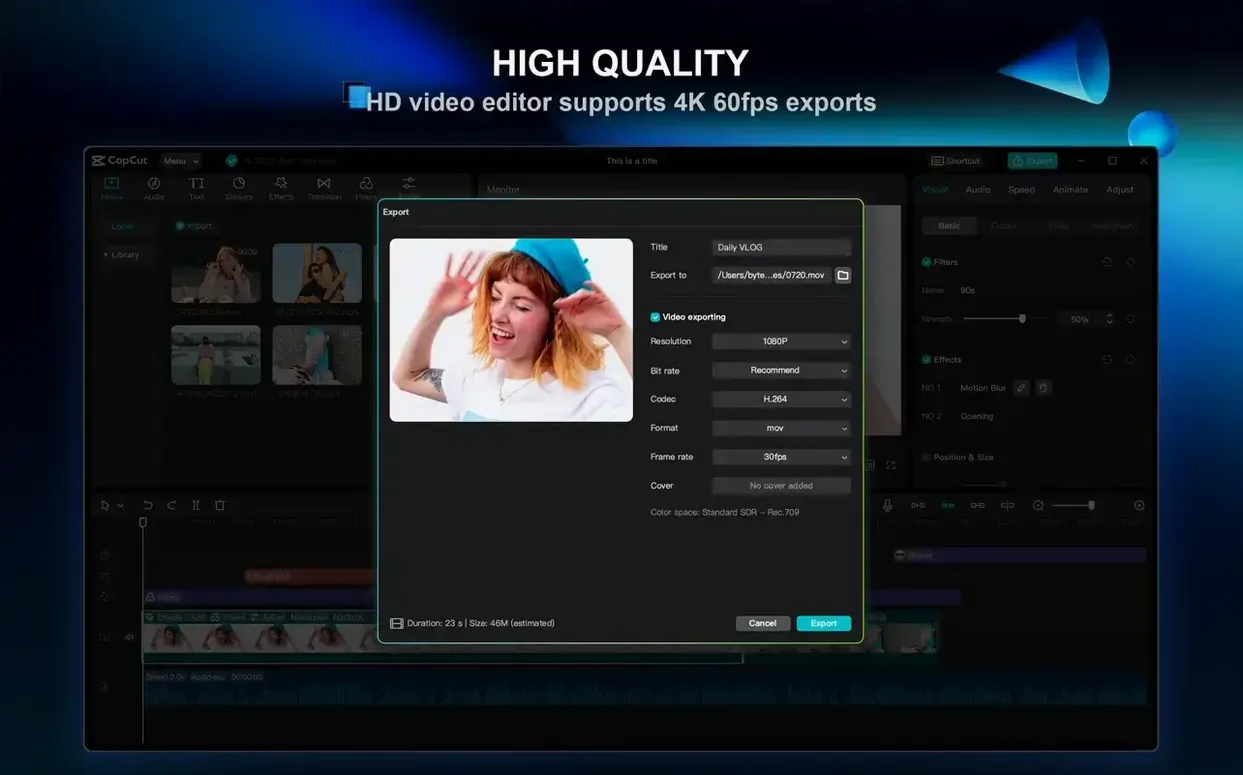
Auto-generated subtitles get you most of the way there, but it is the timeline-level filler-word removal that changes how an experienced editor approaches a podcast cut. CapCut brings a set of AI tools to the desktop that go well beyond applying a quick template. It runs natively on Apple Silicon and Intel 64-bit Macs, and it exports at up to 4K 60 fps. For someone who already knows their way around a timeline, these are the tools worth reaching for.
- One-action filler-word and pause removal — cleans up spoken-word tracks without manual scrubbing.
- Speech-to-text subtitle generation — produces timed subtitles directly from the audio track, editable on the timeline.
- Single-click background removal — cuts out a speaker without a green screen.
- Video stabilisation — smooths handheld footage with a straightforward control.
- Text-to-speech with multiple voices — generates scratch tracks or guide audio from typed text.
The desktop app asks for 4 GB of RAM as a starting point; 8 GB or more keeps things responsive with longer 4K timelines. It all lives in a familiar single-window layout, so the jump to a heftier project does not mean learning a new interface.
Auto-captions save an hour on talking-head edits
Social-media editors on a tight turnaround. The auto-caption engine saves a solid hour on a 10-minute talking-head piece, and the one-click background removal means you can punch out a clean cutaway without leaving the timeline.
Podcast producers cutting hour-long recordings. The filler-word removal alone justifies the download — it scans the whole track and strips “um,” “you know,” and long pauses in one pass. Pair that with text-to-speech for scratch VO, and you have a rough cut ready for the client before lunch.
Educators recording lectures or tutorials. Chroma key and the bundled text styles turn a plain webcam feed into something watchable. Multi-track editing and keyframe animation give you enough control to build lower-thirds that animate in on cue.
Beginners who need results fast. The template-driven side — filters, transitions, music, stickers — is shallow enough to learn in an afternoon. Someone editing their first YouTube video can drag clips to the timeline, hit auto-captions, and export a 4K file without touching a manual.
Fix auto-caption mistakes with a custom dictionary
- Auto-captions miss technical terms. Correct them in the text panel. The timeline updates instantly. Build a short custom dictionary in your head — repeat corrections stick after the first few edits.
- Background removal tears at the edges with busy backdrops. Pull your subject a step further from the wall. Add a soft edge mask from the effects panel to clean up the fringe.
- 4K playback stutters on 4 GB RAM. Drop the preview resolution to half or quarter in the viewer settings. Export quality stays full-res.
- Keyframe curves feel jumpy. Ease-in and ease-out handles appear when you right-click a keyframe diamond. The default linear motion rarely looks right.
- Text-to-speech pacing sounds robotic. Insert commas and line breaks in the script box. The engine respects punctuation more than you would expect.
Maja drags a multi-cam interview into a 16:9 timeline
Maja has 45 minutes of interview footage from two cameras and a clean audio feed. She opens the capcut pro mac dmg she downloaded earlier and drags the disk image straight into Applications. The project starts as a 16:9 timeline at 4K.
First pass: she drops the A-cam and B-cam onto separate tracks, syncs them by the clap at the start, and trims the fat with the blade tool. Ten minutes gone, and the timeline holds only the usable sections.
Second pass: she selects the audio track and clicks the filler-word removal tool. The app scans the waveform, highlights every “um” and dead-air stretch, and removes them in one go. She skims through to check for false cuts — none this time.
Third pass: auto-captions. She hits generate, waits about 90 seconds, and then reads through the text panel while the playback head rolls. Three misheard words get corrected. She applies a clean sans-serif text style and pulls the caption track down slightly so it sits above the lower-third safe zone.
Fourth pass: polish. A colour preset goes on the A-cam clip, a gentle stabilisation on the B-cam handheld shots. She drops a fade-to-black transition at the outro, adds a music bed from the built-in library, and ducks it under the speech with the audio mixer fader.
Export: H.264, 4K, 60 fps. The file lands on her desktop six minutes later. The whole session — from raw footage to a finished 8-minute piece — clocks in under an hour.
- macOS 10.14 or above
- Apple Silicon or Intel 64-bit processor
- 4 GB RAM minimum (8 GB or more recommended)









Comments 0
Sign in or create an account to add a comment.
No comments yet. They go up after moderation.