

Exposure X7 — Mac download
Download (551 MB) Earlier builds
Ticked
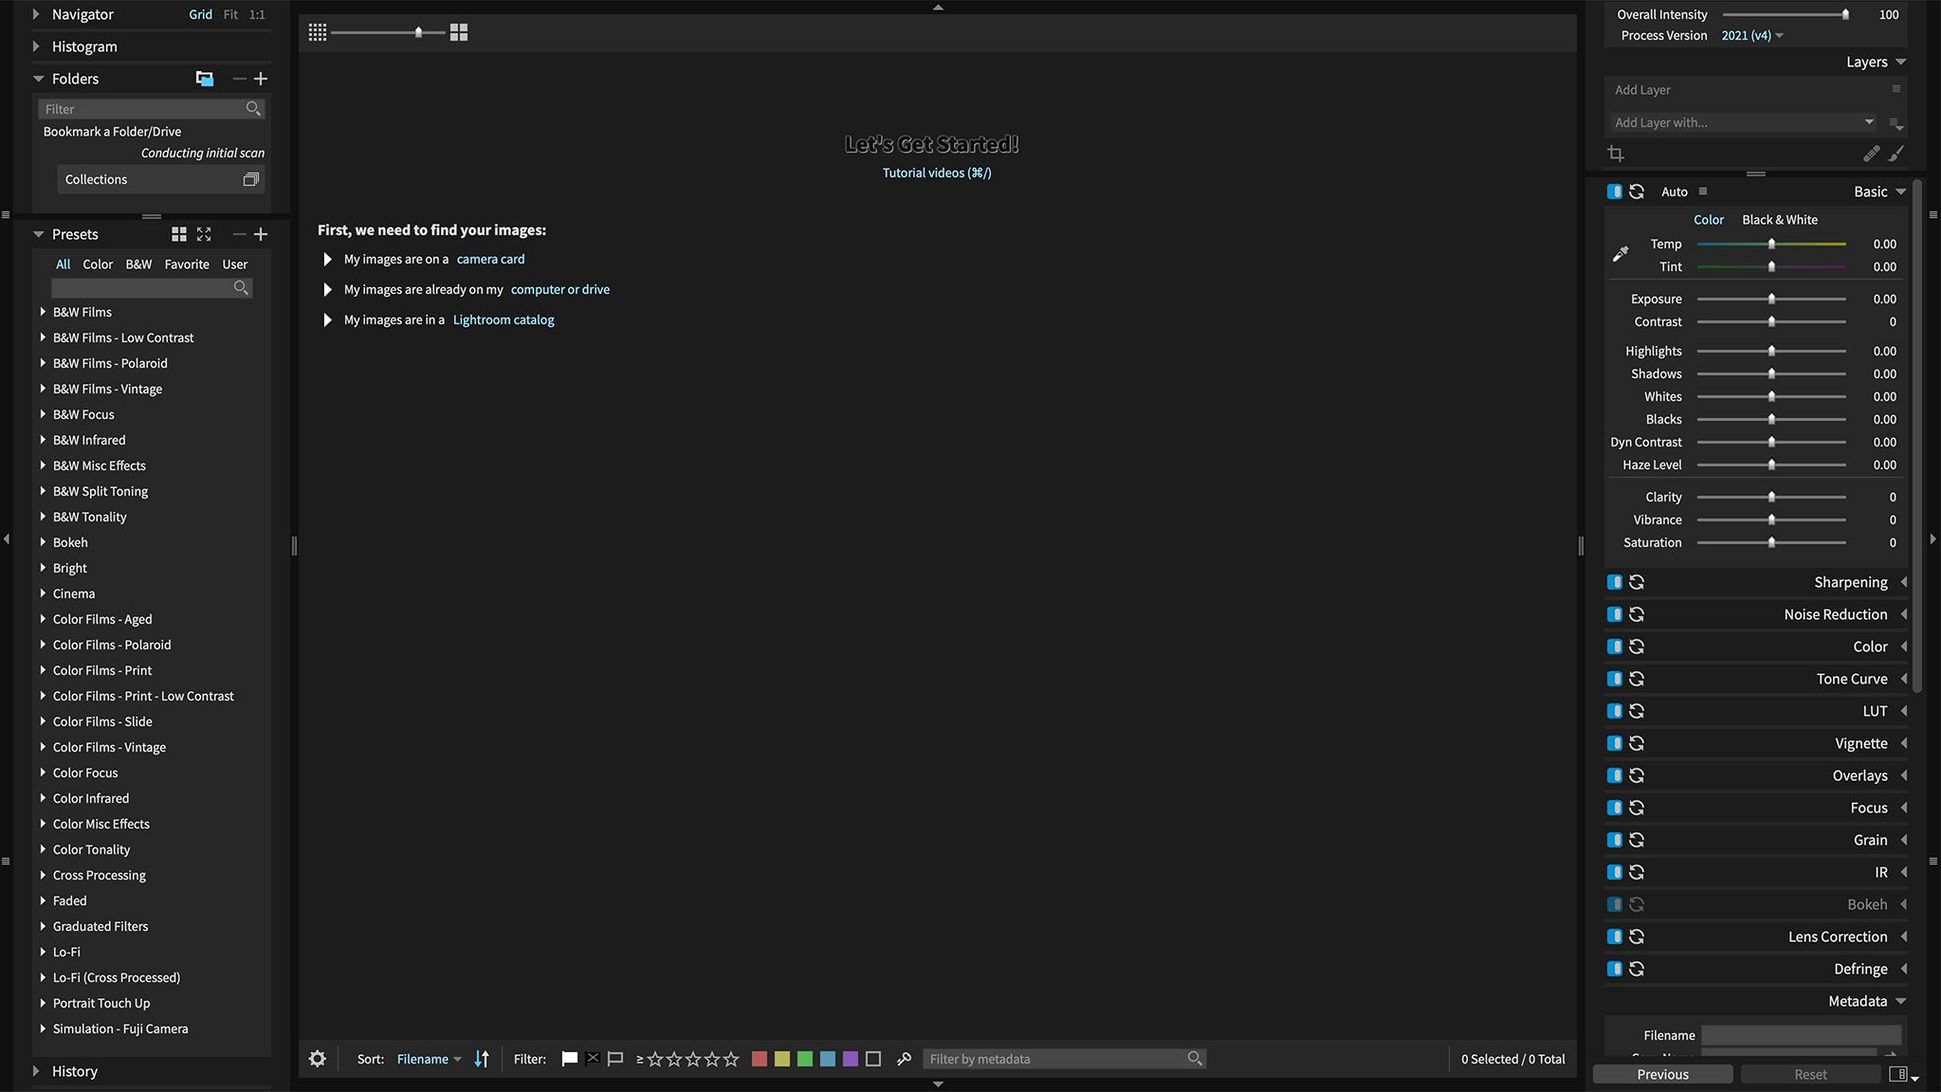
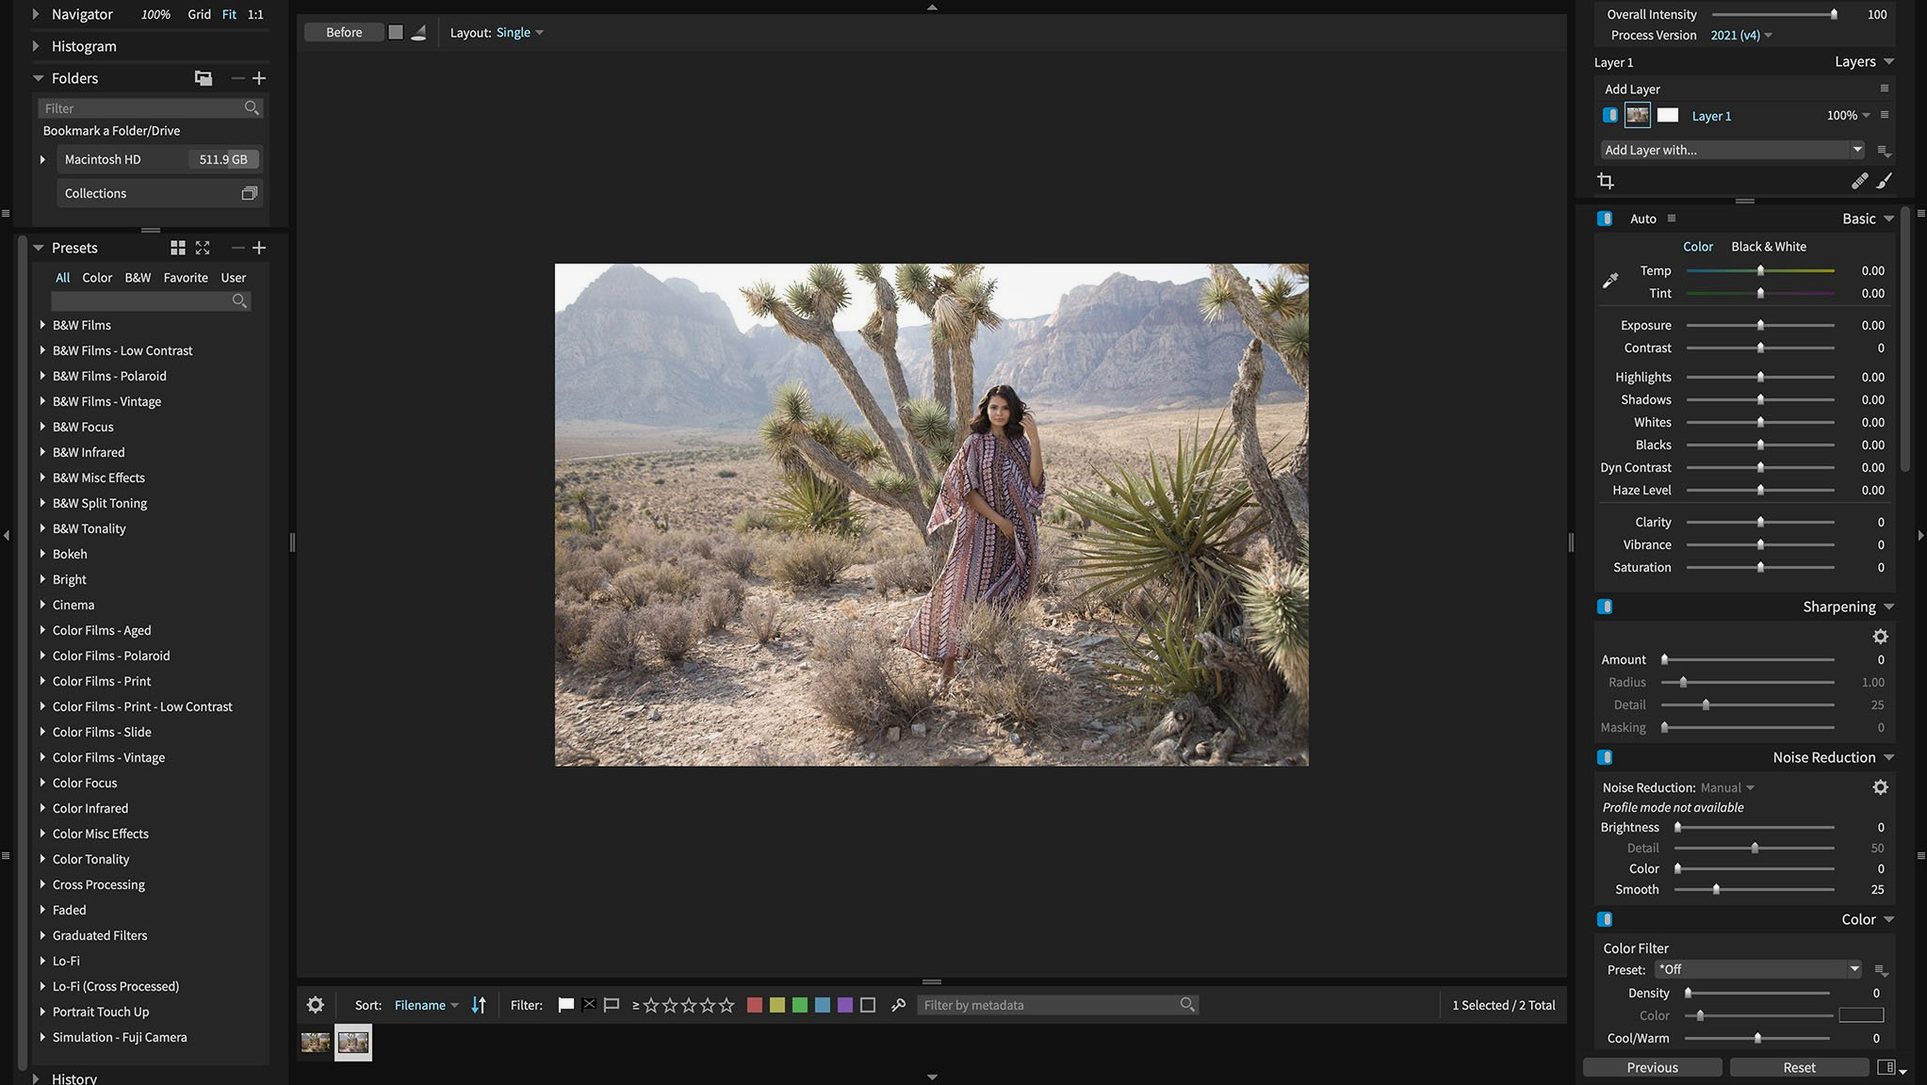
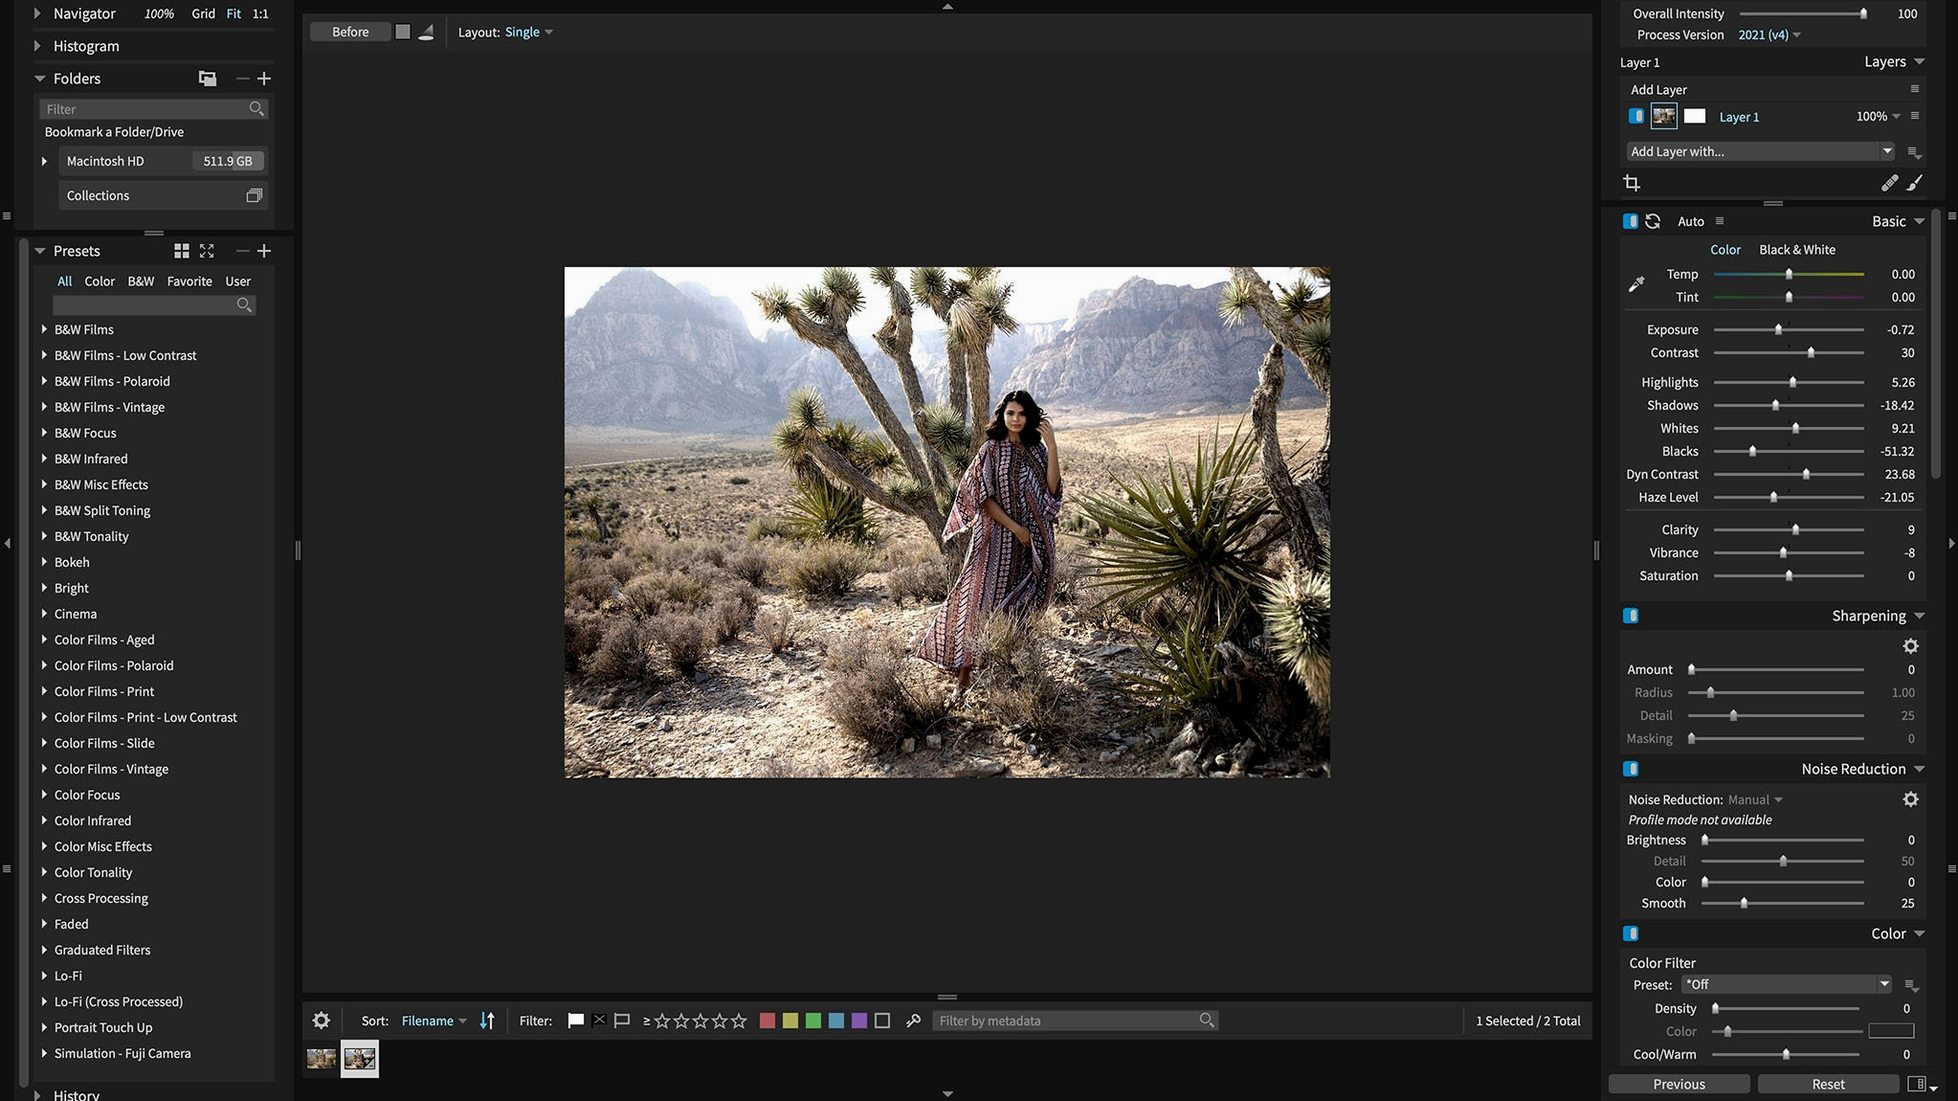
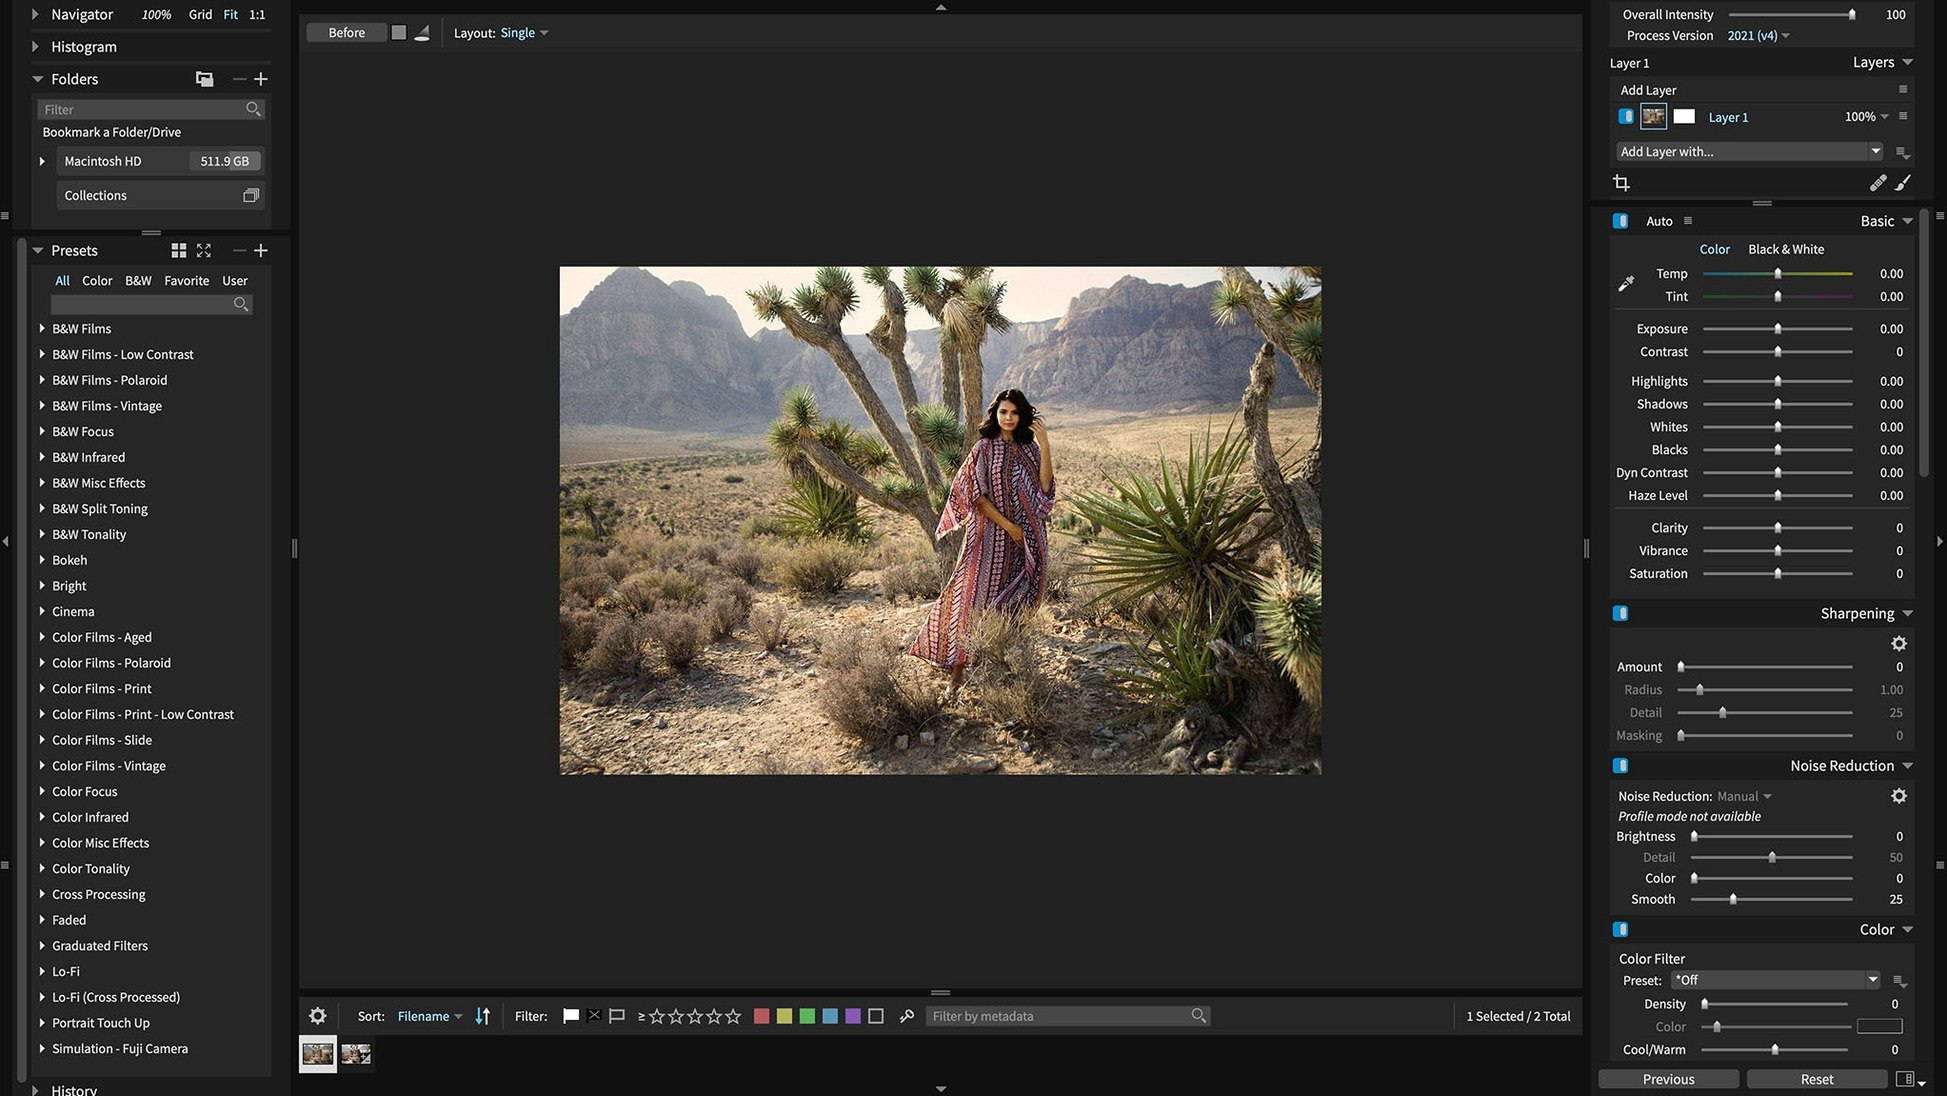
Version 7.3.0 adds HEIC opening from recent iPhones and expanded camera support for three new bodies.
Standalone editor — the full application, no host needed.
Plugin — works inside Adobe Photoshop and Lightroom.
Non-destructive RAW — edits sit in sidecar files; the original stays untouched.
3D color masking — selects by hue, saturation, and luminance together.
HEIC — Apple's high-efficiency format, now openable directly.
New camera support — Panasonic G95D, S5 IIX, and Sony RX100M7 RAW files render correctly in 7.3.0.
Culling, RAW, and layered edits in one app
- Photographers who want one tool for culling, RAW processing, and layered adjustments
- Anyone running a Photoshop or Lightroom workflow who needs a capable plugin
- Quick edits via 500+ included presets and one-click auto adjustments
No multi-user catalogs or video tools
- Teams needing multi-user catalog sharing
- Video editors — this is a stills-only environment
Culling and editing a wedding batch — start to finish
- Copy the card to a folder. Open Exposure X7 as a standalone app. Drag the folder onto the Bookmarks panel — no import step, the files stay where they are.
- Switch to Grid view. Use the arrow keys to walk through frames. Tap 1 for a pick, 2 for a maybe, 3 for a reject. Filter to picks with the menu bar.
- Apply a baseline preset to all picks. Select the images, open the Presets panel, and hover over a few neutral colour options. Click to stamp — the preset layers land on every selected shot.
- Move to the ceremony keepers. Pick one key frame, open the Edit panel, and add a Layered adjustment. Pull a gradient across the window light to drop exposure on the highlights. Name the layer window recovery so you remember later.
- Group shots need consistent skin. Add a 3D colour mask layer — sample the bride's cheek, widen the luminance range slightly, then lift shadows and reduce clarity a touch. Copy that layer set and paste it onto the other group frames.
- Flag fifteen selects for the couple's gallery. Select them, right-click, and pick Quick Export. A preset for 2048px JPEGs, sRGB, watermark on the long edge. The export queue runs in the background.
Plugin for Lightroom Classic that sends a TIFF for layers
Exposure X7 slides into a few different setups without friction. Use it as a Lightroom Classic plug-in — right-click an image in the Library, choose Edit In Exposure X7, and a rendered TIFF opens for layered work. Save, and the file stacks next to the original. If Photoshop is your main hub, the Exposure plug-in under the Filter menu hands you the full editing panel inside a smart object workflow.
The bookmark-based browsing means you can point Exposure at a folder a Fuji X RAW Studio session already touched, or at a drive managed by Photo Mechanic. No lock-in on catalogues. macOS features tie in too: the Share menu from the export dialog sends JPEGs straight to Mail or Messages, and Quick Look works on sidecar-edited RAWs once Exposure has written its metadata out.
Tame strong auto adjustments on high-ISO shots
- Presets look too strong on high-ISO files. The one-click auto adjustment reads the RAW data — on noisy frames it can push exposure harder than you want. Drop the layer opacity slider to about 70% as a starting point, then tweak from there.
- 3D colour mask won't grab the range you expect. The sample point matters. Click the darkest part of the colour you want, hold Shift, and click the brightest part. That builds the luminance spread in one go. Still patchy? Tick Invert mask, brush in what you need with a soft overlay brush.
- Quick Export menu crashes after reordering export presets. This was a known bug fixed in the 7.3.0 update. If you are running an earlier exposure x7 download, the workaround was to delete the export presets plist from
~/Library/Application Support/Exposure Software/Exposure X7/and recreate them. The fix avoids that entirely. - Sidecar clutter in Finder. Exposure writes an
.exposurefolder per working directory. Keep your folder structure flat — one folder per shoot — and the sidecars stay self-contained. Don't nest project folders inside each other. - HEIC files from an iPhone show as blank thumbnails. Version 7.3.0 added direct HEIC support. On an exposure x7 mac install that predates this, convert the HEIC to TIFF with macOS Preview first, then bring it in. Now you can skip that hop entirely.
Portrait retouching tools and a preset library cover everyday polish. The 3D color masking gives precise selections without switching to a separate application.
- Expanded camera support for Panasonic Lumix G95D, Panasonic Lumix S5 IIX, and Sony Cyber-shot DSC-RX100M7
- Added support for opening HEIC photos from current iPhone models
- Refreshed Chinese, German, French, and Japanese translations
- Fixed corrupt rendering of Sony A7 IV lossless compressed raw files
- Fixed a crash when applying black and white film presets
- Fixed a crash when opening the Quick Export menu after reordering export presets
- macOS 10.13 or later
- Intel or Apple Silicon Mac
- 64-bit
Questions the team asks
Exposure X7 works as a plugin for Adobe Photoshop and Adobe Lightroom. It also runs as a standalone editor.
It handles RAW files from supported cameras (including the newly added Panasonic G95D, S5 IIX, and Sony RX100M7), plus HEIC photos from current iPhones.








Comments 0
Sign in or create an account to add a comment.
No comments yet. They go up after moderation.