

Millumin — Mac download
Download (118 MB) Earlier builds
Ticked
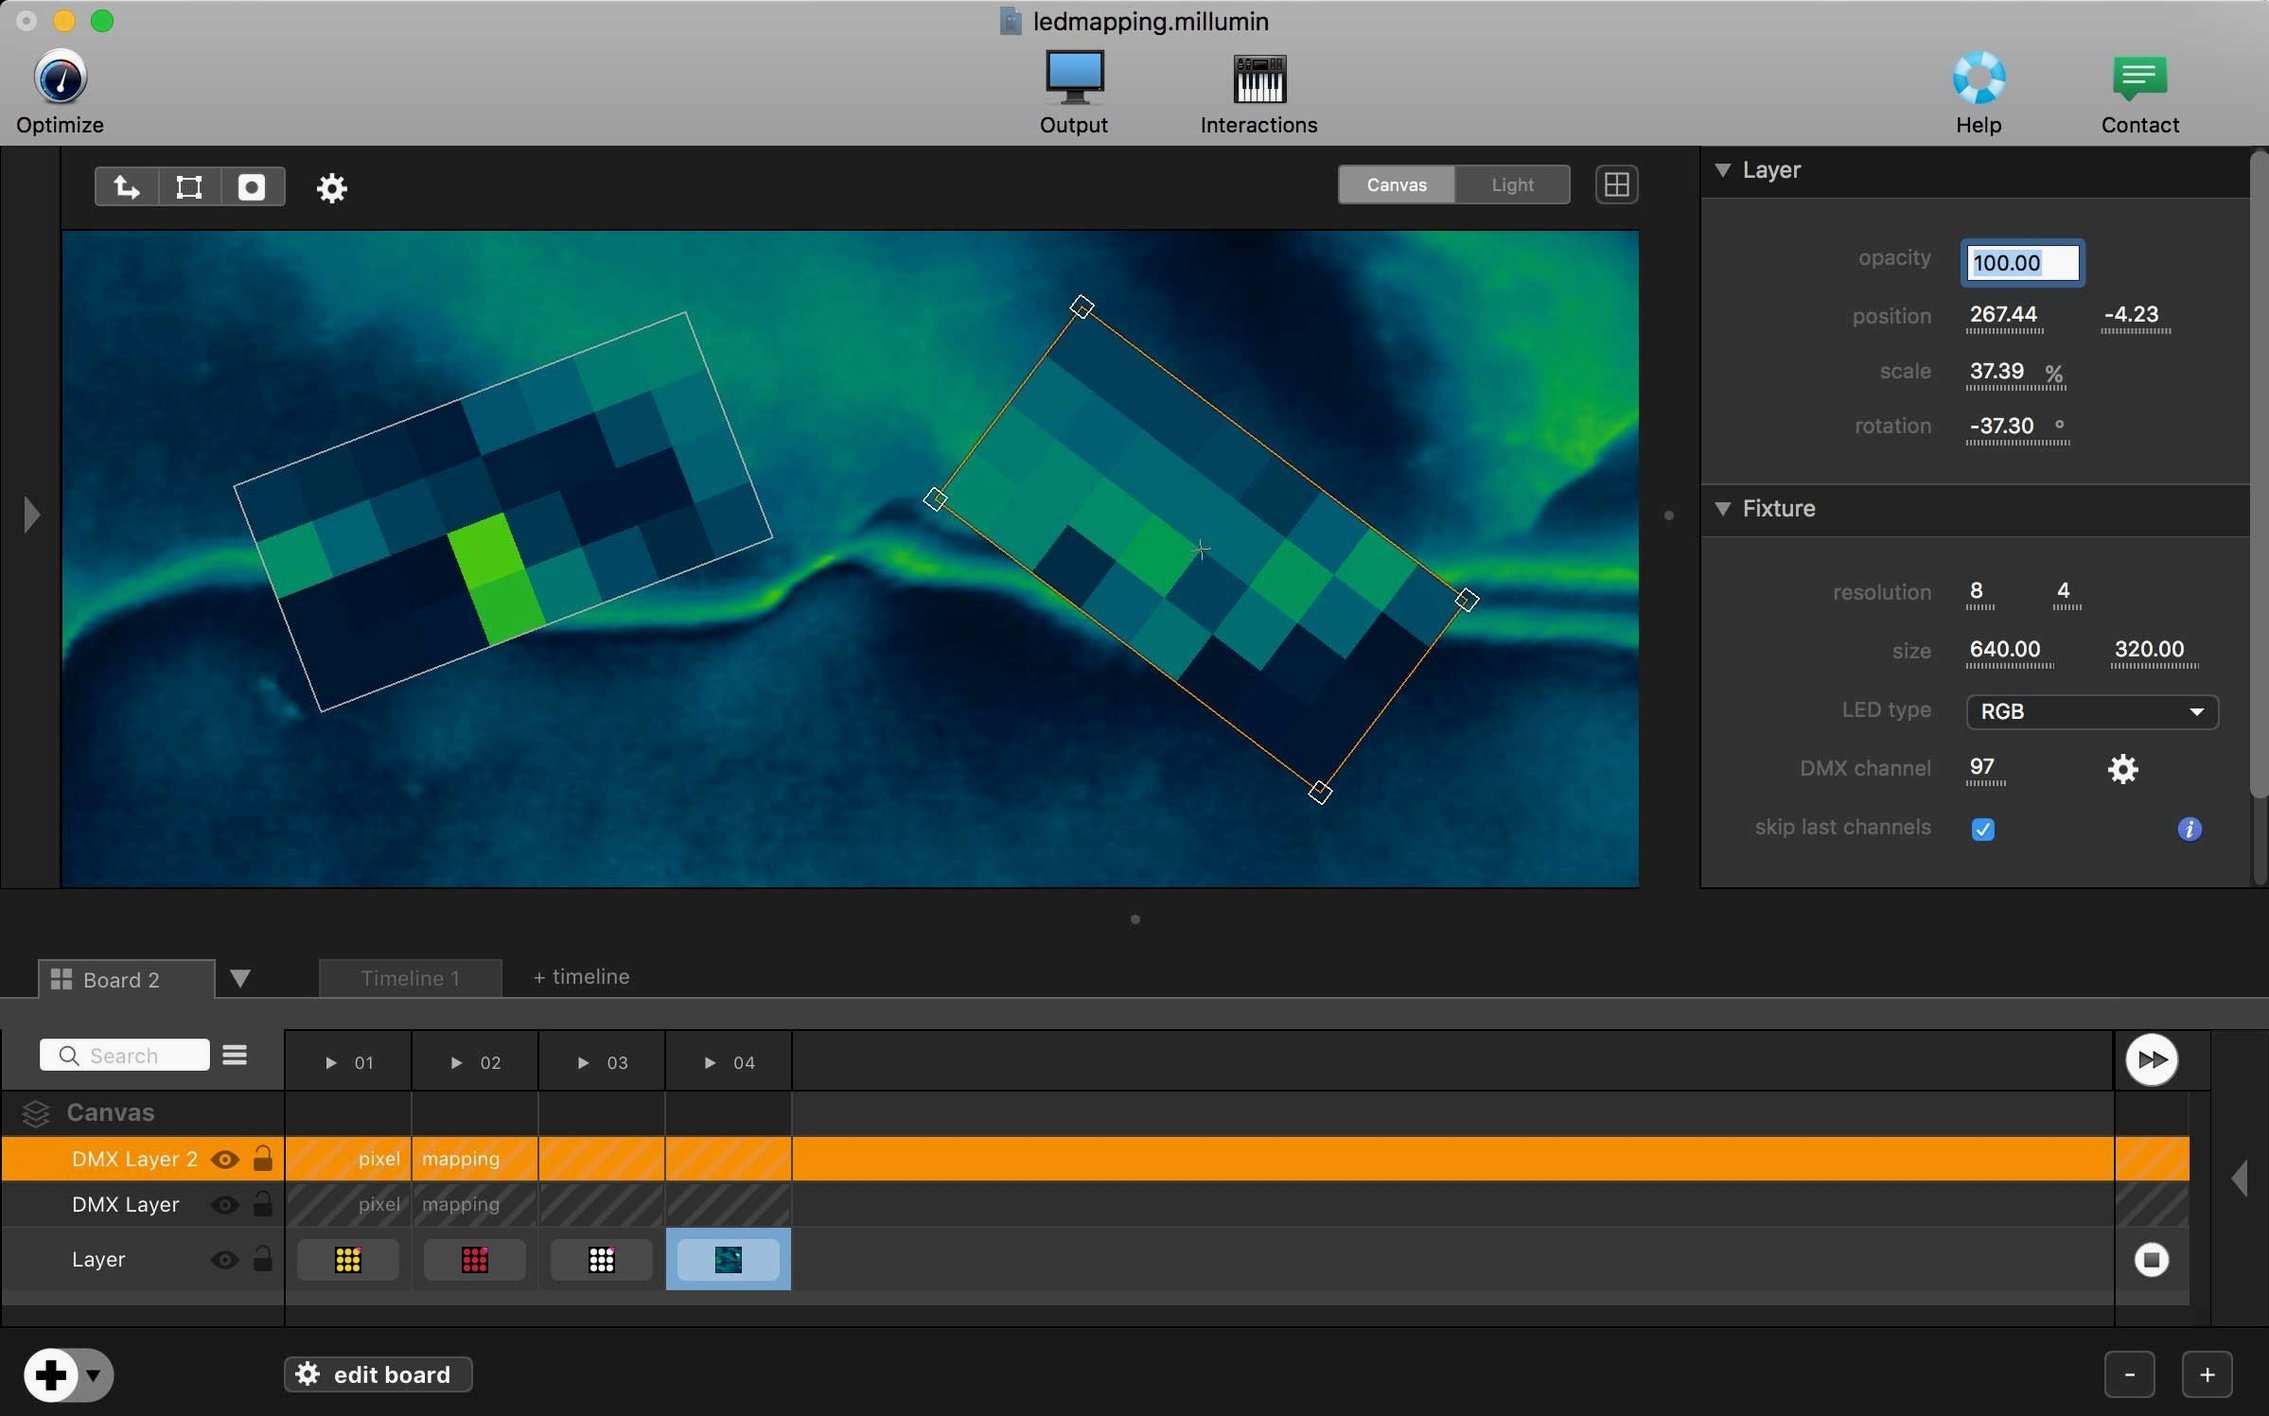
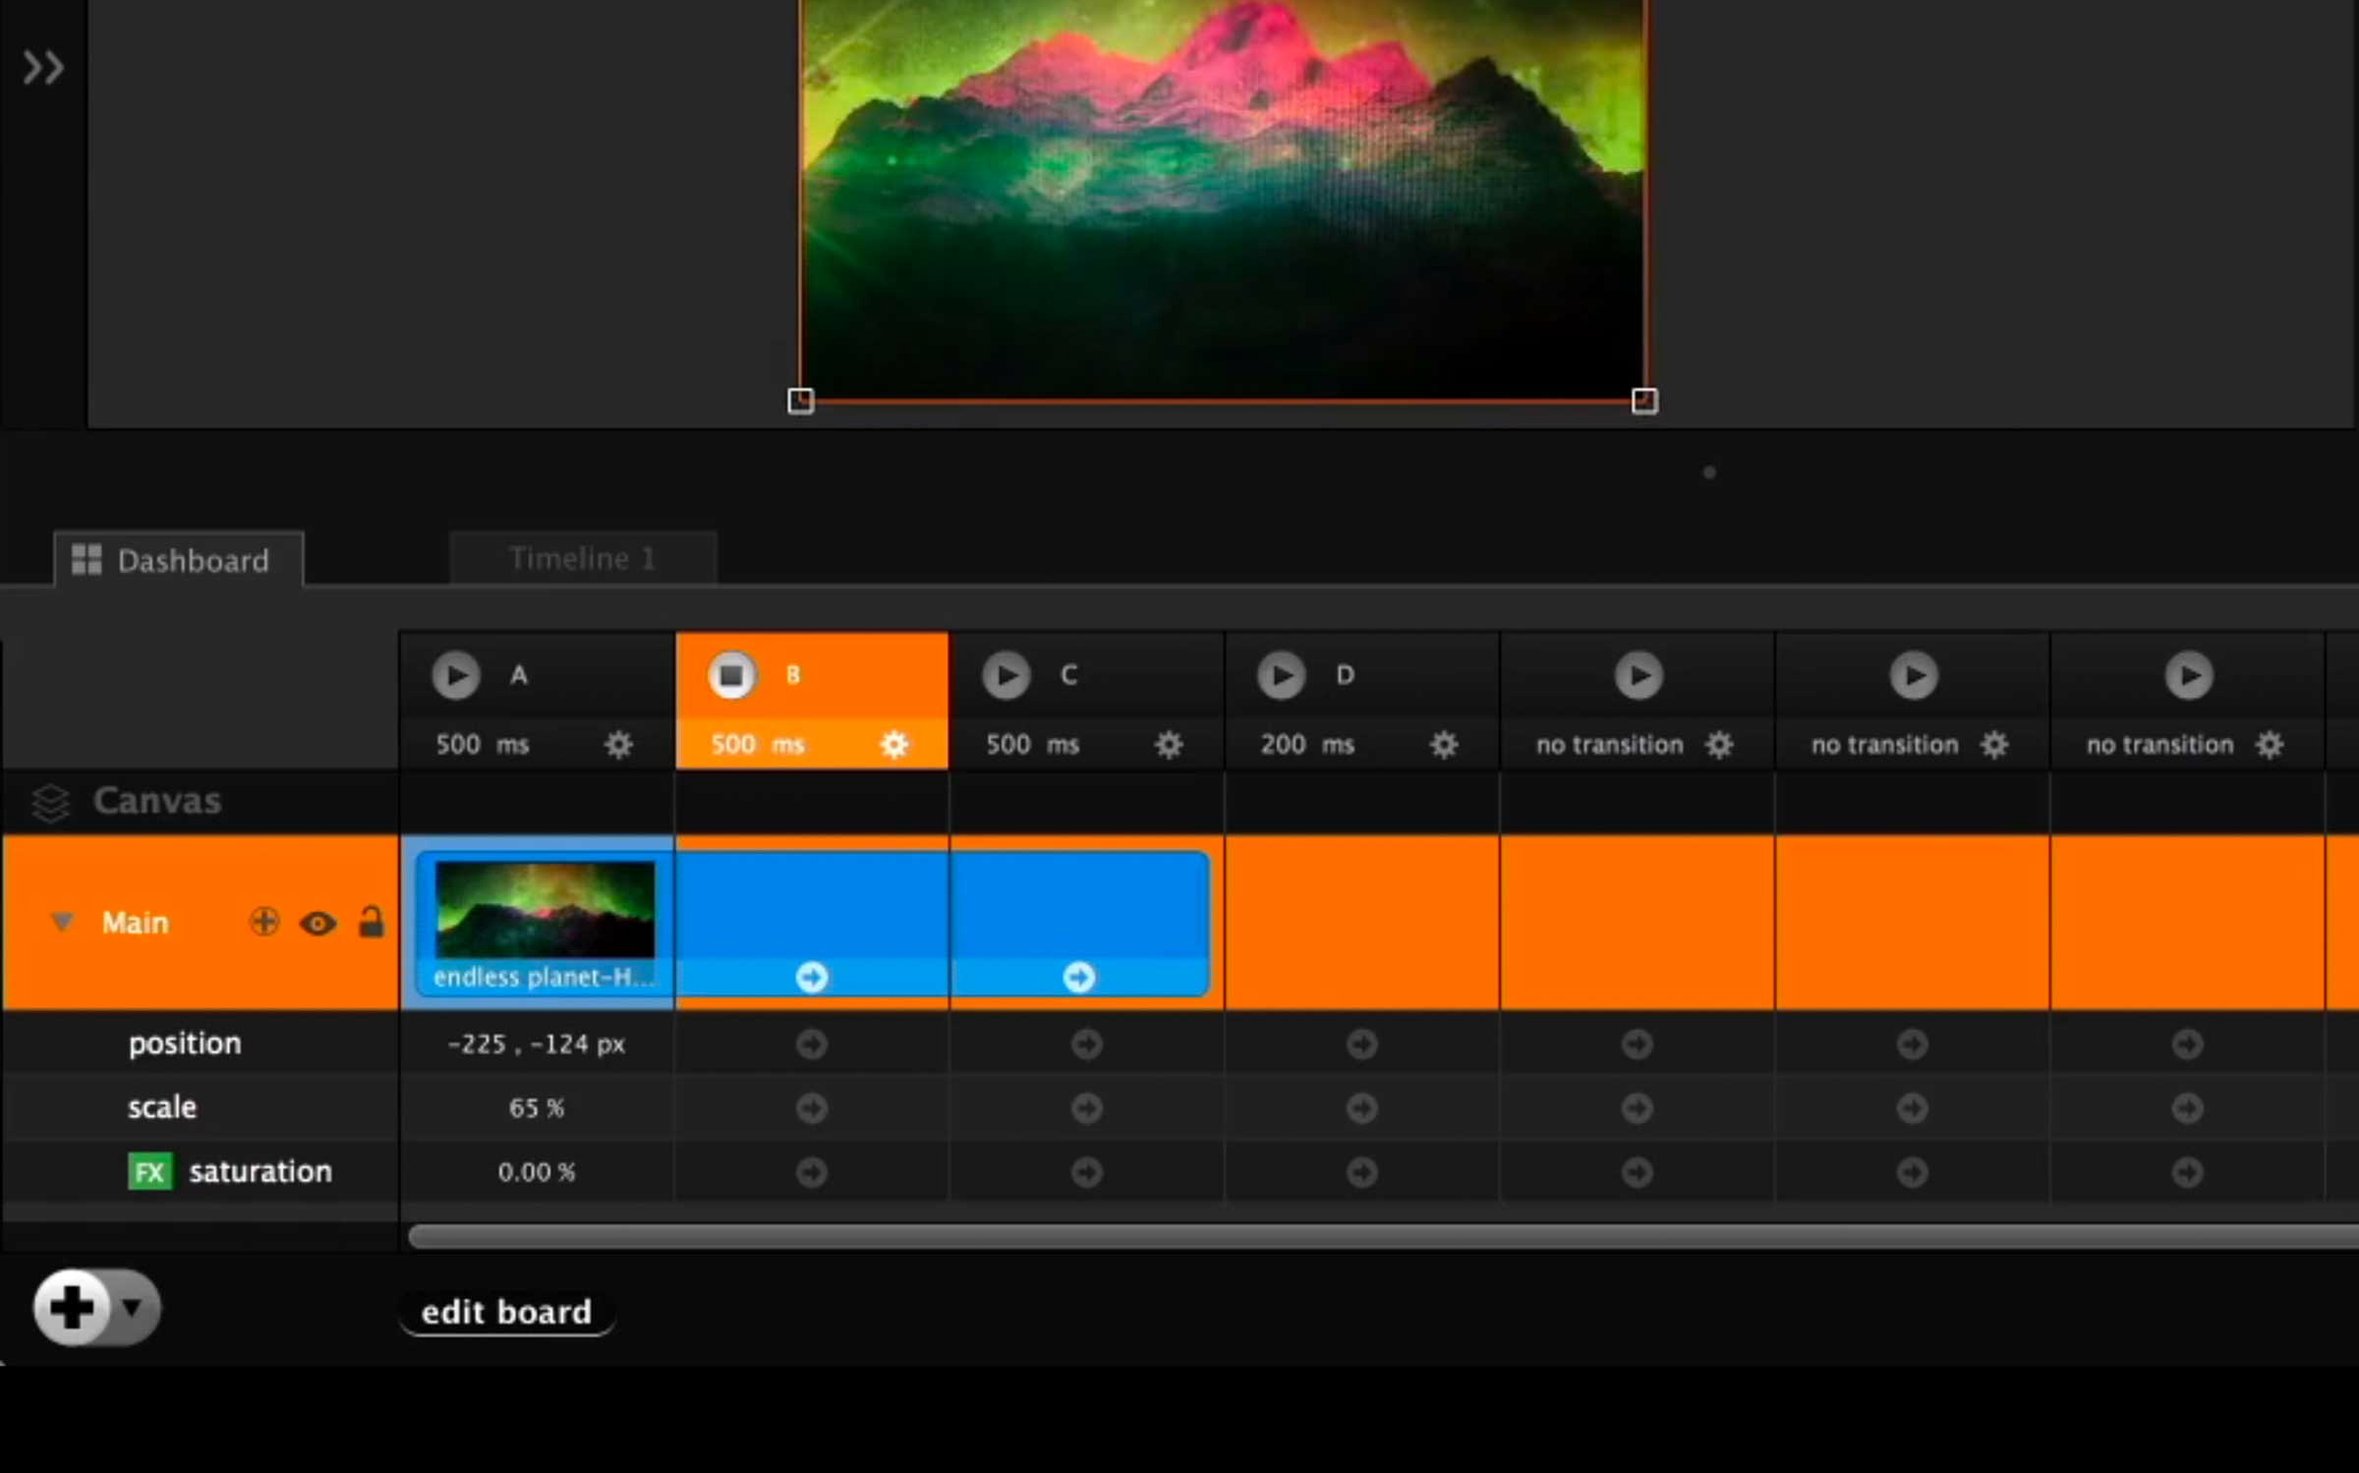
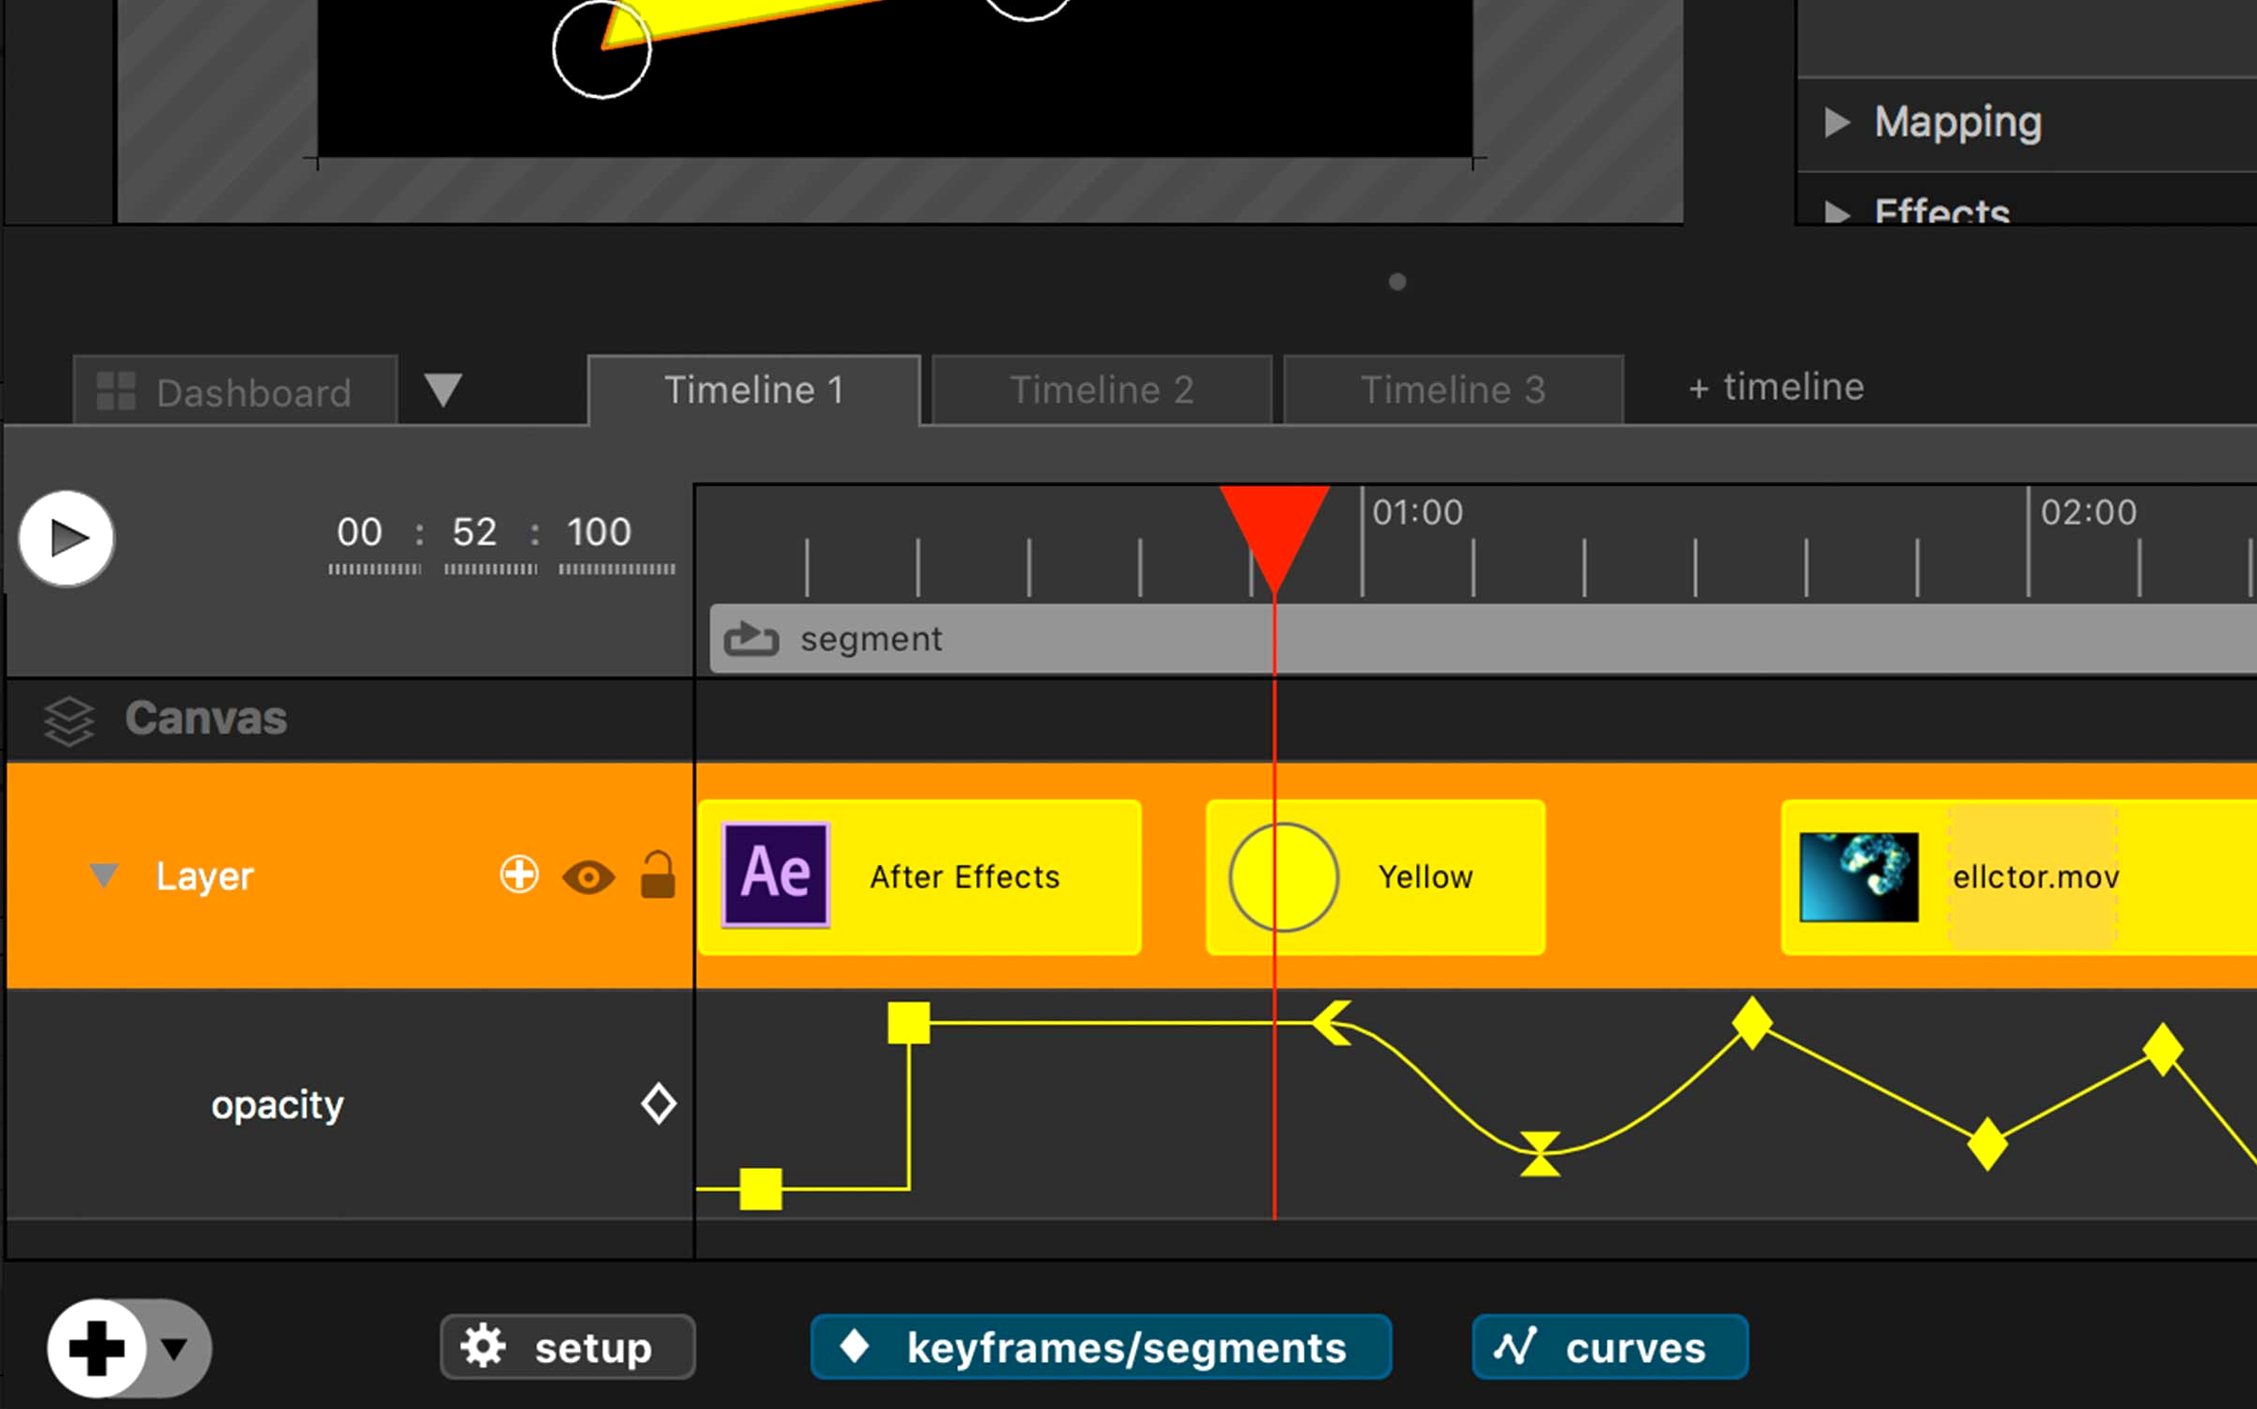
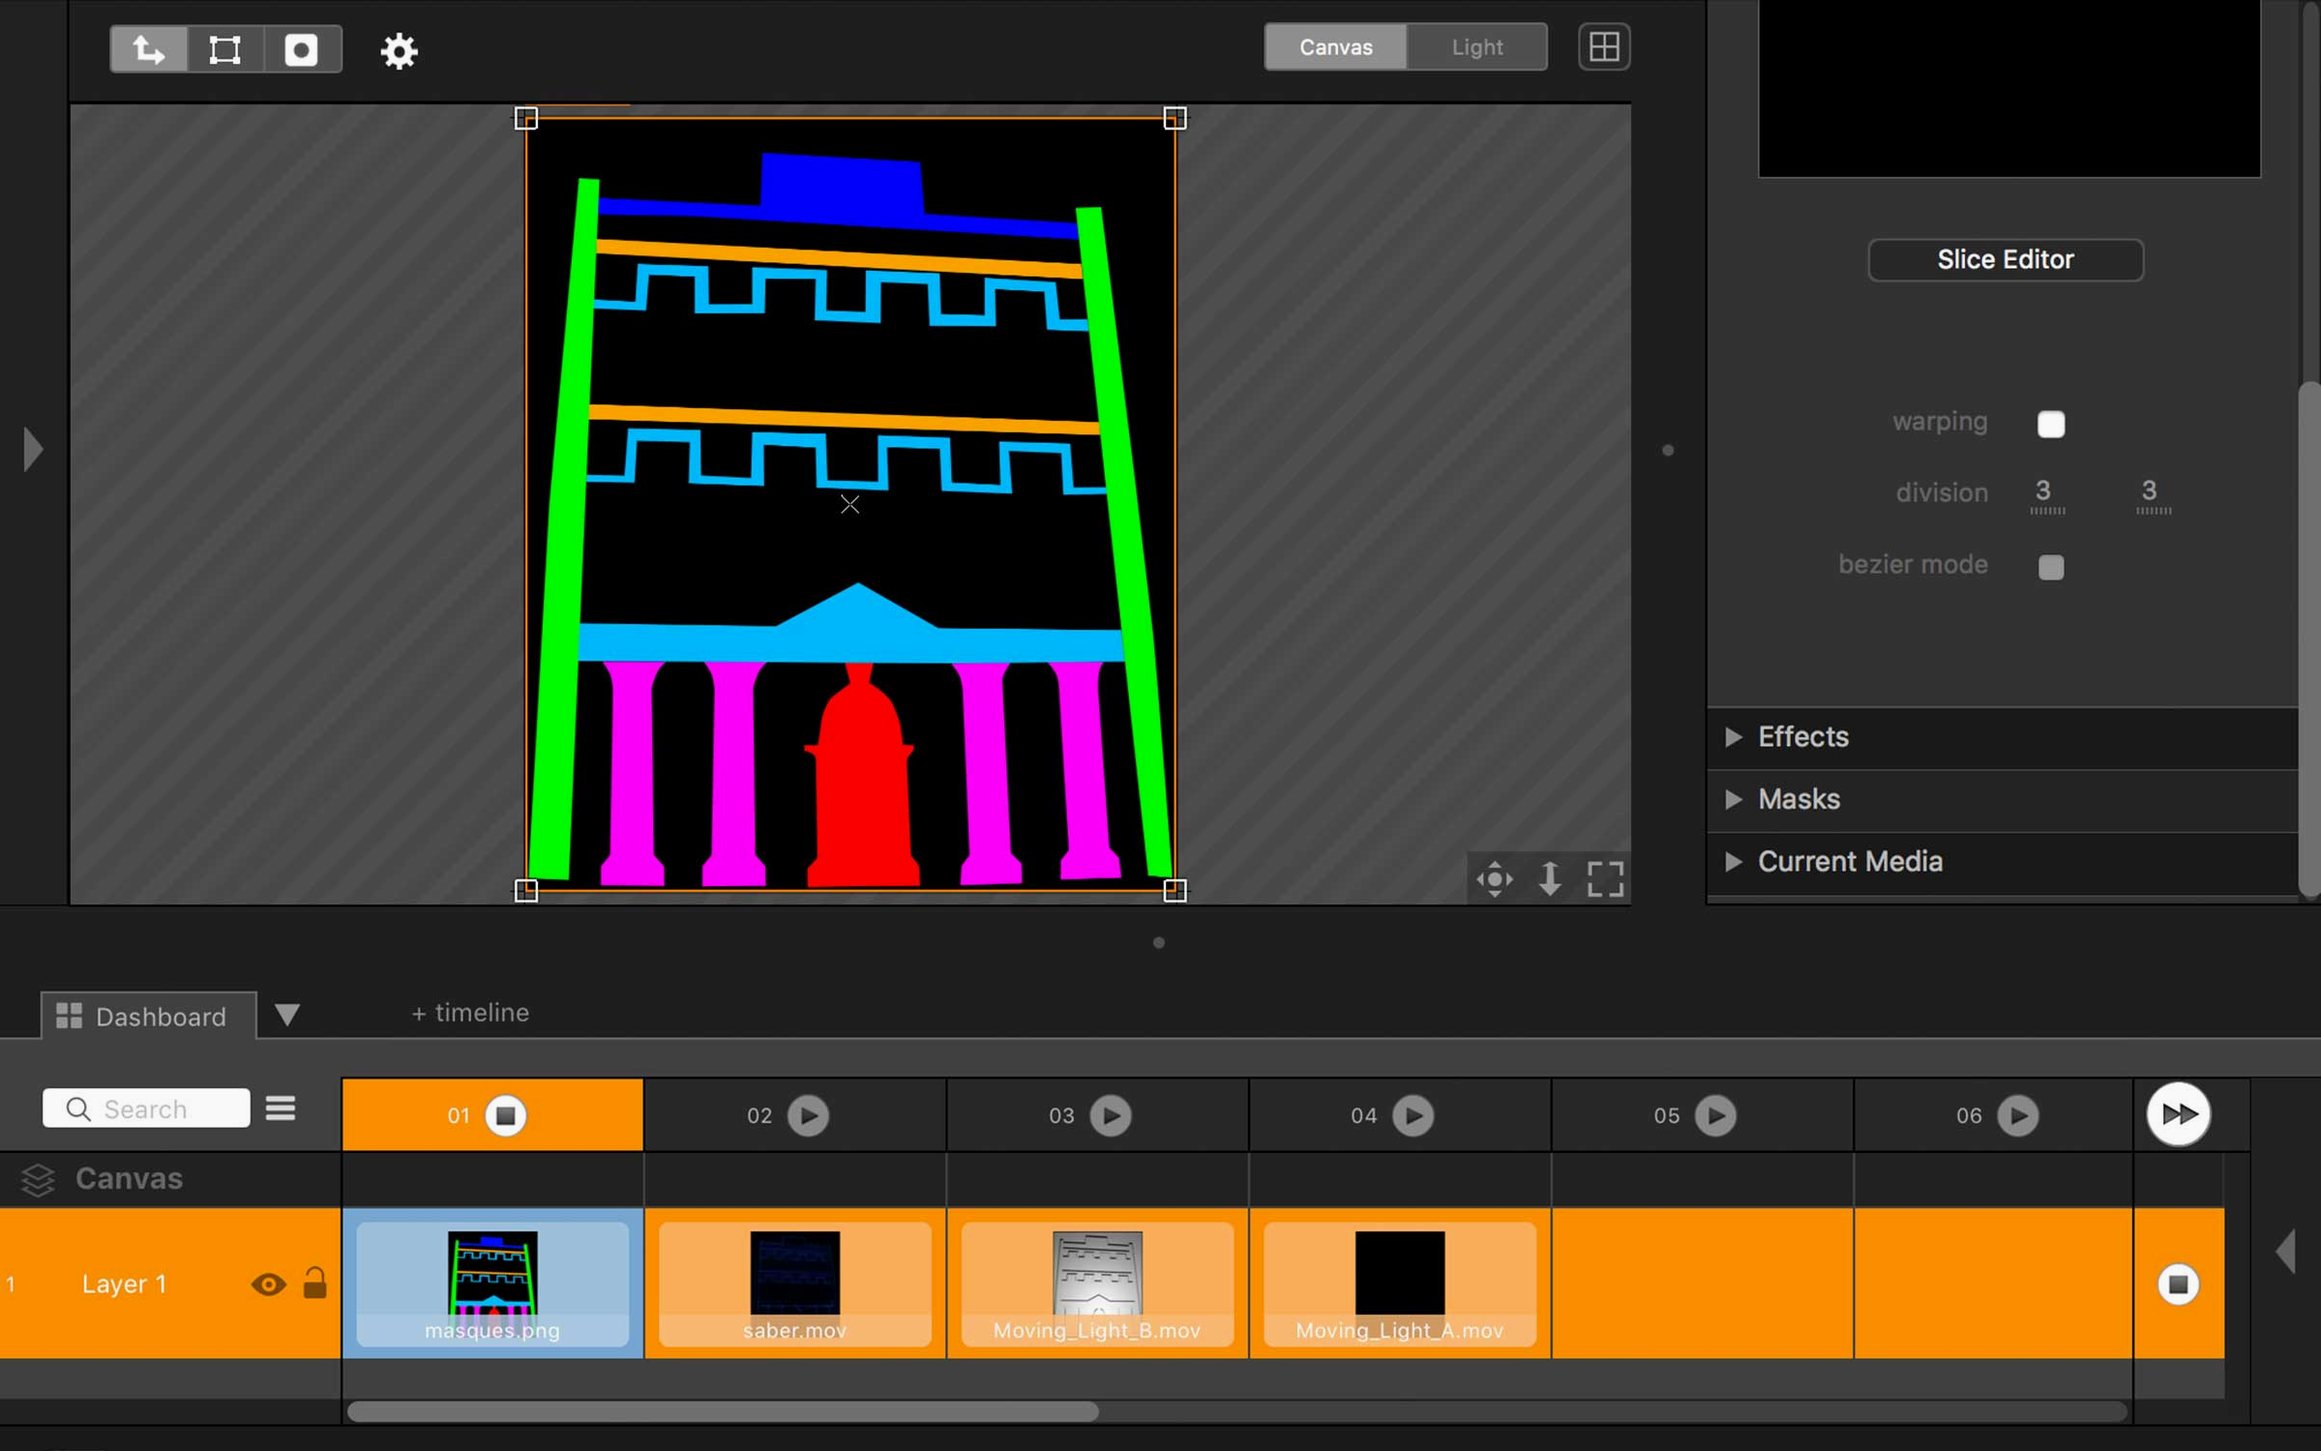
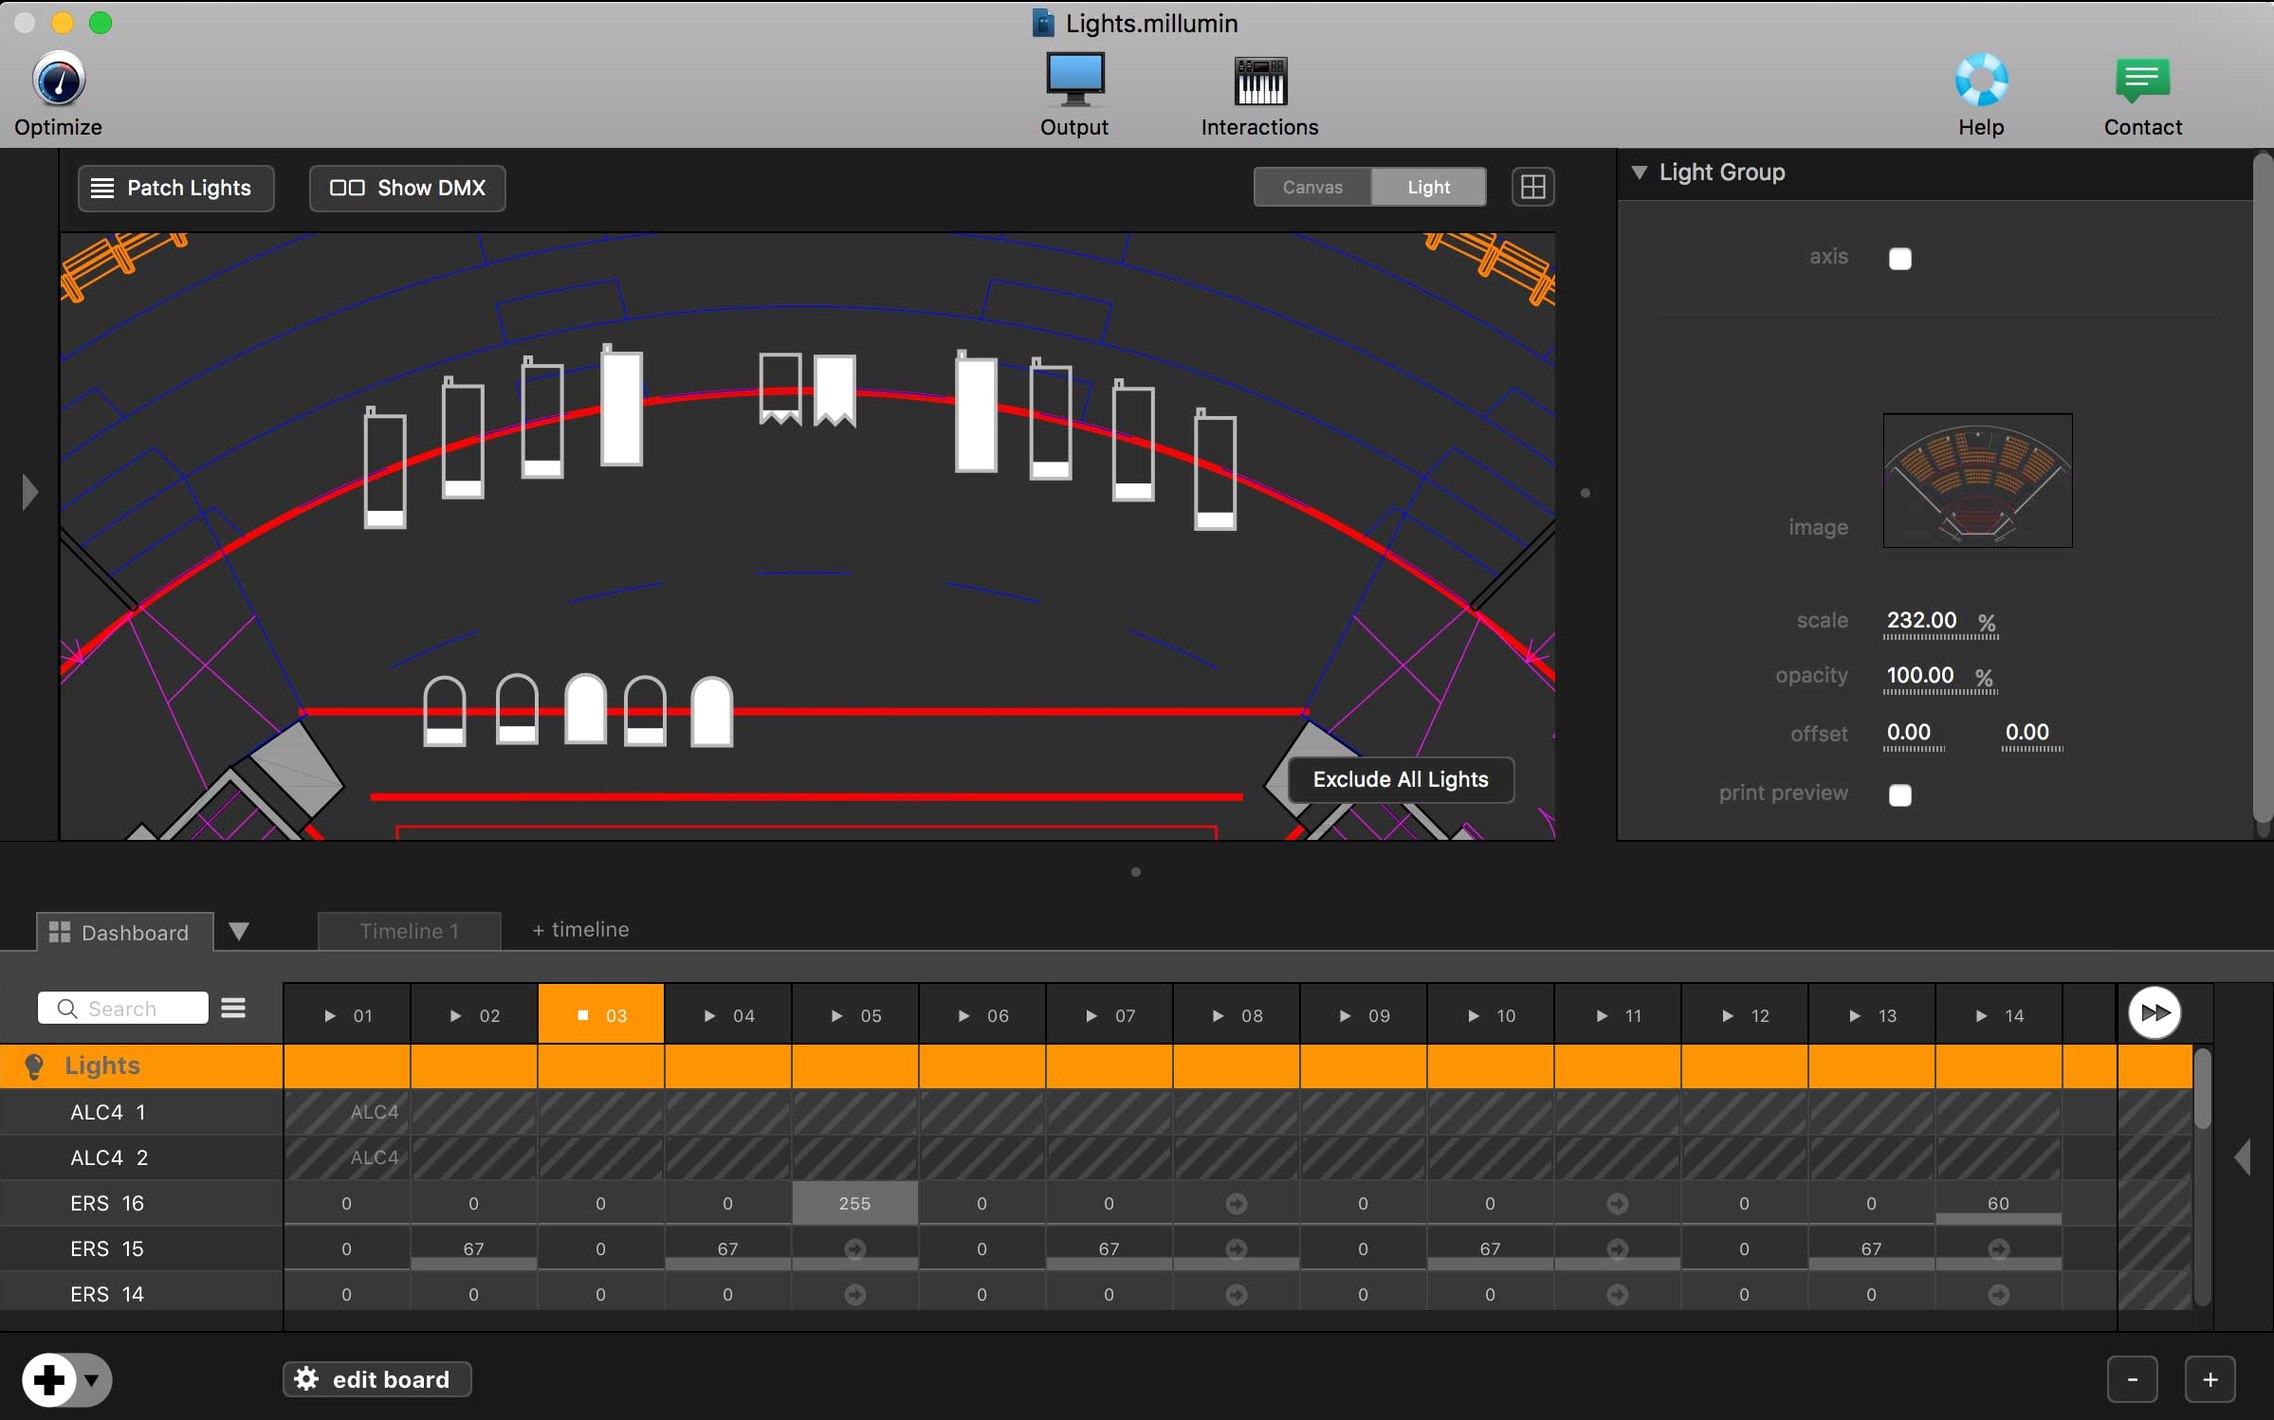
A lighting designer cues a video wall during a dance piece. A theatre director triggers a soundscape from a laptop. These moments rely on software that doesn't flinch. Millumin 5 is built for that pressure — a timeline-based tool for running audiovisual and interactive shows, from videomapping to live storytelling.
| Quick facts | |
|---|---|
| Current version | 5.14.j |
| Developer | Anomes |
| macOS required | 11 Big Sur or later |
| Architecture | Intel |
Before you plan a production around it, check the basics. Millumin 5 needs macOS 11 Big Sur minimum. It runs natively on Intel Macs — official support for Apple Silicon is not listed, so verify performance on an M-series machine first. Online tutorials are included, which helps when you're mapping a complex stage setup or building an interactive installation for the first time.
Can it drive multiple outputs and sync with a DAW?
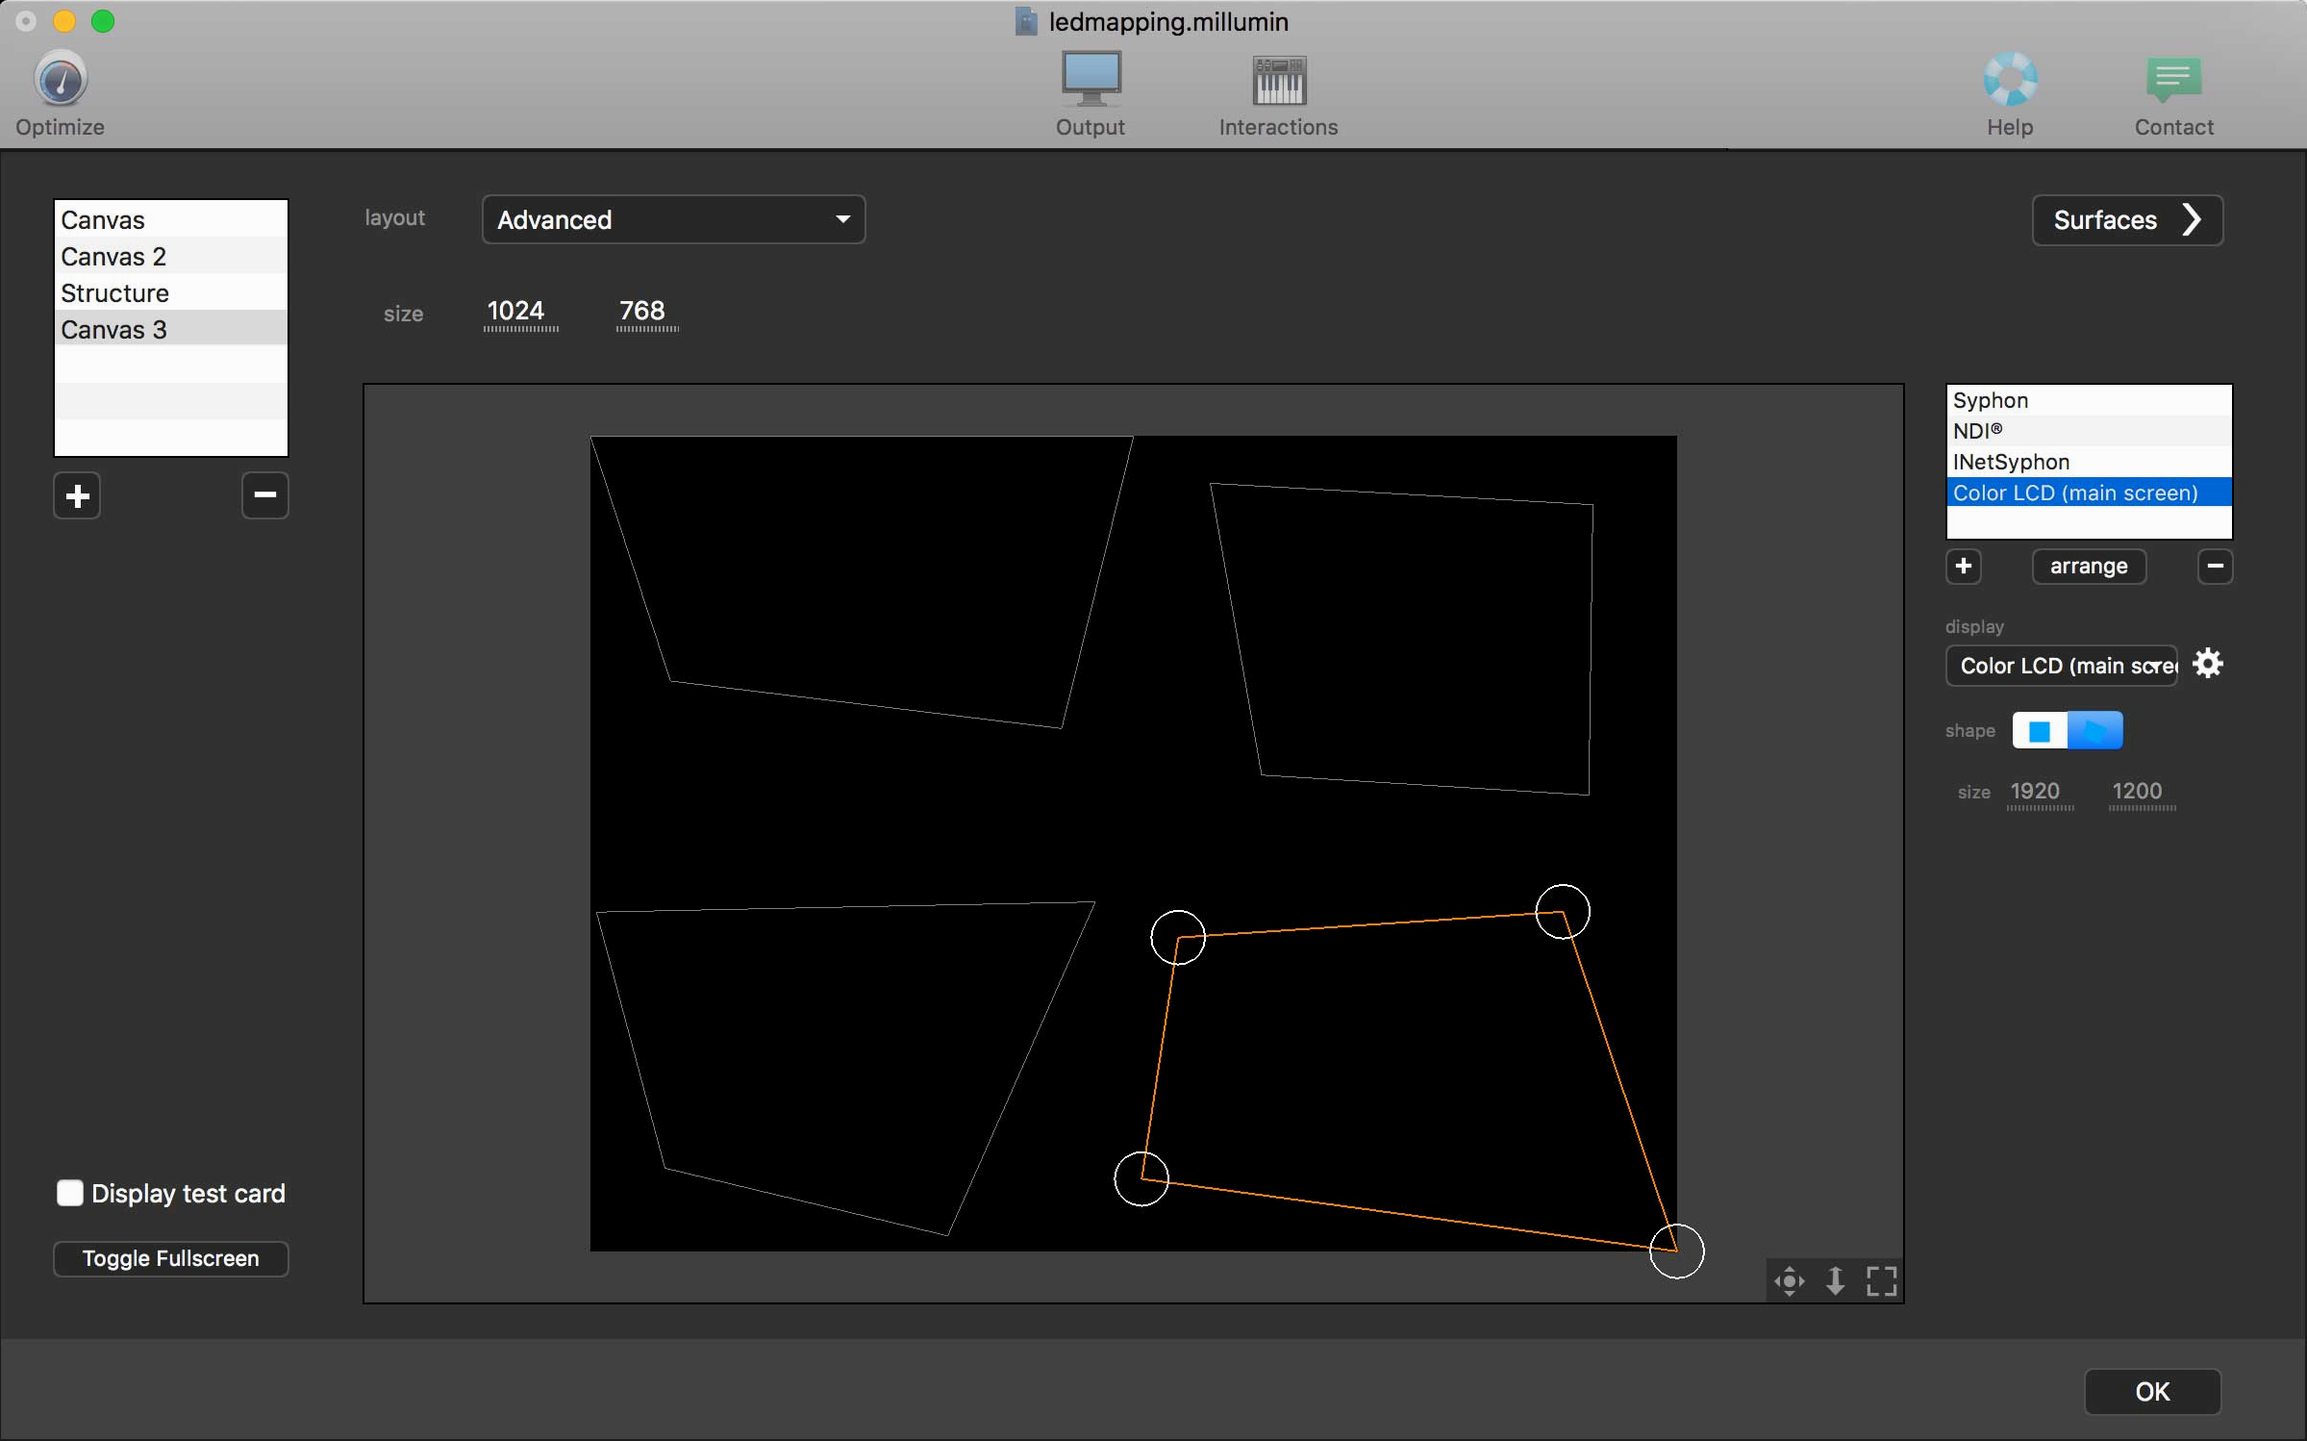
Does it handle multiple outputs without extra hardware? Yes — Millumin sends to as many displays as your Mac can drive, including projectors and LED processors. Map each output independently from the canvas.
Can I run it alongside a DAW or lighting console? It talks OSC and MIDI. Send cues from QLab, trigger timelines from a GrandMA, or sync with Ableton Live. Most show control setups recognise it immediately.
What happens if a file is missing on show night? The timeline flags missing media in red. It won't crash. You can relink from the media bin or swap in a placeholder without restarting.
Is there a steep learning curve for videomapping? The warp tool is direct — drag corner pins, adjust bezier curves, done. Contextual help floats beside every panel. Most people map their first surface within an hour.
Can I try a project before committing the whole show? Build a single column with two cues. Add a video, a mask, and a fade. Run it looped. That small test tells you 80% of what you need to know.
Point media to a fast SSD before your first cue
Don't open a production file yet. Do three things first.
- Set your default media folder. Preferences > Media. Point it to a fast SSD, not a network share. Relinking later becomes a checklist item, not a crisis.
- Map your escape routes. Assign a keyboard shortcut to “black out all layers” and another to “pause timeline.” Rehearse them until they're reflex. A stuck video loop mid-show is not the moment to search menus.
- Build a test canvas. Drop one video, one still, one live camera input onto separate layers. Add a crossfade between them. Save as
test_template.millumin. Use it to check output routing before every tech run.
A workflow: videomapping a shop front for a live event
Here's a practical sequence — from empty canvas to final cue — for a one-night projection mapping installation.
- Collect your survey photos. Shoot the building facade straight-on, at the projector position if possible. Bring those images into the canvas as a background reference layer.
- Set your output. Go to Output > Edit Outputs. Add one display for the projector. Set its resolution to match the projector's native spec. Position the canvas window on that output.
- Rough in the map. Add a video layer. Open the warp tool. Drag the four corner pins to match the main architectural features — windows, door frame, signage. Switch to bezier mode for curved stonework. Toggle the reference photo on and off to check alignment.
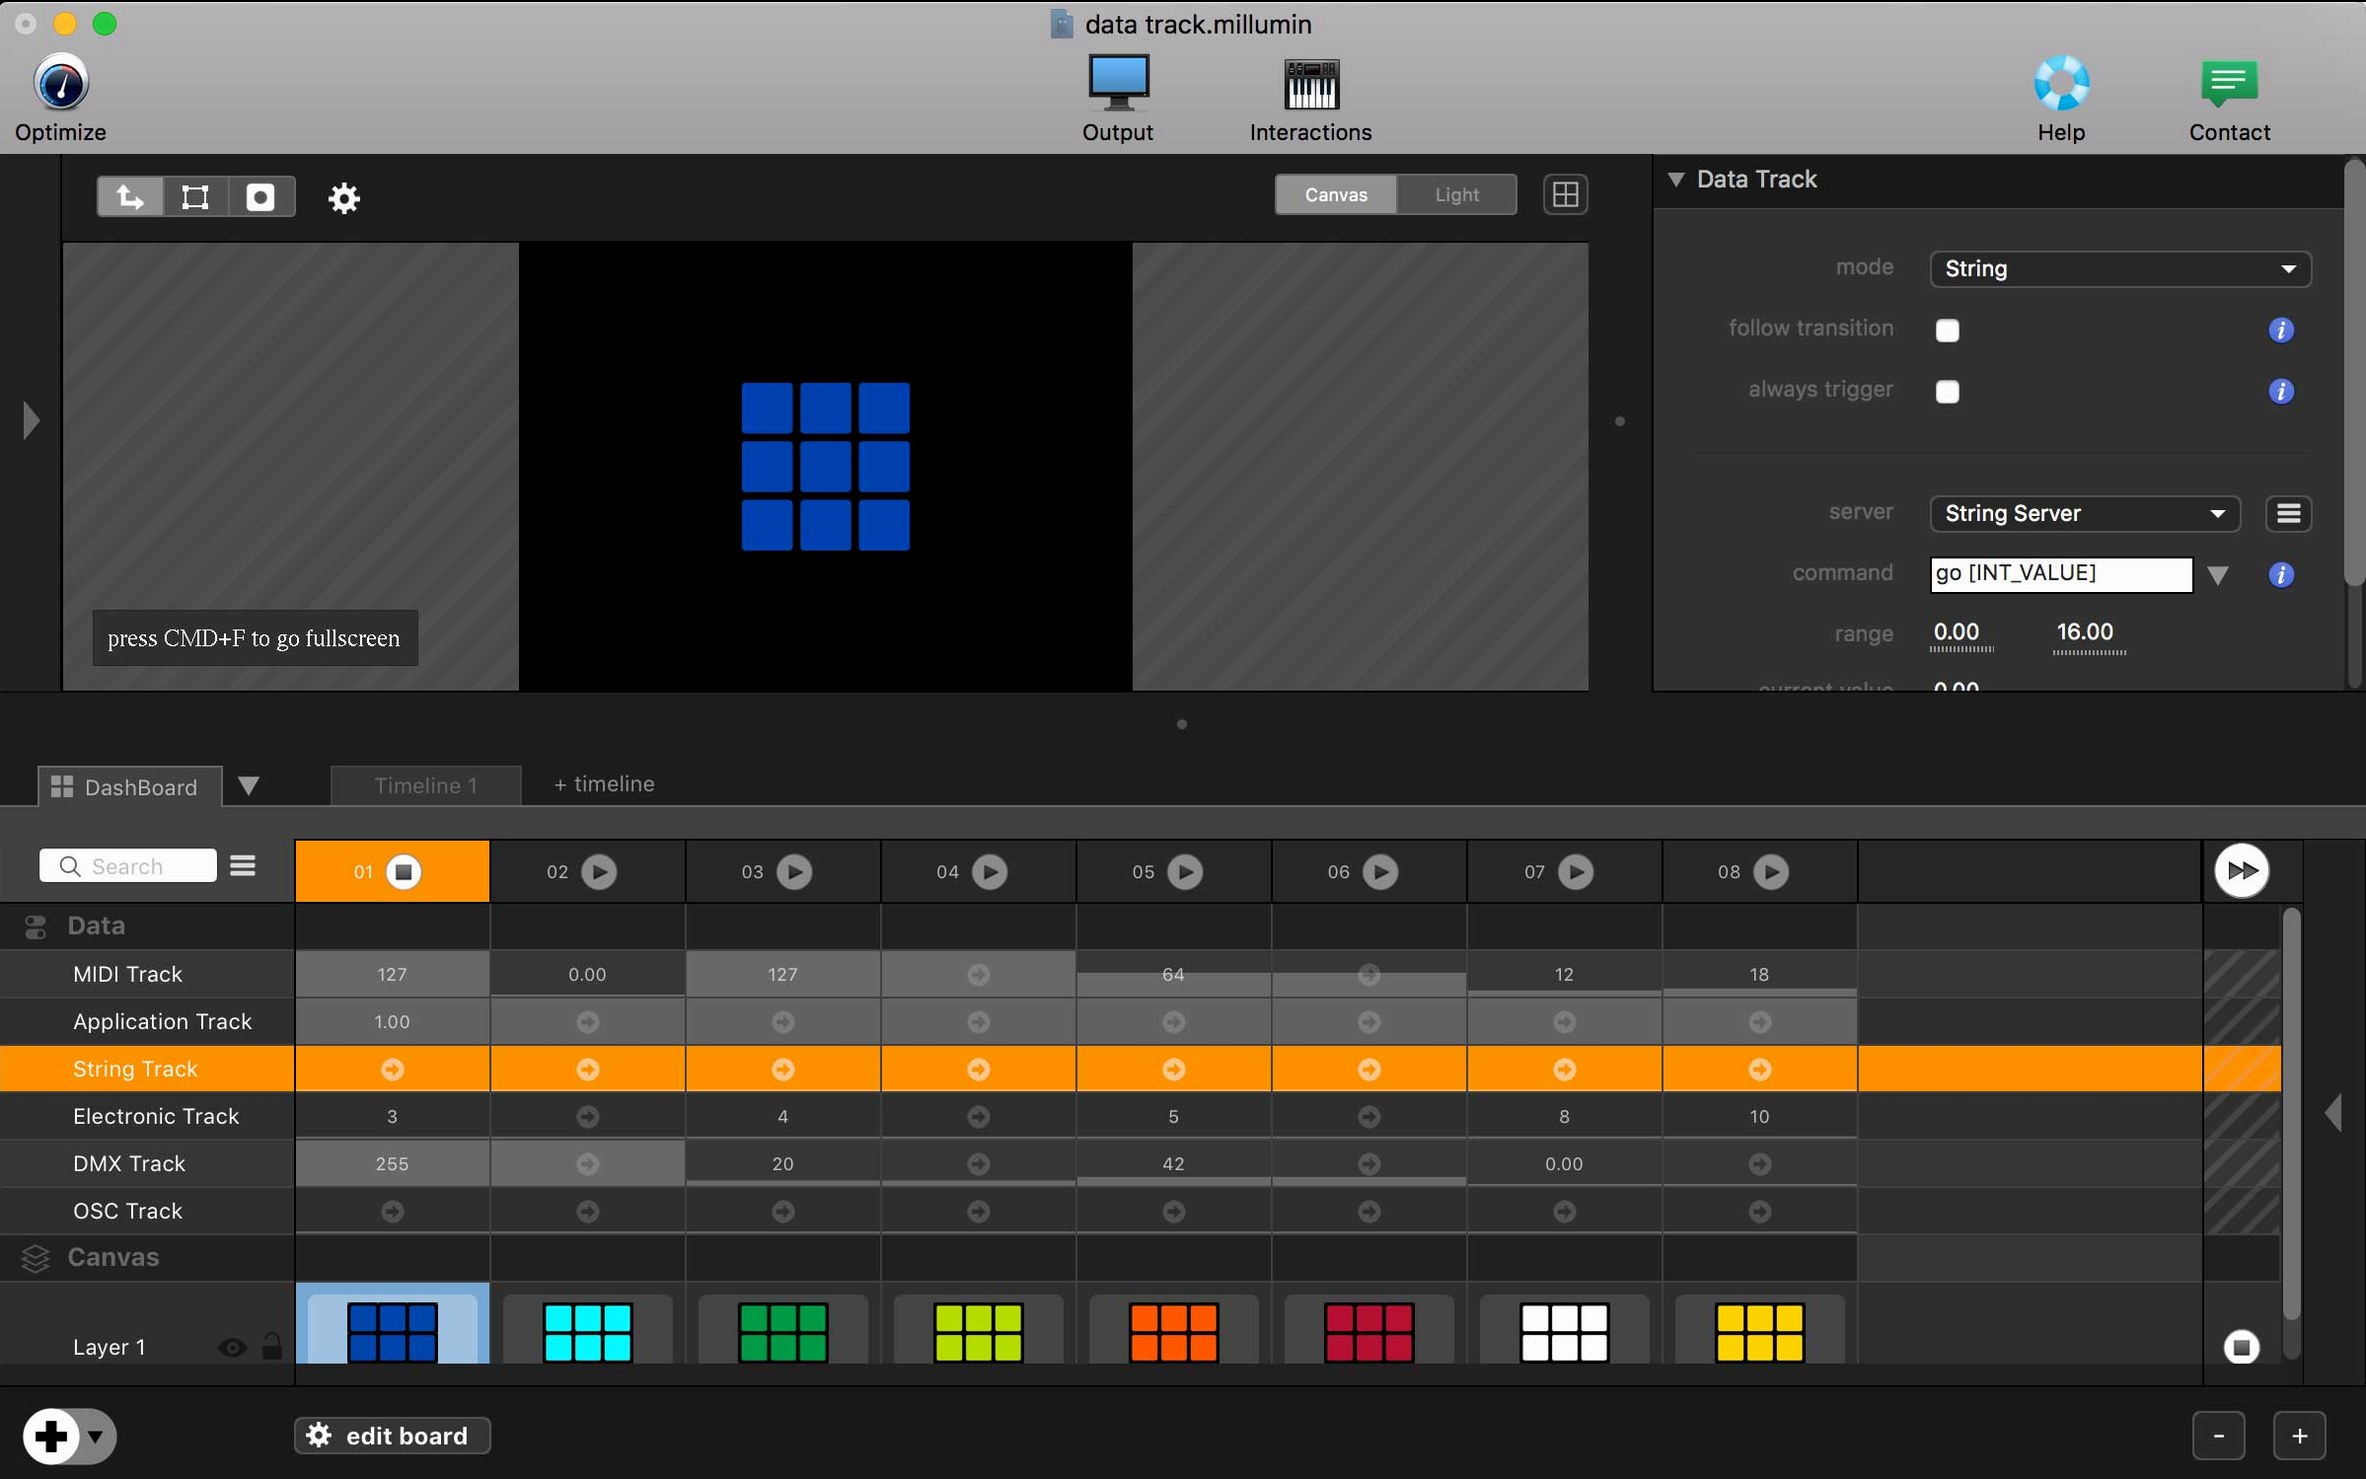
- Build the content stack. Create three columns on the timeline: an ambient texture loop, a brand animation, and a blackout cue. Set each column's duration and loop behaviour.
- Mask unwanted spill. Add a mask layer above your video. Draw around the lit areas. Light bleeding onto brickwork above the sign? Mask it out. The mask follows the warp, so it stays locked to the surface.
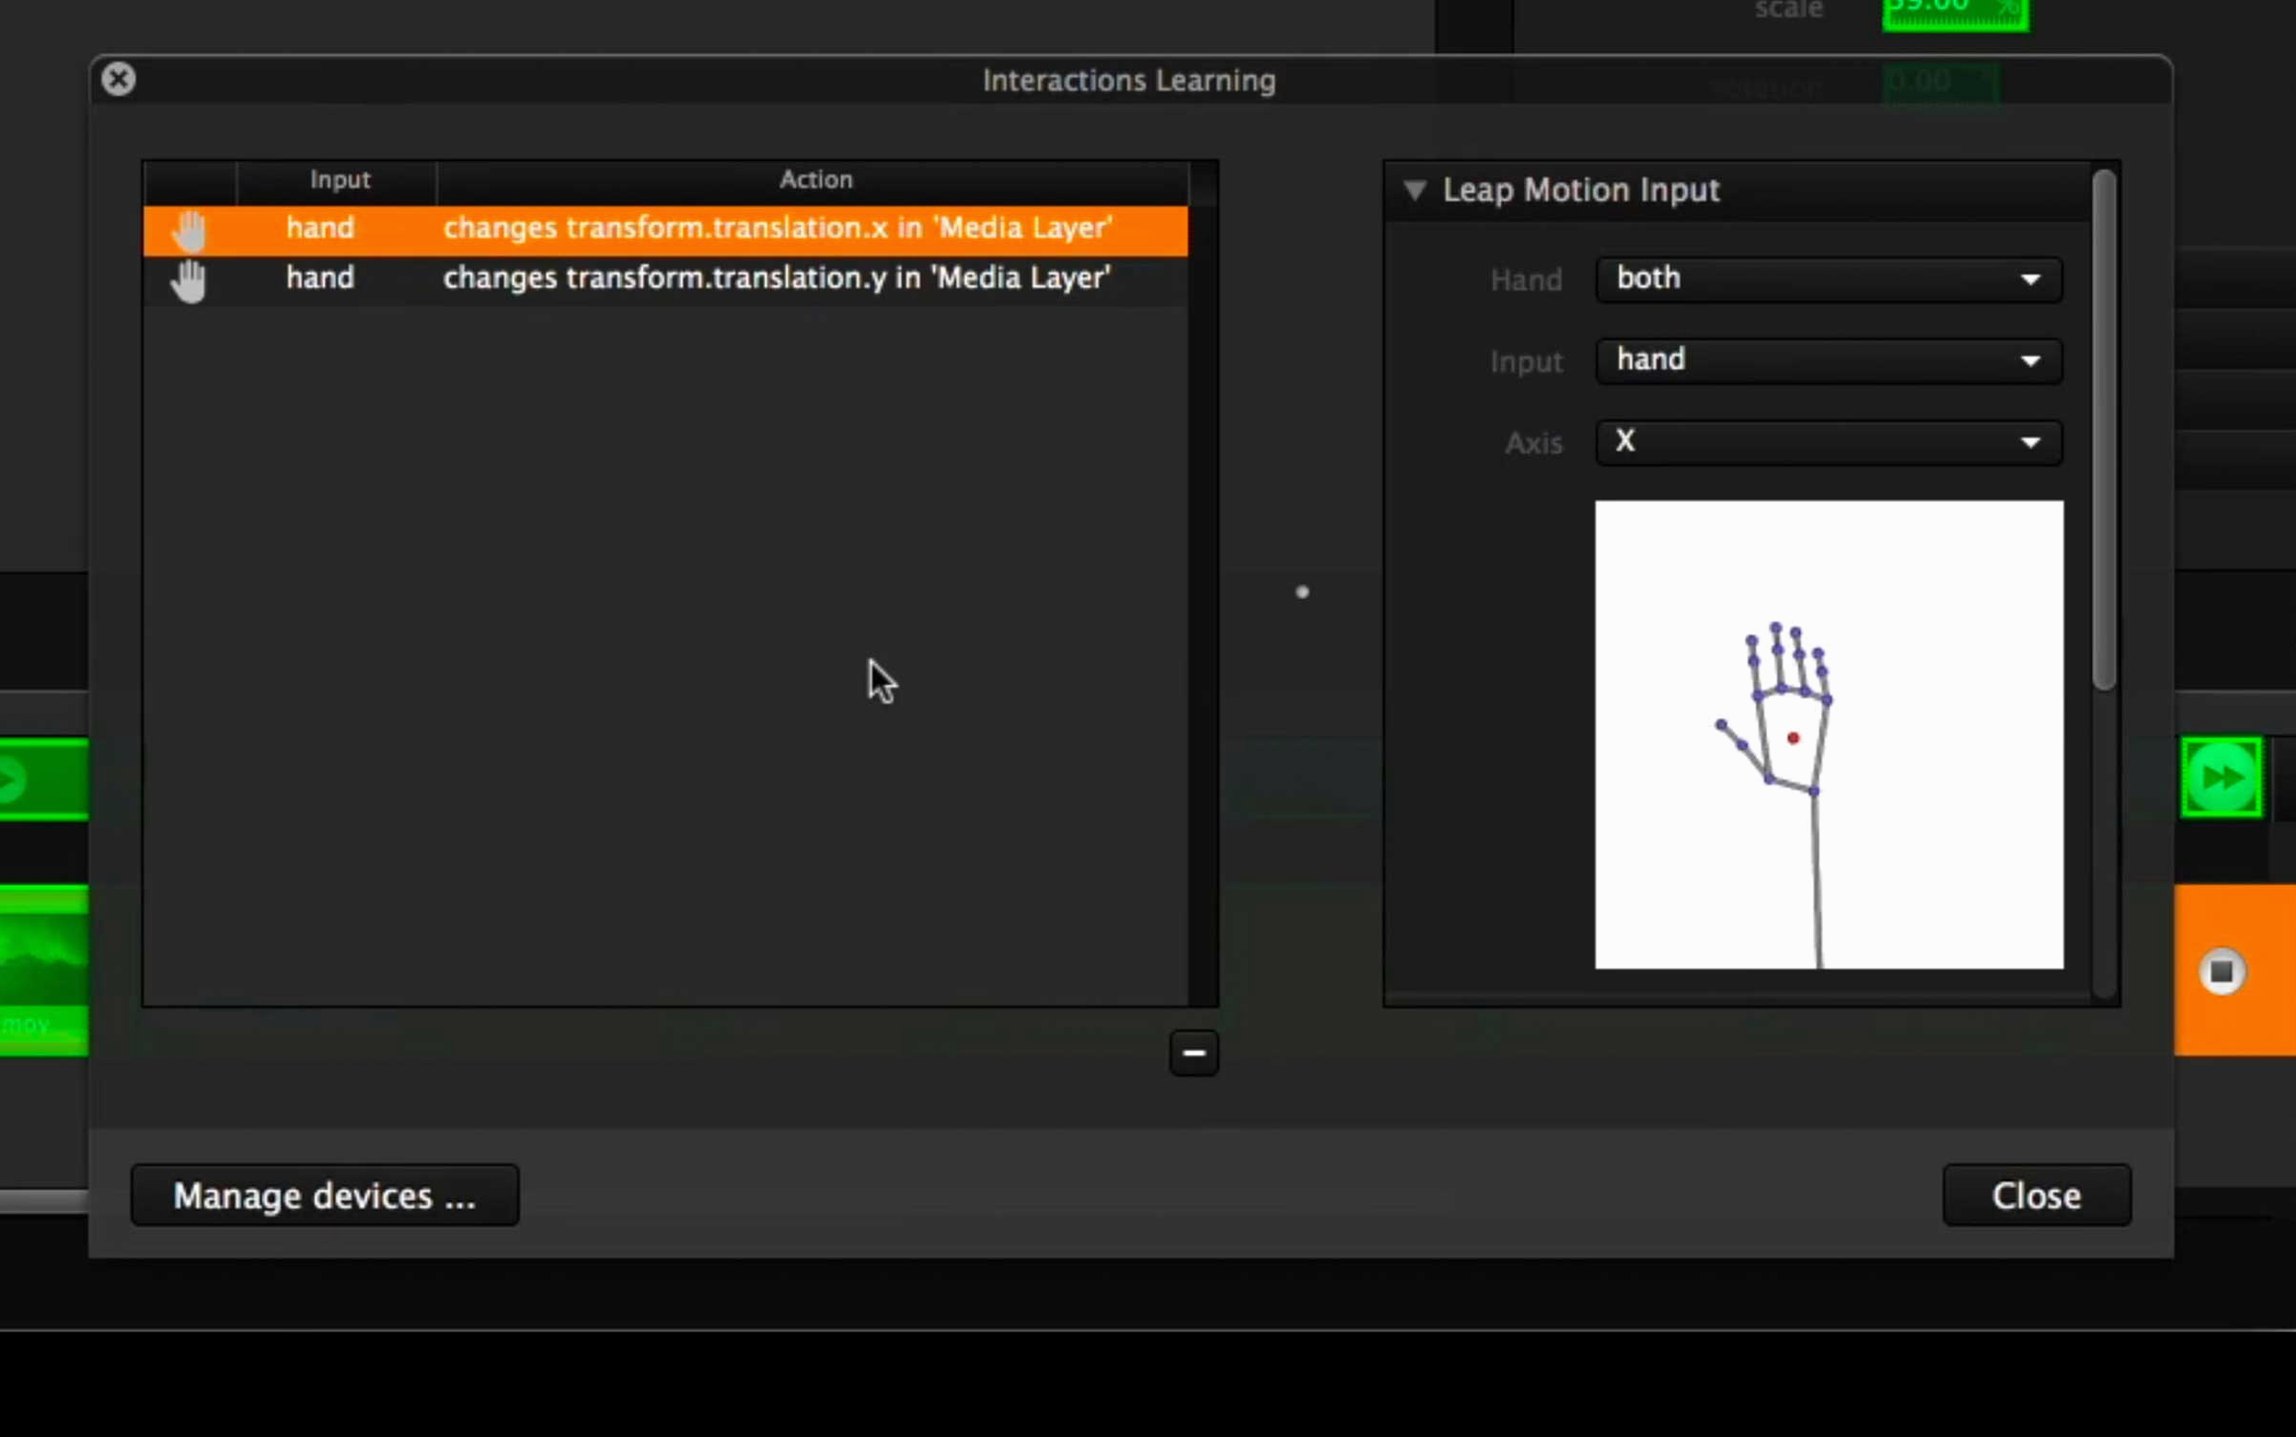
- Add a live camera for interaction. Connect a webcam pointed at the pavement. Add it as a live input layer. Apply a threshold effect and blend it over the texture column. Passers-by now affect the projection.
- Set your cues. Drag columns into a cue list. Assign MIDI notes or keyboard triggers. Label everything — “idle loop,” “brand sting,” “emergency black.”
- Run a full dress rehearsal. Stand at audience distance. Check for latency on the live feed. Tweak fade times between cues. Save a show-ready copy with all media bundled.
The timeline becomes your show caller. Trigger, watch, trigger again. No frantic clicking. Just a list you made, running in order.
- macOS 11 Big Sur or later
- Intel Mac








Comments 0
Sign in or create an account to add a comment.
No comments yet. They go up after moderation.