

Moom — Mac download
Download (10 MB) Earlier builds
Ticked
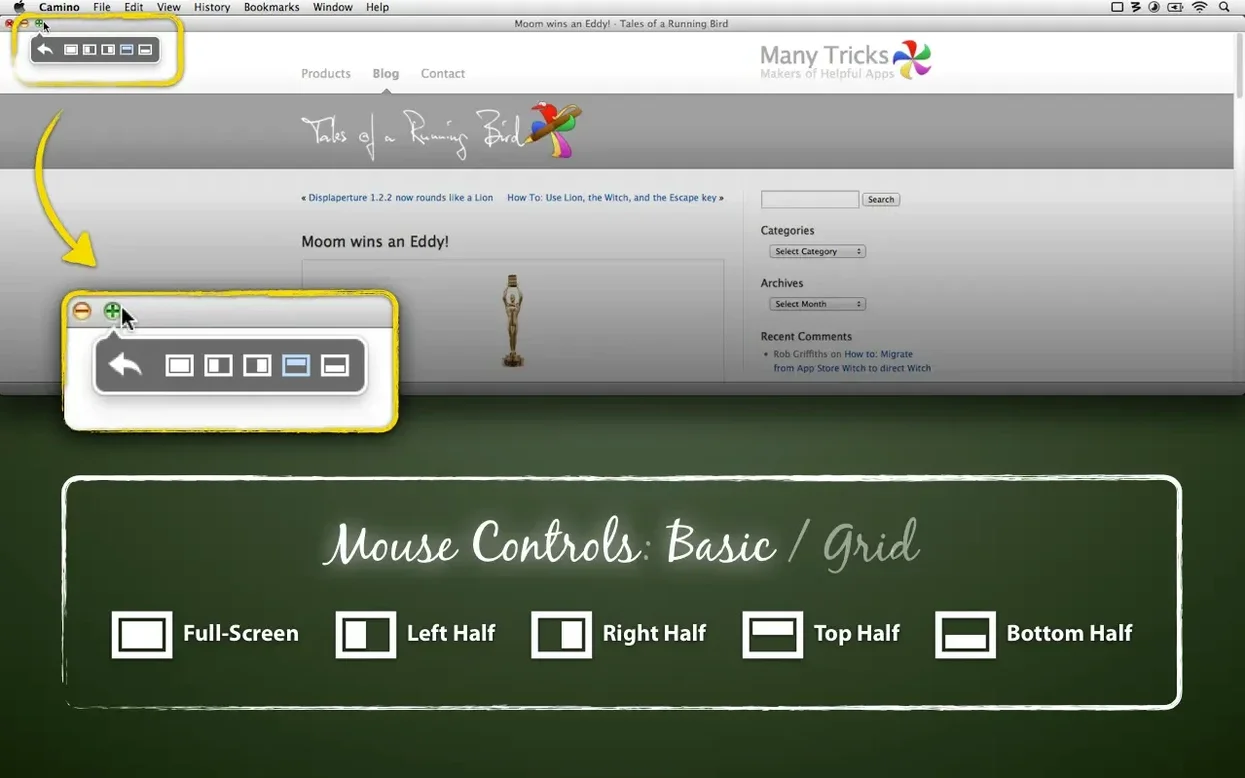
macOS gives you ways to move windows — drag the title bar, hover over the green traffic light — but none of them are quick. If you spend too much time nudging, resizing or fishing windows out from behind others, Moom steps in.
It takes the familiar hover-over-green-button idea and extends it into a move-and-zoom grid. Hover, and a palette appears with preset sizes: half-screen left, quarter-screen top-right, full screen. Pick one, done. You can also draw your own zone on the grid for pixel-perfect placement.
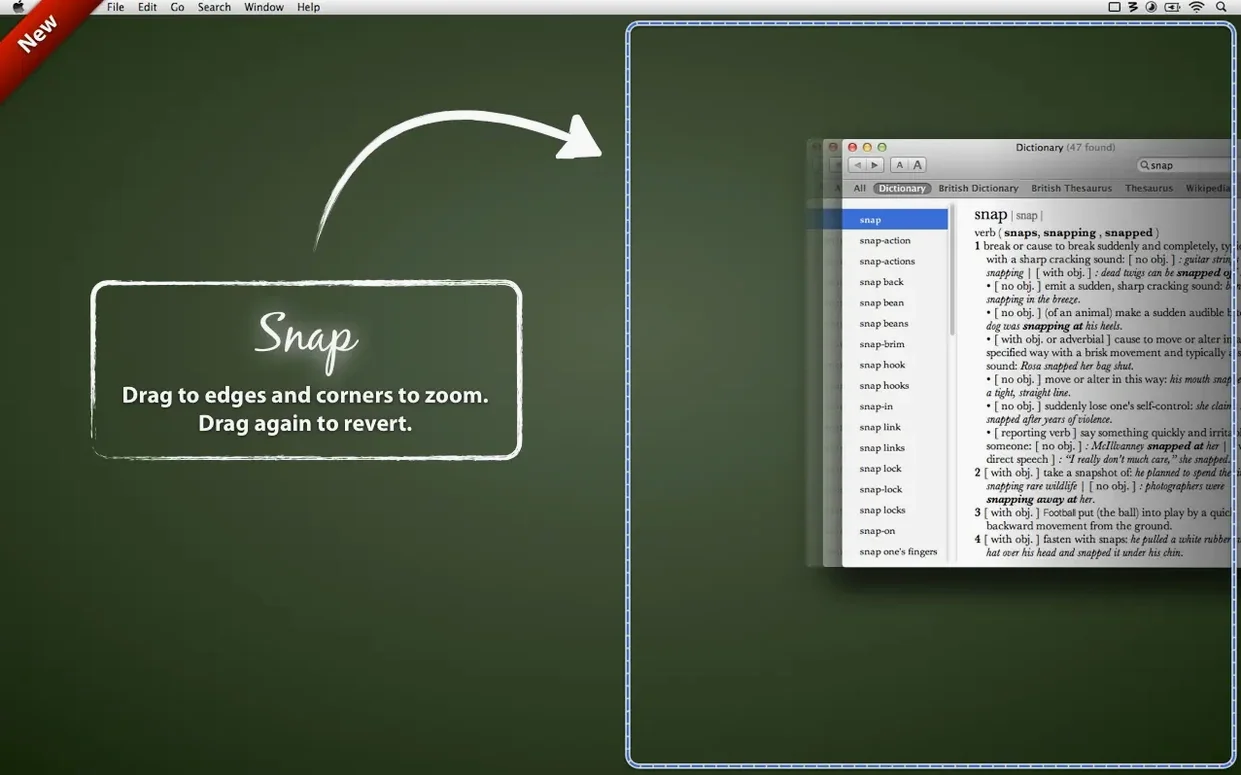
Drag a window to a screen edge and it snaps, just as you would expect. But you also get custom drop zones — defined areas on the desktop that windows snap into when you drag near them. Handy for keeping a chat window pinned to the bottom-right corner every time.
Moom also remembers. Save a layout of your current windows and recall it later with a keyboard shortcut or menu-bar click. It works across multiple displays and can move windows between them automatically. If you like checklists, you will like Moom — it turns window arrangement into a repeatable, one-click task.
How Moom compares with similar Mac apps
Moom, Magnet, and Rectangle all snap windows to screen edges. The difference is what happens after the snap.
Moom vs Magnet. Magnet gives you keyboard shortcuts and drag-to-edge snapping. Moom adds the move-and-zoom grid, custom drop zones, and layout recall. If you only need six fixed positions, Magnet is simpler. If you want quarter-screen zones you draw yourself or layouts you can summon later, Moom pulls ahead.
Moom vs Rectangle. Rectangle is open-source and does edge snapping plus keyboard shortcuts — similar ground to Magnet. Moom's grid, saved layouts, and multi-display awareness go beyond what Rectangle offers. Rectangle suits minimalists. Moom suits people who treat window placement as part of a repeatable workflow.
Assign a half-screen left shortcut and live with it for a day
Install Moom, grant Accessibility permissions, then spend ten minutes on these steps:
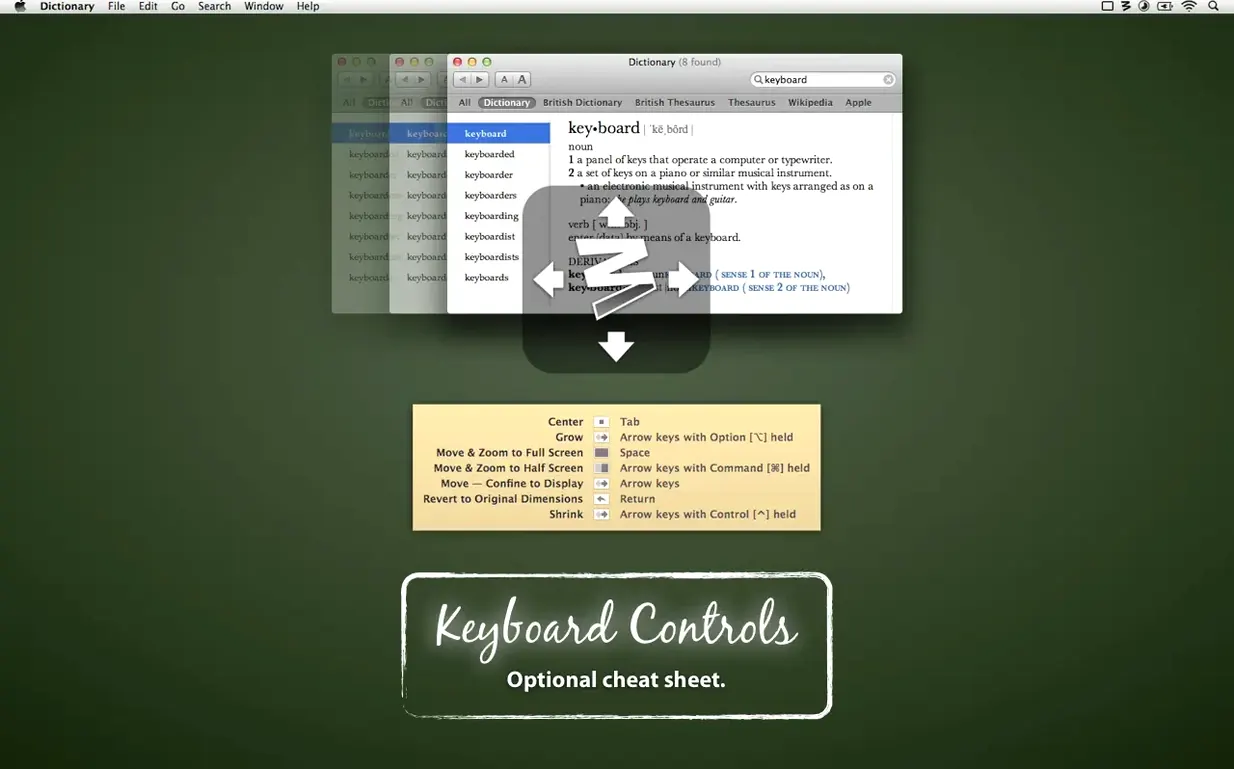
- Set three keyboard shortcuts first. Assign one for half-screen left, one for half-screen right, one for full screen. Use them for a day before adding more.
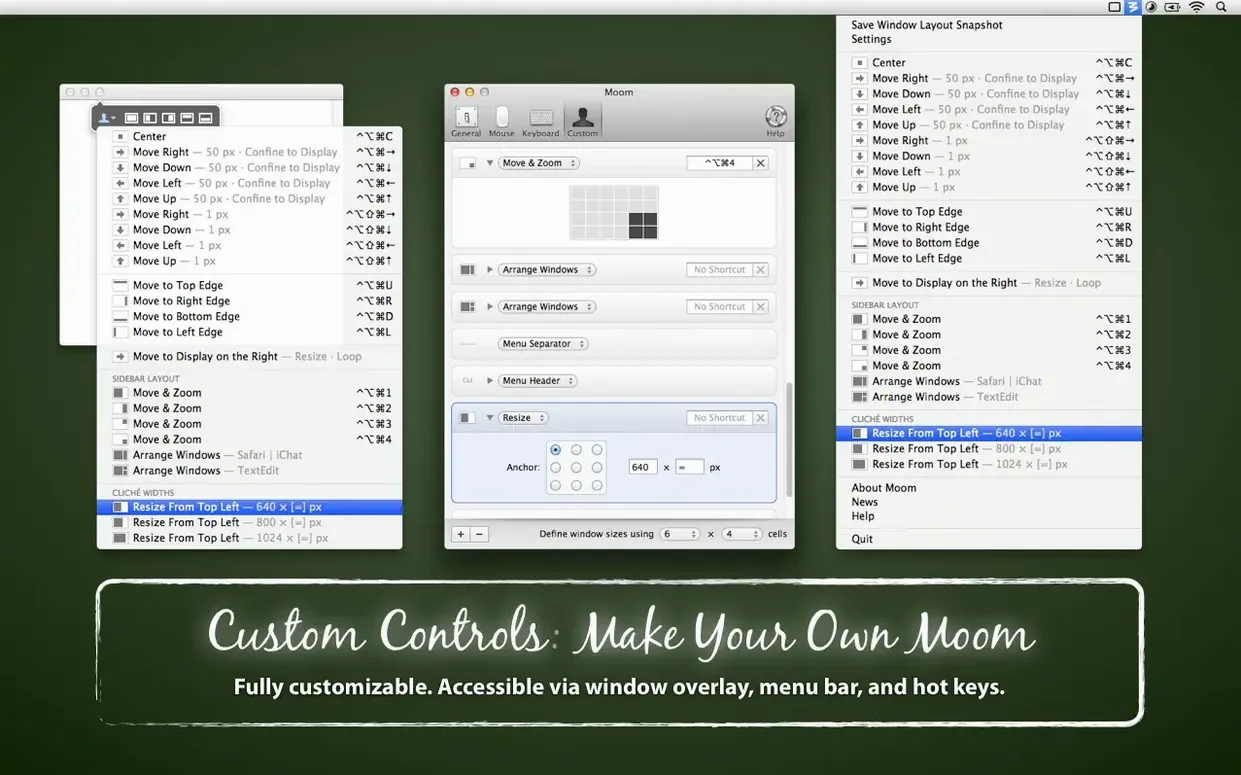
- Define two custom drop zones. Make one for a narrow chat or notes window and one for a Finder window. Drag windows into them a few times to build muscle memory.
- Save your Friday-afternoon layout. At the end of the week, arrange your windows exactly as you like them and save the layout. Recall it Monday morning with one click.
- Try the grid on a second display. Hover the green button on an external monitor and pick a custom zone. Moom treats each display independently, so your grid habits transfer straight across.
After a few days, you will stop thinking about window positions altogether — Moom just handles them.
- Assign windows to saved layout spots using proximity among the frontmost windows, or proximity alone.
- Layouts set to active-display-only now skip hidden apps and minimised windows — no more phantom placements.
- Worked around a macOS issue that stopped layouts from positioning hidden-app windows correctly.
- macOS 10.13 High Sierra or later
- Apple Silicon and Intel Macs









Comments 0
Sign in or create an account to add a comment.
No comments yet. They go up after moderation.