
ScreenFlow — Mac download
Download (95 MB) Earlier builds
Ticked
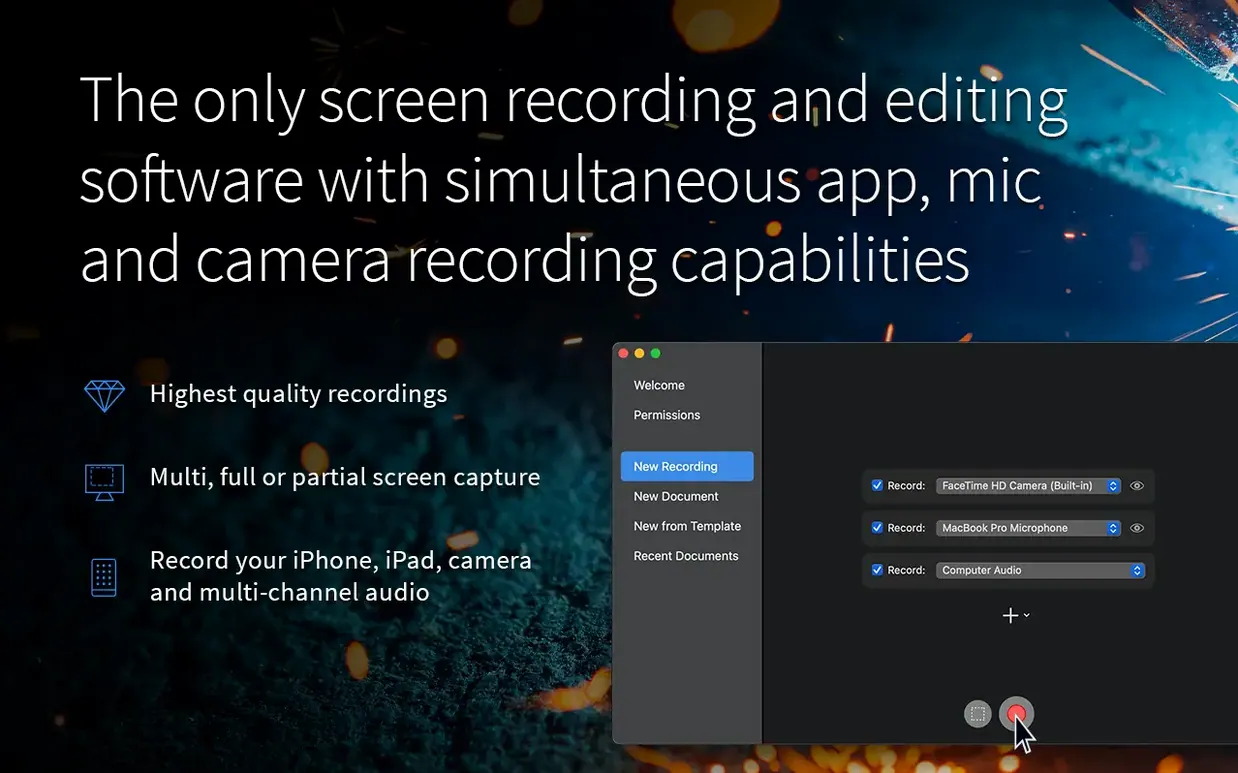
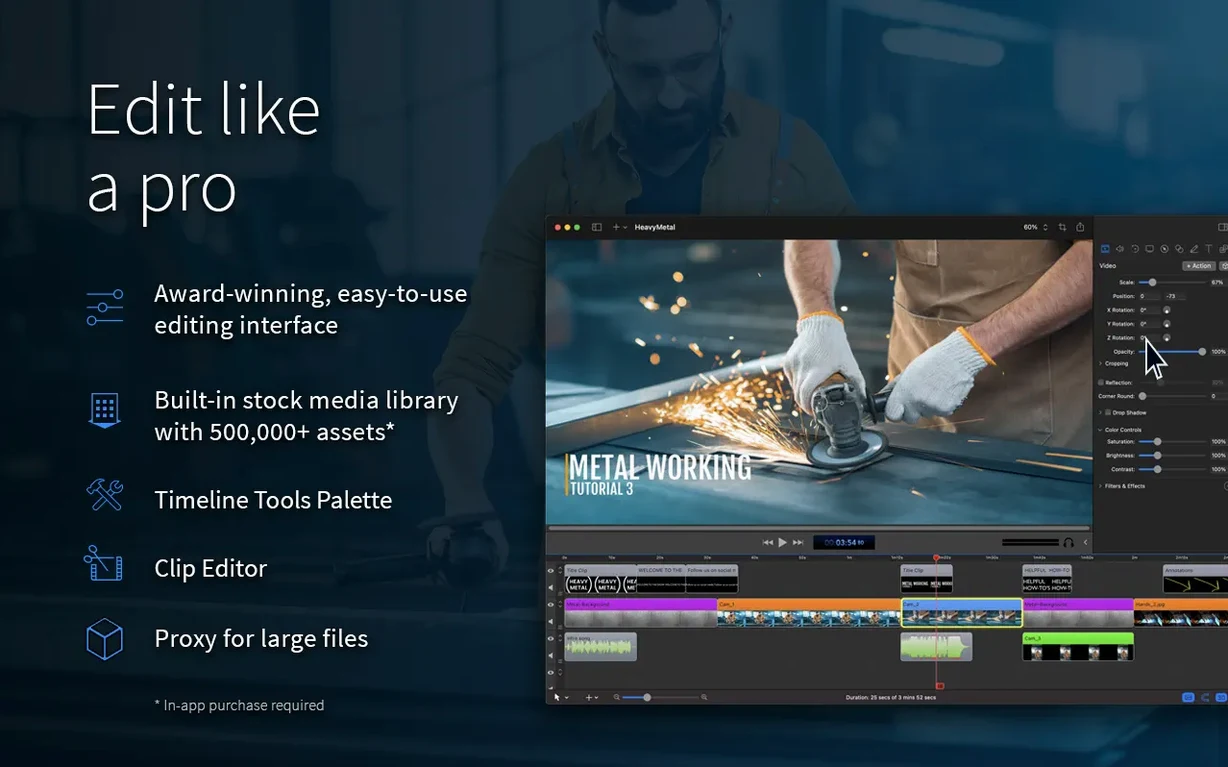
If you've built Keynote slides, you already grasp ScreenFlow's idea: a canvas you arrange elements on, then play back. The difference is that the timeline records your screen, camera and mic as source media first.
Trim and annotate a recording in one place
- Recording a single window or the full monitor, then trimming the clip in the same app
- Adding callouts, annotations and subtitles without switching tools
- Creating animated GIFs or APNGs from a section of the timeline
- Quick zoom and pan effects that highlight a button or field
- Exporting a clean MP4 or ProRes file for handoff
Chroma key exports needed a fix
- Chroma key exports for certain screen recordings needed a fix in 10.5.2
- iOS capture is supported, but you need a wired connection
- The app runs on macOS 10.15 and later, Apple Silicon or Intel
A recording-to-export workflow for a software tutorial
- Open ScreenFlow and choose New Recording. Tick the sources you need: desktop from monitor 1, camera built-in, and internal audio. Leave mic off if you plan to add voiceover later.
- Set the frame rate to 30 fps and pick lossless for the recording quality. Close the recording panel, then click the red button or press Shift-Command-2.
- A countdown runs. Walk through the steps you want to show, moving deliberately. ScreenFlow captures every click and cursor move.
- Press Shift-Command-2 again to stop. The recording drops onto the timeline. Drag the playhead to scrub through and spot sections to trim.
- Split the clip with Shift-T at the start and end of the rough cut. Select the unwanted pieces and press Delete. Ripple delete pulls the remaining clips together.
- Add a title card: click the T icon in the toolbar, type the tutorial name over a solid background colour.
- Insert callouts. Drag a rectangle callout over a button, set its duration to three seconds, and add a subtle border animation. Repeat for each key UI element.
- Record a voiceover directly on the timeline by clicking the mic icon in the audio track header. Speak while watching the playback.
- Apply a zoom and pan action. Click the Video Action tab, choose Zoom & Pan, and adjust the start and end scale so a menu bar item fills the frame.
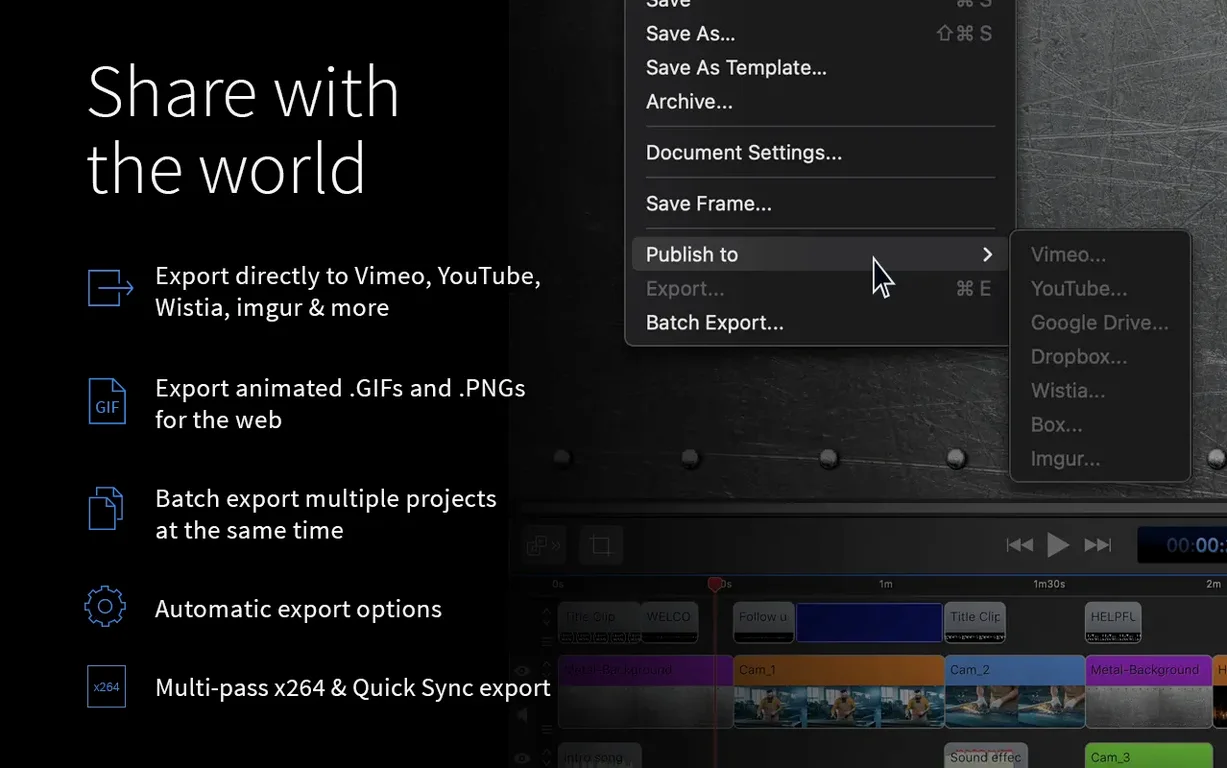
- Export. Click File > Export, choose MP4 at 1080p, tick web optimisation, and send it to a local folder or upload straight to YouTube from the share menu.
Drag in yesterday's clips and label your tracks
You open ScreenFlow at 9:00. The media library on the left already holds the clips from yesterday's recording. You drag the main recording onto the timeline and start labelling tracks—one for screen, one for camera, one for system audio.
You notice camera audio bleeding into the screen track. Right-click the screen clip, select Detach Audio, and delete the detached waveform. The timeline is cleaner now.
A client needs an animated GIF of the login flow. You set an in-point and out-point around the 12-second sequence, click File > Export, and switch the format to Animated GIF. You set the dimensions to 800 pixels wide, limit colours to 128 to keep the file size under 3 MB, and save it to the desktop. Done in three minutes.
By 10:30 you're refining a software walkthrough. You add three subtitle tracks—one for English, two for German and Japanese using the text tool. The subtitle inspector lets you time each line to a frame range. You use Shift-Command-K to add a marker wherever the speaker pauses, then snap subtitles to those markers.
Before lunch you test a chroma key on the camera track. The backdrop is a green wall with uneven lighting. You adjust the colour picker tolerance and smooth the edges by two pixels. The preview updates in real time, showing your face composited over the screen recording. A quick export confirms the 10.5.2 fix handles this recording without artefacts.
Late afternoon, you assemble three clips into a single project. Each clip lives in its own group on the timeline. You add cross-dissolve transitions between them, pull the audio levels so background music sits at -24 dB, and apply a motion blur to the final pan action. The whole session runs inside one app—no round-tripping to a separate editor.
Point recordings to an external drive from the start
- Set the recording destination to an external drive in Preferences > Recording. ScreenFlow recordings at lossless quality can exceed 20 GB per hour.
- Memorise three shortcuts first: Shift-Command-2 to start and stop recording, T to add a text box, and S to split a clip at the playhead.
- Build a small stock library. Save your most-used callouts, lower thirds and backgrounds as a template project. Drag elements from it into new projects instead of rebuilding each time.
- Before a long recording, test the audio sync. Record ten seconds of a clap on camera with system audio playing a beep. Check that the waveforms align on the timeline.
- Turn off notifications and set Do Not Disturb from the recording panel. A Slack badge popping in mid-recording is harder to fix in post than preventing it upfront.
- When working with a screenflow torrent version or a screenflow mac torrent build, double-check that the media library path points to a writable folder. Some users of a screenflow mac crack release have reported that the default library location can be locked until you manually reset it in preferences.
- If you use a screenflow crack from any source, keep a backup of your recordings before updating. The 10.5.2 patch fixes a licence management button that could otherwise lead to a dead URL, and restoring a clean state keeps your projects running smoothly.
- Fixed a crash on macOS 26.2 or later
- Chroma Key exports now work for affected screen recordings
- Licence management button no longer points to a dead URL
- macOS 10.15 or later
- Apple Silicon or Intel 64-bit Mac
Questions the team asks
A crash on macOS 26.2 and higher, chroma key exports for certain screen recordings, and a broken licence management link.








Comments 0
Sign in or create an account to add a comment.
No comments yet. They go up after moderation.