
LightBurn — Mac download
Ticked
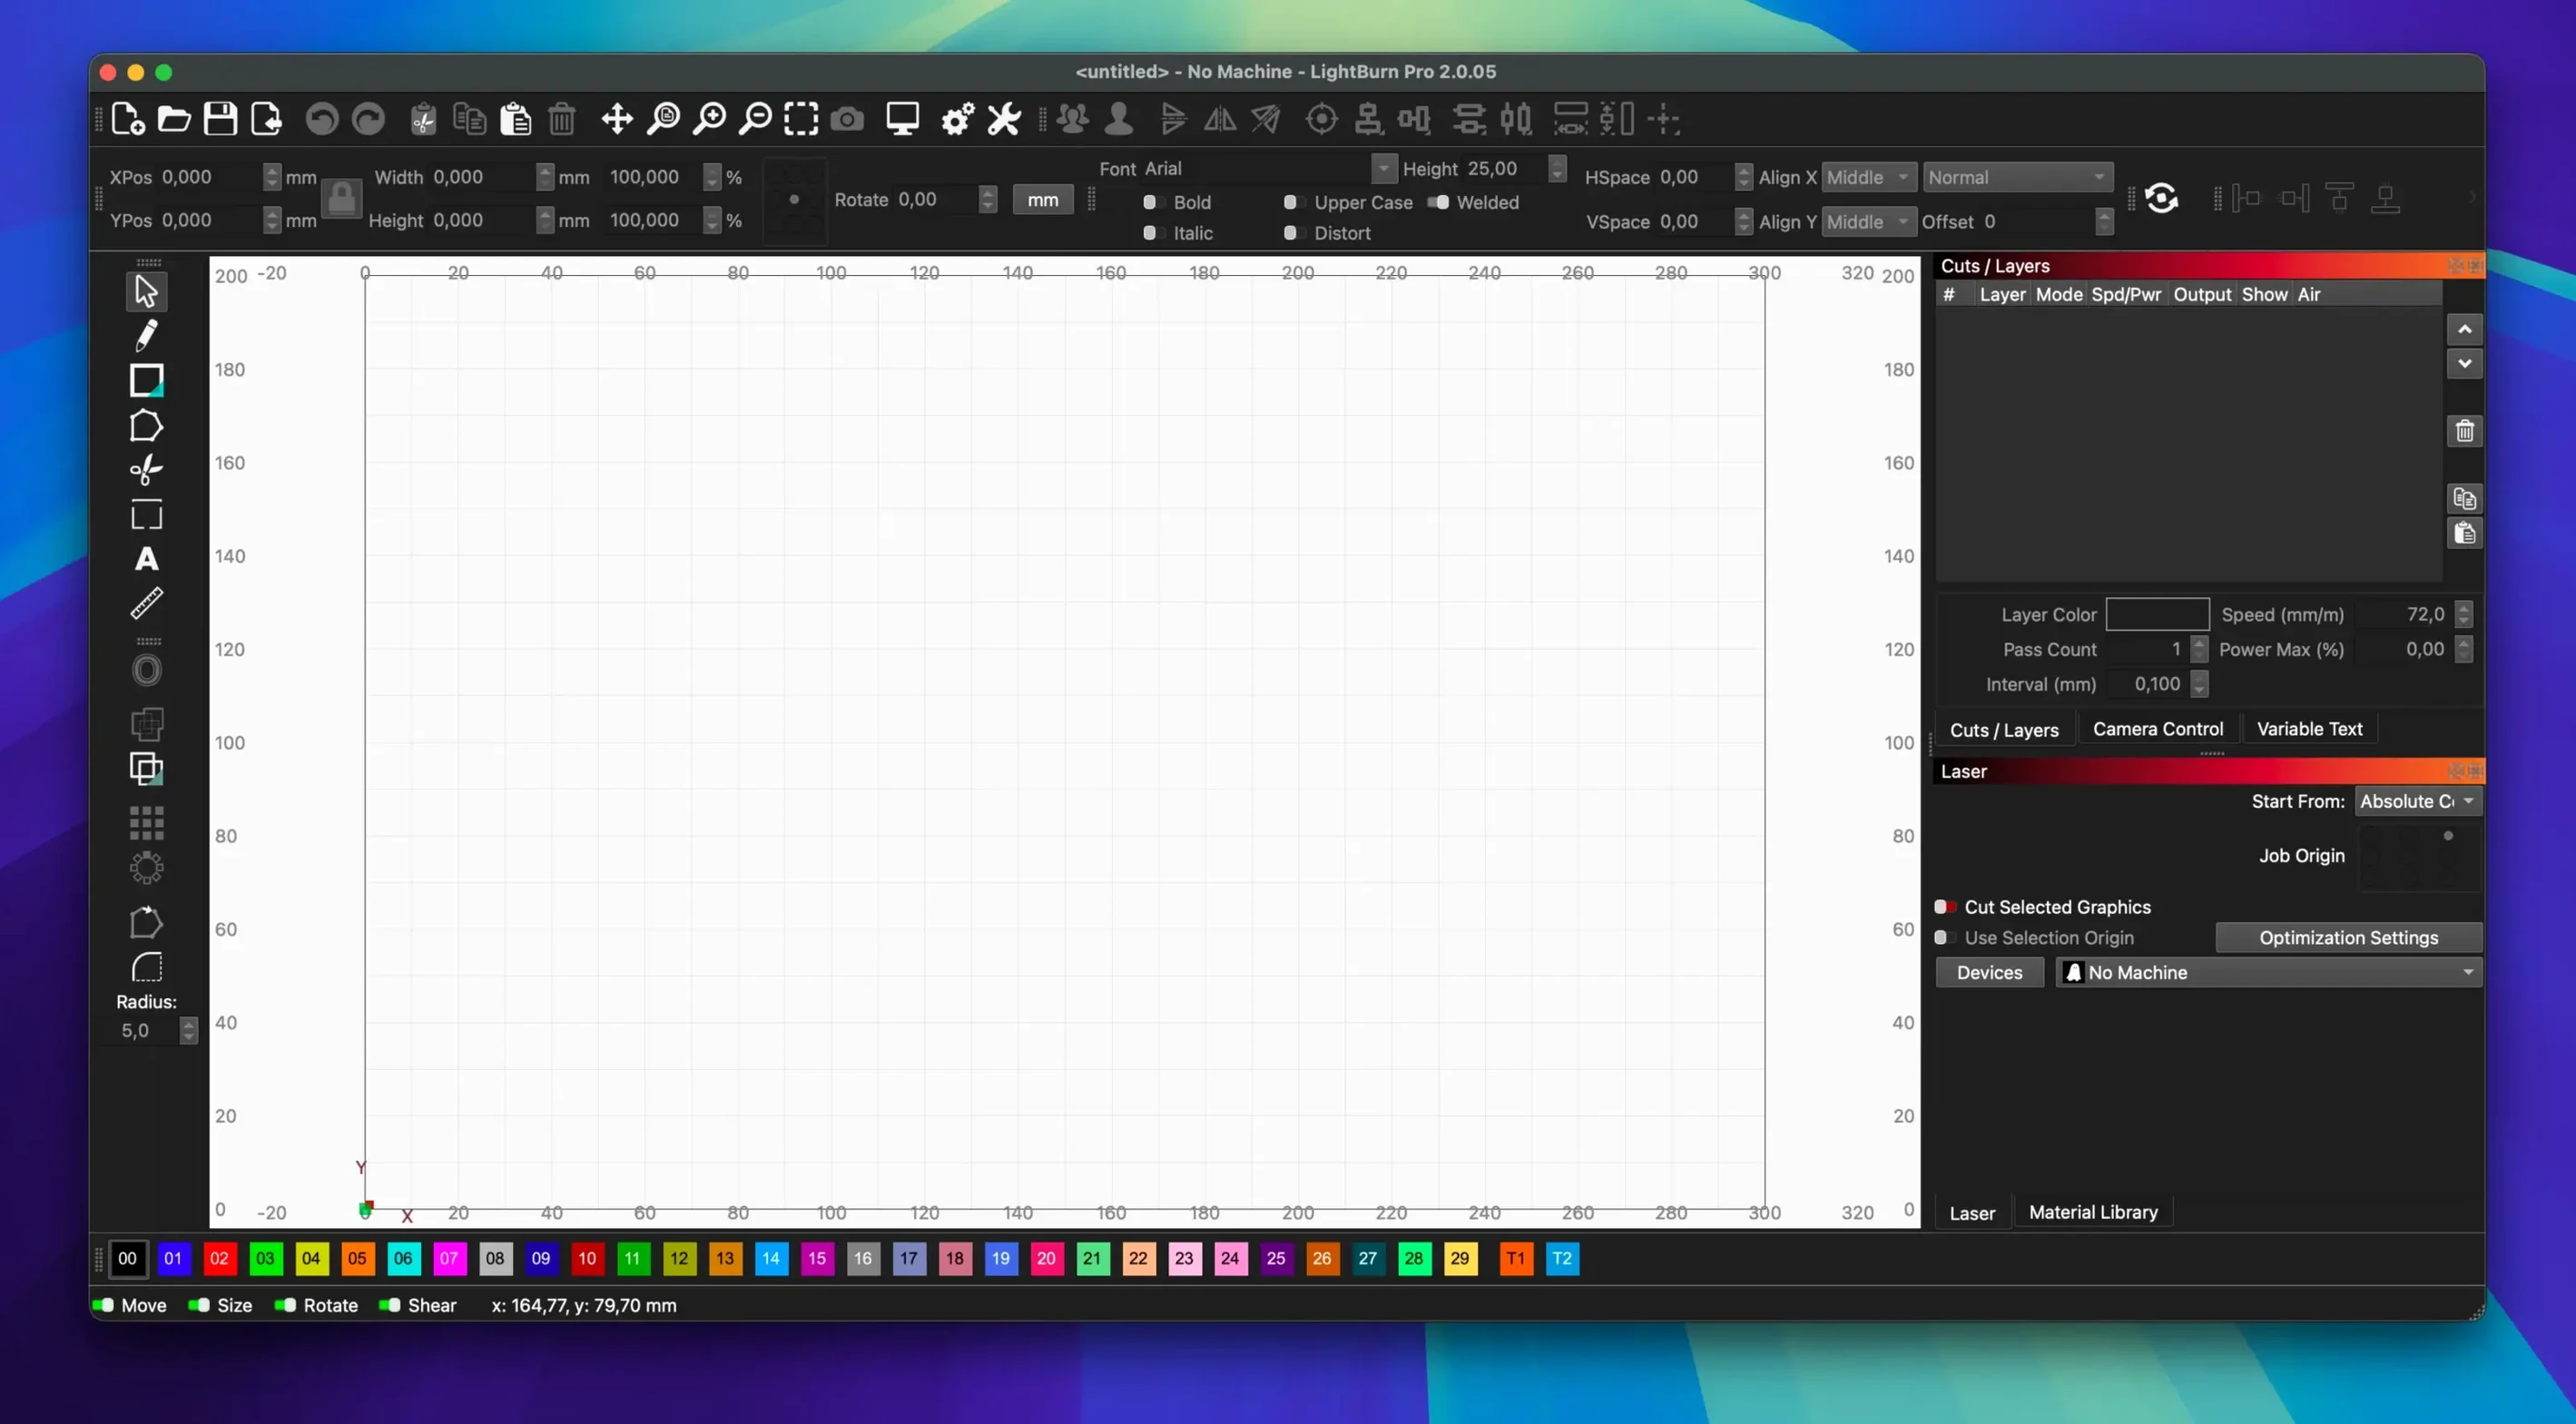
The Edit Nodes toolbar in LightBurn 2.0 turns a rough trace into a clean path without switching apps. It is one of the tools that makes this software feel like a single workstation for laser work.
Features built for the job
- Combined editor and controller. Design and send jobs to the laser from the same interface. No extra software between you and the machine.
- Broad file import. Pull in vector and raster formats directly — AI, SVG, DXF, PDF, PNG, and JPG all open on the canvas.
- Image preparation. Vectorise bitmaps, apply masking, or enhance edges before cutting. Adjust brightness, contrast, and dithering to get the engraving result you want.
- Direct laser connection. Talks to most GCode, DSP, and Galvo controllers. Power, speed, pass count, and cut order are all set from one panel.
Material Library
Settings for different materials live in a built-in library. Pick a preset, and the power and speed values are ready. LightBurn 2.0 also added Dark Mode, more shape tools, and an improved Camera Calibration option — practical updates for long sessions at the machine.
Shortcuts that skip the menus
LightBurn packs a few shortcuts that stay hidden until someone points them out. They save repeated trips to the menus.
- Middle‑click pan. Press the mouse wheel to drag the canvas instead of reaching for the scroll bars. Works in both the design and preview windows.
- Frame with a double‑click. Double‑clicking a shape in the Cuts/Layers list selects and frames it on the canvas, even in a busy file.
- Shift‑drag to duplicate. Hold Shift while dragging any selected shape to drop a copy without Cmd+C and Cmd+V.
- Shape property recall. Right‑click a tool icon and LightBurn remembers the last used dimensions. Drawing multiple identical circles or rectangles becomes a two‑click operation.
- Cut order by colour order. Drag layers up or down in the Cuts/Layers list to set the cut sequence visually — no need to assign numbers manually.
- Nudge with arrow keys. The default nudge distance is tiny. Set a custom value in Edit → Settings → Nudge, then tap arrow keys to position parts to the tenth of a millimetre.
- Rotary axis preview. Tick the “Wrap” box in the preview window to see how a design wraps around a cylinder before you fire the laser.
Three Mac workflows that live in LightBurn
Three groups of Mac users tend to keep LightBurn open all day.
Small workshop owners — people running an Etsy shop, a signage business, or a custom engraving service. They need one tool that imports client artwork, tweaks the layout, and runs the job without exporting to a separate sender. The material library alone replaces a paper notebook of tested settings.
Hobbyists who tinker with formats. Importing an AI file from a designer, an SVG from an open‑source project, and a PNG from a phone photo — then making them all cut consistently — is a workflow that LightBurn handles without converters. The image vectorisation and dithering tools turn a quick phone snap into an engravable file in under a minute.
Multi–machine users. If the workshop has a diode laser on one bench and a CO₂ machine on the other, LightBurn’s device profiles keep the settings separate. Switching machines means picking a different profile from a dropdown, not rebuilding all the parameters.
First few days: a practical checklist
- Set up a test material card. Run a material test grid (LightBurn generates these under Laser Tools) on your most common material. Save the result as a new material preset with a name you will recognise six months later.
- Calibrate the camera early. The improved 2.0 Camera Calibration tool is worth doing before you need it for a real job. Place a sheet of paper with a printed alignment pattern, follow the wizard, and verify the overlay matches. A properly calibrated camera makes positioning parts on odd‑shaped stock much faster.
- Build a cut‑and‑engrave template file. Create a blank project with your most‑used layer colours, cut order, and a note layer containing common settings. Save it as a template. Start every new job by opening the template — not a blank canvas.
- Check the connection type. LightBurn connects over serial, network, or a virtual COM port. Identify which one your controller uses and note the exact port name. Troubleshooting a failed connection on a deadline is easier when the correct port is already written on a sticker on the machine.
- Learn the Preview window thoroughly. Spend ten minutes clicking through the preview modes — Show Transparent, Filled, Points only. Understanding what each mode reveals about a job prevents surprises during engraving.
- Run a small scrap job first. Before committing to a full sheet, frame the design on a scrap piece and run a low‑power outline pass. The extra three minutes catches alignment issues that the screen preview does not show.
- Fixes window title bar placement when stored offsets are incorrect.
- Fixes rotary jogging direction in CCW mode.
- Fixes a crash when importing SVG files with ungrouped DEF shapes.
- macOS 10.13 or later
- Intel 64-bit
- Rosetta required on Apple Silicon Macs
Questions the team asks
Yes, Rosetta is required on Apple Silicon Macs.
LightBurn 2.0.05 requires macOS 10.13 or later. Users on macOS 11 are directed to this version.
The interface is in English.






Comments 0
Sign in or create an account to add a comment.
No comments yet. They go up after moderation.