
Live Home 3D Pro — Mac download
Download (615 MB) Earlier builds
Ticked
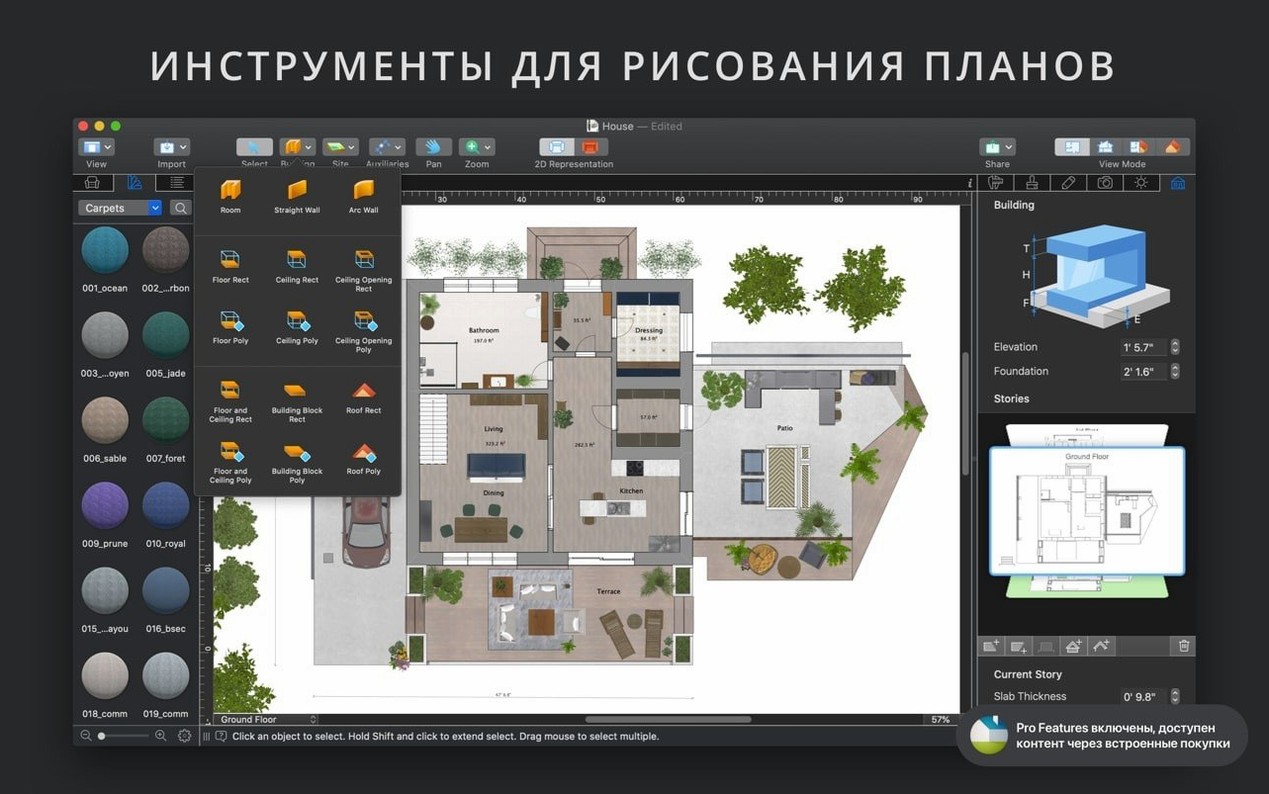
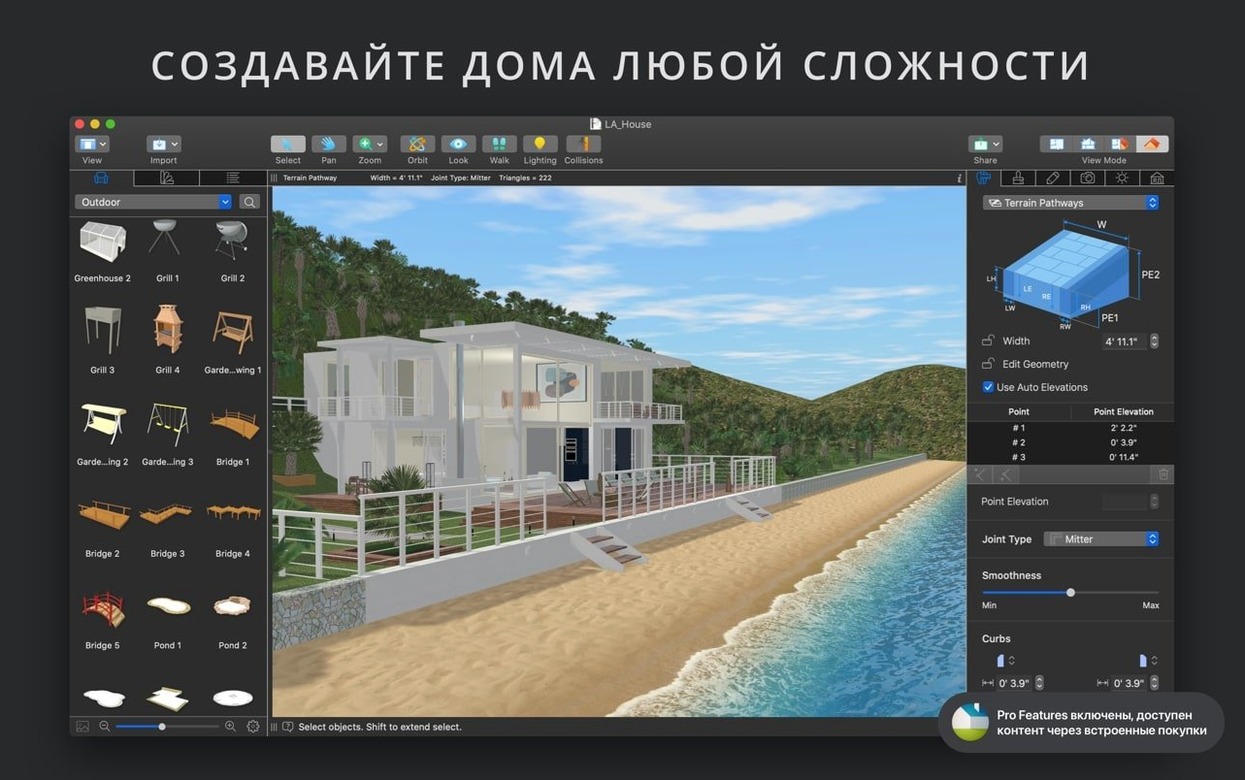
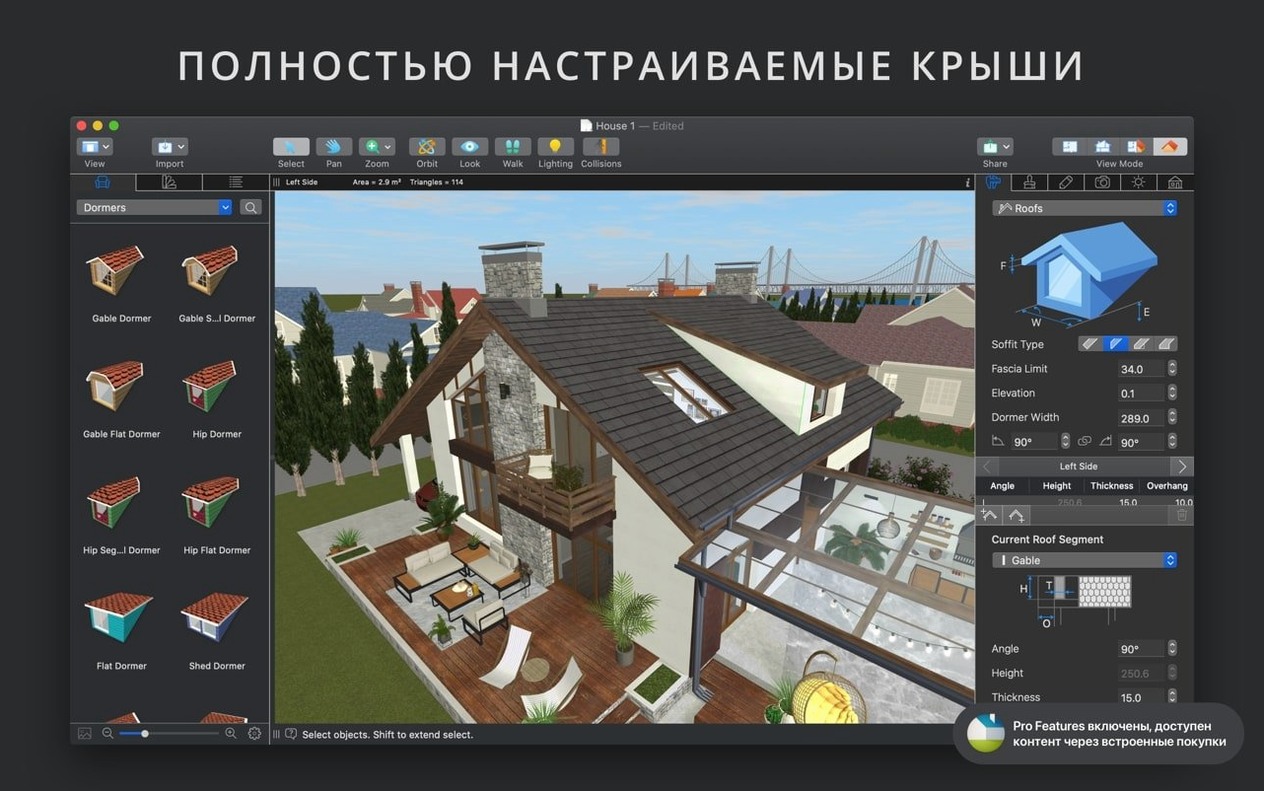
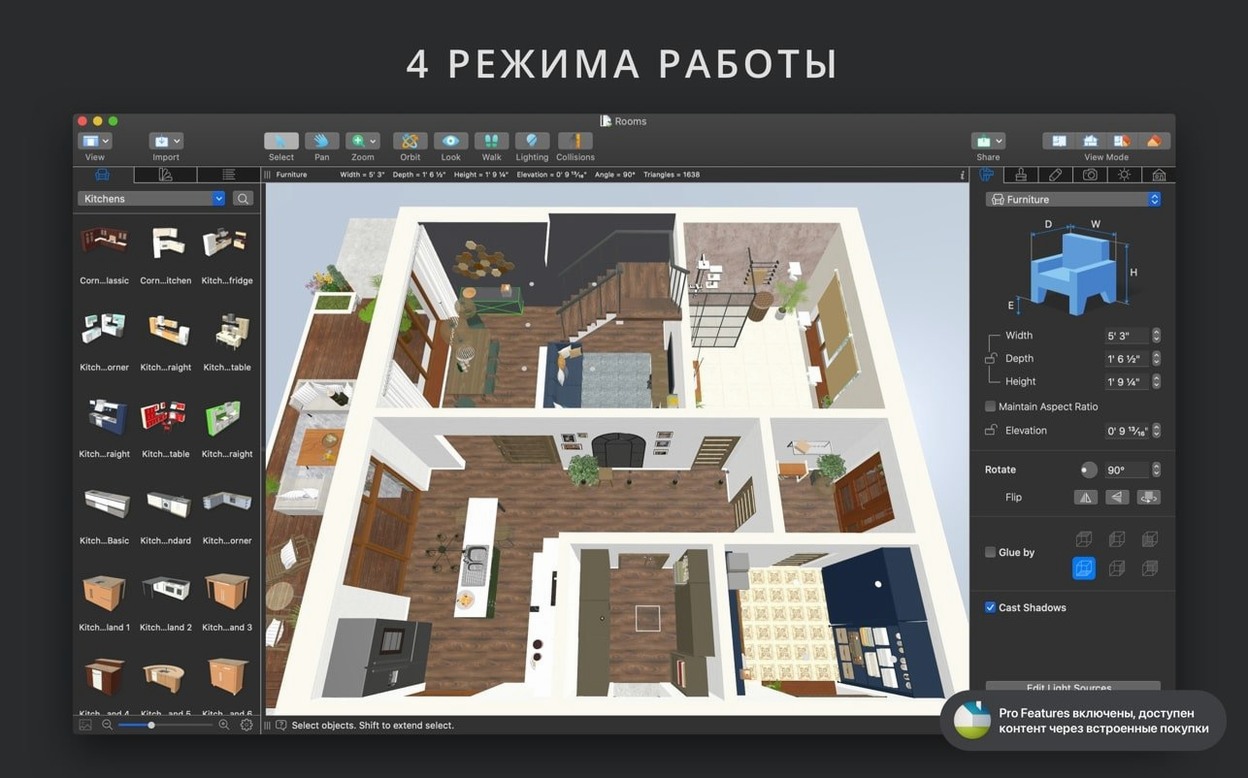
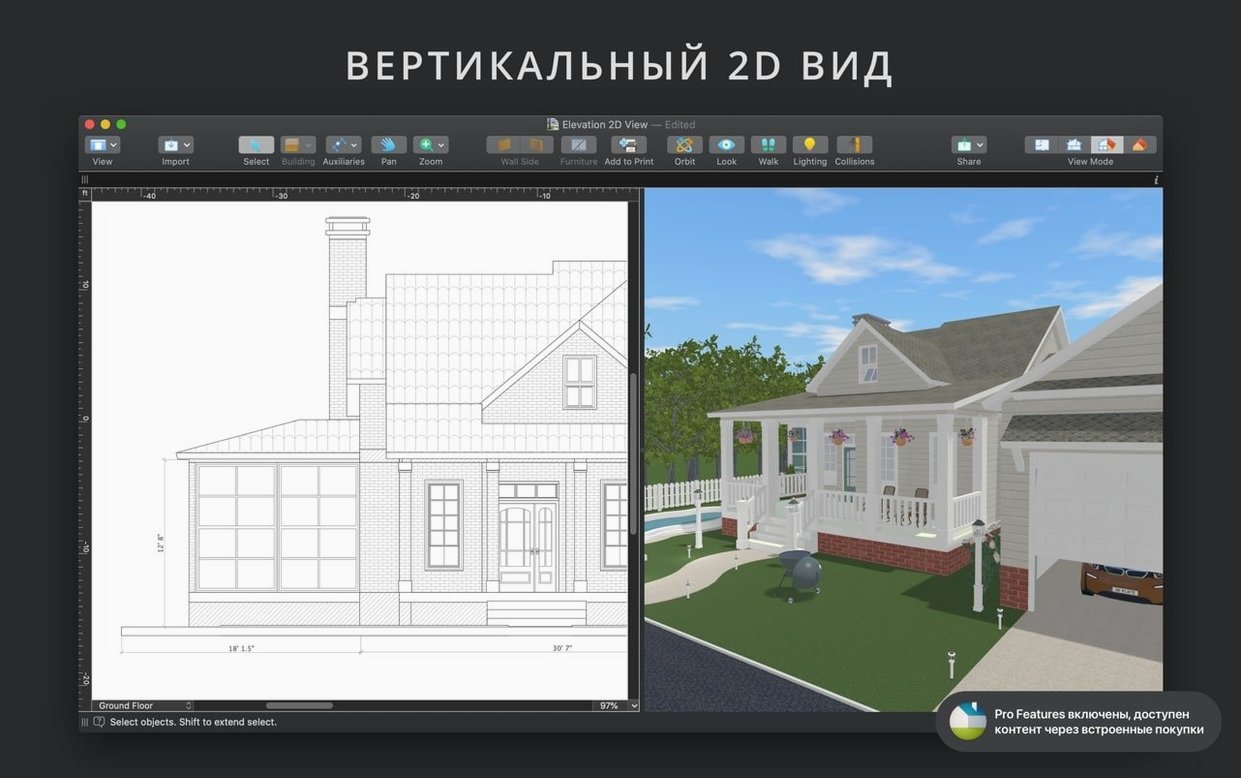
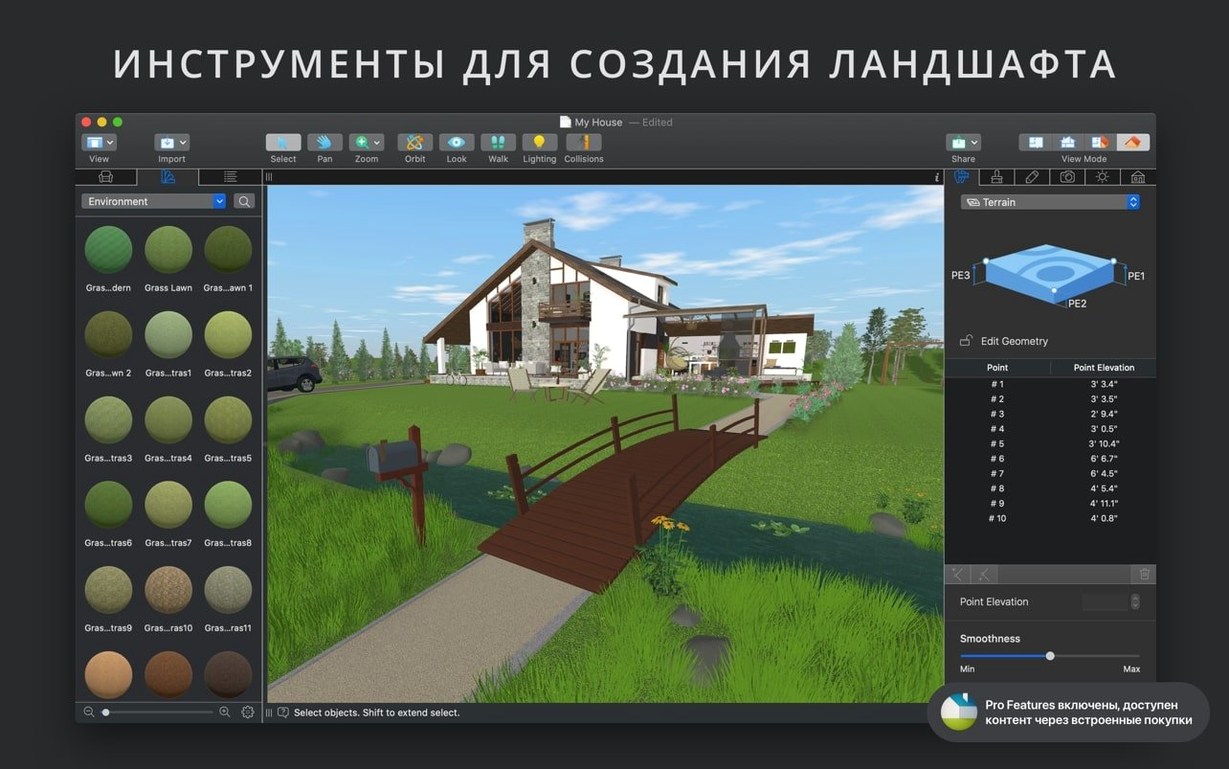
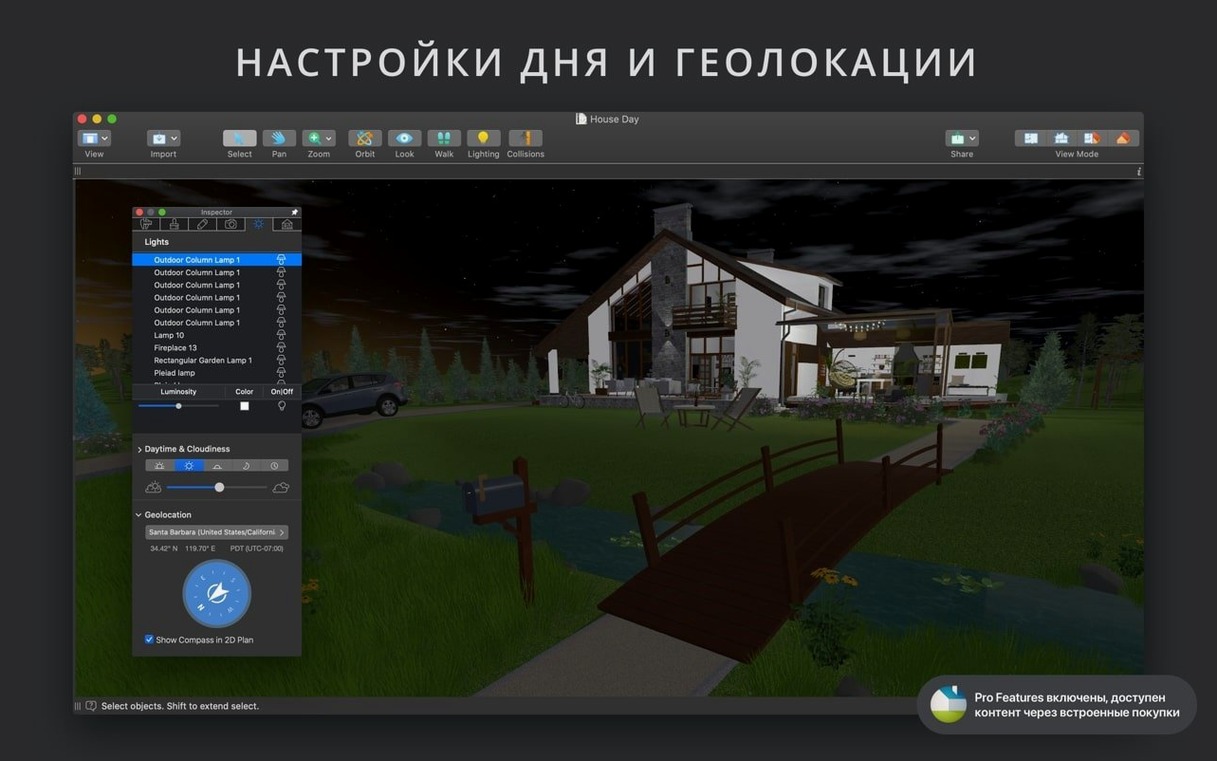
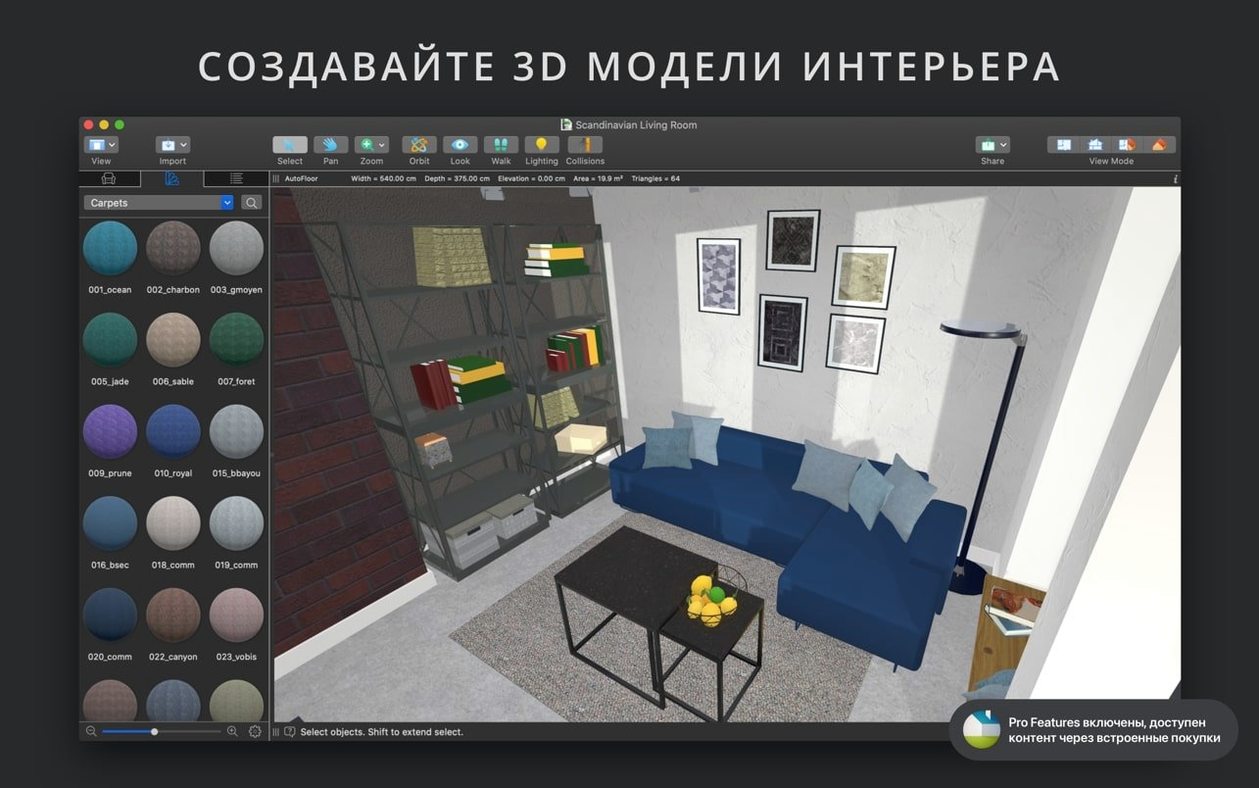
Sketching a kitchen extension on graph paper leaves too much to chance. Live Home 3D Pro lets you build the space on your Mac, walk through it, and adjust the light before a single brick is laid.
| Quick facts | |
|---|---|
| Version | 5.0.4 |
| Developer | Belight Software |
| macOS | 12 and later |
| Architecture | Intel and Apple Silicon |
It sits alongside your existing Mac toolkit. Drag an image straight from Finder to use as a surface material. Adjust lighting, move objects, or assign materials directly in the 3D view while the 2D plan updates in real time. The Pro features include an advanced material editor, a light source editor for imported objects, and rendering tools for ultra-high-resolution images, panoramas, and videos. Natural lighting behaves correctly: set the geolocation, time of day, and cloud cover, and the shadows fall where they should. It handles corner windows, complex openings, and 16 customizable attic types without fuss. A built-in help assistant covers the edges you haven't encountered yet.
Drawing outer walls with automatic dimension lines
Open a blank project and set your measurement unit — metres for a London terrace, feet for a barn conversion. Draw the outer walls with the straight wall tool. The dimension lines appear automatically as you go, so you catch a 3.2 m wall that should be 3.6 m before the joists are up.
Switch to 3D view. Drop a camera in the corner of what will be the sitting room. The lighting looks flat, so open the geolocation panel and set the house to face south-west. Dial the time to 4 p.m. in October. The shadows stretch across the floor and you realise the patio doors need to shift a metre left to catch the last sun.
Pull furniture from the built-in library — a sofa, two armchairs, a low table. Drag a rug image from Finder onto the floor and scale it in the material editor. The fabric texture catches the low-angle light.
Add a second floor. The stairwell cuts through automatically. Sketch three bedrooms and a bathroom. In elevation view you spot the ensuite window clashing with the roofline, so you open the roof assistant and switch from a gable to a hip roof. The window clears.
Before sharing, set a second camera upstairs and render a walkthrough at 4K. The video runs from the front door through the hall, up the stairs, and into the master bedroom, with the October light following the whole route.
Curved wall tool handles bay windows without workarounds
Does it handle curved walls or just boxes? The curved wall tool works the same way as the straight one — click, drag, and the dimension lines keep up. It handles bay windows and rounded extensions without forcing workarounds with imported shapes.
Will it run smoothly on my M1 MacBook Air? Yes. The app runs natively on Apple Silicon. The level-of-detail control lets you simplify complex 3D models during editing, so the viewport stays snappy even with a full furnished house open. The real-time rendering only sweats when you push the shadow map to maximum on a large scene.
Can I use models from SketchUp or 3D Warehouse? Drop in SketchUp, COLLADA, KMZ, FBX, OBJ, and 3DS files directly. Trimble 3D Warehouse connects from inside the app, so you can browse and pull in a specific Eames chair without leaving your floor plan.
Does the free version do enough, or should I go straight to Pro? The standard edition limits floors and locks the elevation view, custom roof tool, terrain editor, and material editor. If you need a split-level house with a landscaped garden and want to export client-ready walkthroughs, Pro is the only one that delivers.
Bypassing Gatekeeper with a single Terminal command
Gatekeeper blocks the installer. Mount the disk image, then open Terminal. The launch command appears in the folder — press Enter once and Gatekeeper steps aside. Drag the app to Applications and open it. Done.
Imported 3D models slow the viewport to a crawl. Drop the level-of-detail slider down a notch. The model previews simplify during editing but render at full quality for exports. For especially heavy FBX files, split the model into smaller pieces before importing.
Natural lighting looks wrong at certain times of day. Check three things: geolocation is set correctly on the map, cloud cover isn't stuck at 100%, and the time zone matches the location. A garden room in Bristol set to Pacific time will never light correctly at 8 a.m.
The material editor won't pick up an image from Finder. Make sure the image is JPEG, PNG, TIFF, or BMP. HEIC files from an iPhone need a quick conversion first. Drag the image onto the surface in 3D view rather than the material panel — it snaps faster that way.
A shared project opens with missing textures on another Mac. The iCloud sync keeps the project file together, but custom materials dragged from Finder live on the original Mac. Bundle the images into a folder alongside the project file and re-link them on the second machine.
- Fixed the problem with sharing standalone Pro app licensing.
- macOS 12 or later
- Intel or Apple Silicon Mac
Questions the team asks
It unlocks an advanced material editor, a light source editor for imported objects, and rendering tools for ultra-high-resolution images, panoramas, and videos.









Comments 0
Sign in or create an account to add a comment.
No comments yet. They go up after moderation.