

SketchUp Pro — Mac download
Download (1.6 GB) Earlier builds
Ticked
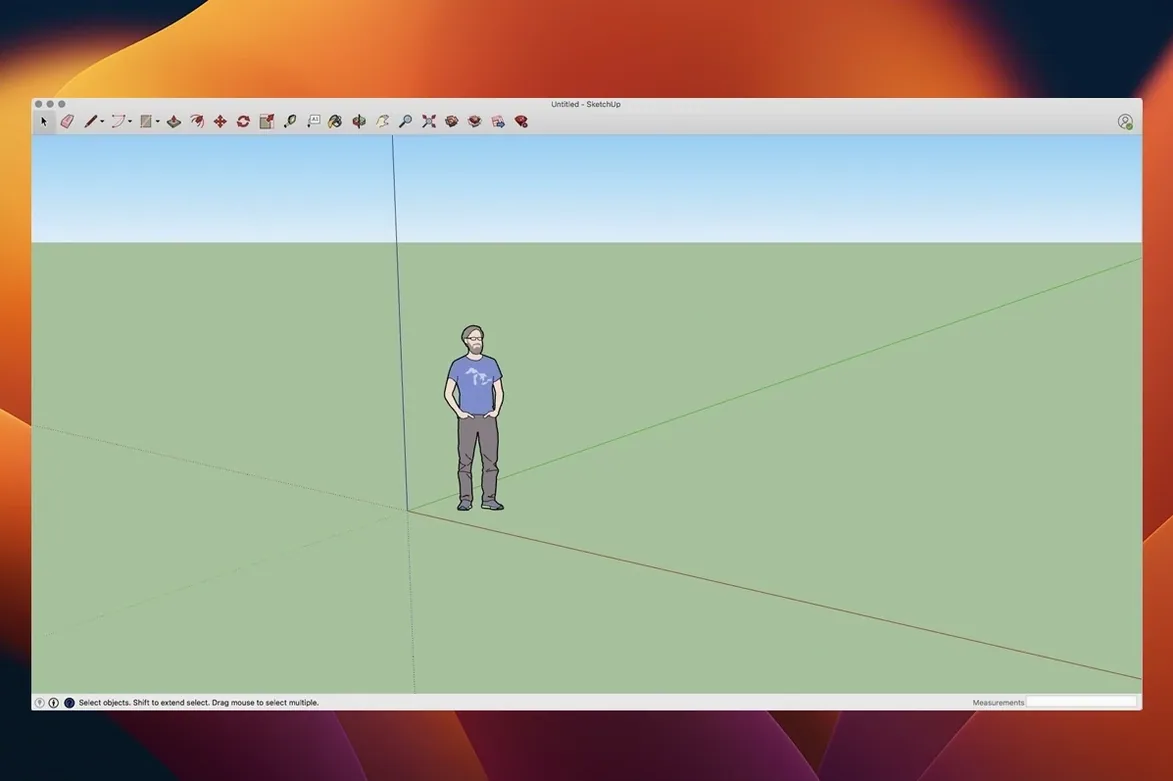
SketchUp Pro is 3D modelling software that takes you from rough massing to presentation drawings. Here's exactly what to try first.
- Model something simple. Draw a rectangle, push/pull it into a box. Get the core feel. Try the inference engine for snapping.
- Make a scene. Add a second camera angle. This is how you build a walkthrough later.
- Animate the transitions. Export a flythrough video directly from your scenes. No extra tools needed.
- Send the model to LayOut. Open the included LayOut app. Insert your model view, add dimensions, a title block. When the 3D model changes, LayOut updates the linked view automatically. Use it for plans, elevations, or detail sheets.
This core loop — model, scene, animate, document — gets a newcomer productive fast. LayOut handles the page design and vector output so the presentation stays live-linked.
Fixing blank LayOut viewports and stuck Push/Pull faces
- LayOut viewports go blank or show wrong geometry. Right-click the viewport, pick Update Reference. If that fails, check the model file hasn't moved. LayOut links by path. Relink via the SketchUp Model panel.
- Push/Pull stops at zero thickness. You're trying to push a face into an adjacent one. Group one surface first — select it, right-click, Make Group — then Push/Pull the other.
- Inference snapping feels sticky or wrong. Orbit slightly. The engine locks to axes when you're close to orthogonal. Tap an arrow key while mid-operation to lock to a specific axis instead.
- Scenes jump or interpolate oddly during export. Check scene transitions. Open Window > Model Info > Animation. Reduce transition time to zero if you want hard cuts, or set a short 1-second fade for smooth flythroughs.
- LayOut dimension text is tiny or illegible. It's a scale issue. Select the dimension, open the Dimension Style panel, and adjust text height relative to paper size, not model scale.
- Performance tanks on large models. Toggle profiles off while working. View > Edge Style > Profiles. Switch to Monochrome face style. Use layers to hide heavy components when they're not needed.
- Extruded arcs come out faceted, not smooth. Before extruding, select the arc, open Entity Info, bump the segment count up. After extrusion, soften edges via Window > Soften Edges.
Everyday workflow changes from recent updates
Analysis Hub
The 2026.2 release added Analysis Hub. It aggregates spatial and environmental data — solar exposure, shadow patterns, volume take-offs — without leaving the model. Useful for early-stage feasibility checks. Access it from the Window menu.
Extensions migration
When you upgrade to 2026.2, installed extensions from previous versions won't automatically appear. The Extensions Manager now walks you through a migration step on first launch. Expect to re-authorise a few plugins. Ruby-based extensions not updated for 2026 may fail silently — check the Ruby Console if something's missing.
LayOut graphics improvements
Vector rendering in LayOut got a quiet refresh. Linework in exported PDFs and printed sheets shows cleaner anti-aliasing. Dashed lines render consistently across zoom levels. If you produce construction drawing sets, the output looks sharper on screen and on paper.
Mac shortcut and UI fixes
Several macOS-specific annoyances were patched. Keyboard shortcuts that dropped on Sonoma and Sequoia now stick. The dreaded grey-window-on-launch bug is gone. Tool palette positions save between sessions, even on multi-monitor setups.
From site plan image to 3D mass in a fresh session
A designer opens a fresh template — Architectural Inches. She imports a site plan as an image, scales it with the Tape Measure tool. She traces the boundary with the Line tool, then Push/Pulls it into a 3D mass. Groups it immediately.
She models the ground floor from a rectangle. Push/Pull to 10 feet. Offset a wall thickness inward. Groups the walls. Draws window openings on the face, Push/Pulls them through. That takes eight minutes, maybe less.
She switches to the Scenes panel. Creates a Perspective Exterior scene. Orbits to a good angle, saves it. Creates a Plan View scene — Camera > Standard Views > Top. Ticks Parallel Projection. Saves it.
She opens LayOut. Chooses an A2 landscape sheet. Inserts the Plan View scene. Adds dimension lines to the outer walls. Adds a scale bar and a north arrow from the scrapbook. Inserts the Perspective Exterior scene as a smaller viewport. Writes a title block with project name and date.
Back in SketchUp, she adjusts the window size on the model. Saves. In LayOut, both viewports show a yellow warning triangle. Right-click, Update Reference on each. Done. Sheet updated without redrawing anything.
She opens File > Export > Animation. Sets resolution to 1080p, scene transitions to 2 seconds. Exports an MP4. The walkthrough now exists. Total session: under an hour from blank screen to dimensioned sheet and video.
Set your template and learn four shortcuts right away
- Set your template. SketchUp > Preferences > Template. Pick one that matches your unit system and use case. Changing it later per file is tedious.
- Learn four shortcuts immediately.
Spacefor Select,Pfor Push/Pull,Gfor Make Group,Lfor Line. AddCmd+Shift+Efor Export if you output images often. - Turn on Large Tool Set. View > Tool Palettes > Large Tool Set. The default toolbar hides too much.
- Organise with Outliner. Open Window > Outliner on day one. Name every group and component as you make it. Hunting for "Group#47" three weeks later is a time sink.
- Check autosave settings. SketchUp > Preferences > General. Set autosave to every 5 minutes. The recovery file has saved many a late-night session.
- Test graphics acceleration. If orbiting feels laggy, toggle Preferences > Graphics > Use hardware acceleration. Some Mac GPUs prefer it off for viewport smoothness.
- Pin the Instructor panel open. Window > Instructor. It shows live tool tips. Keep it docked on a second screen for the first week while muscle memory builds.
- Run through the sample models. File > Open and browse the components folder in the application package. Deconstructing a good model teaches more than tutorials.
- Mac 64-bit build added for SU2026.2.
- Analysis Hub and Extensions migration introduced.
- LayOut graphics improvements shipped.
- Mac shortcut and UI fixes applied.
- macOS 13 Ventura or later
- Apple Silicon or 64‑bit Intel processor
- 8 GB RAM minimum
- 6 GB available disk space
Questions the team asks
Version 26.2.242, part of the SketchUp 2026 release, is the latest. It supports both Apple Silicon and 64-bit Intel Macs.
LayOut creates plans, elevations, sketches, and presentations in a page-design tool. Linked model views update automatically when the SketchUp file changes.








Comments 0
Sign in or create an account to add a comment.
No comments yet. They go up after moderation.