

Scrivener — Mac download
Download (124 MB) Earlier builds
Ticked
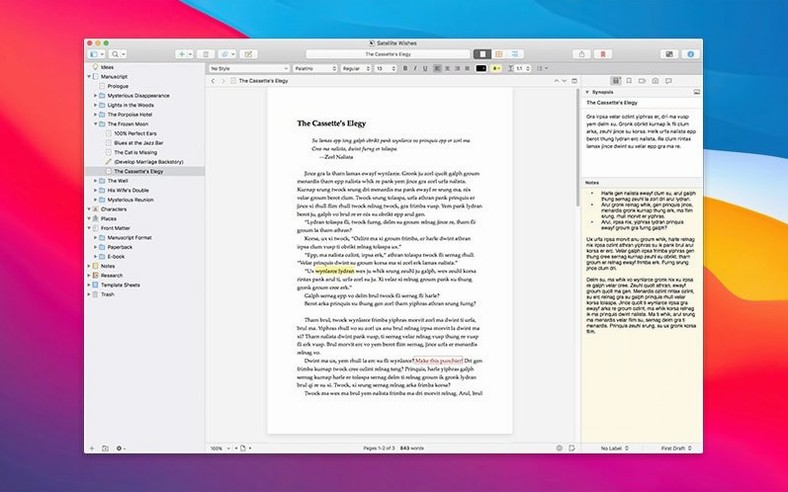
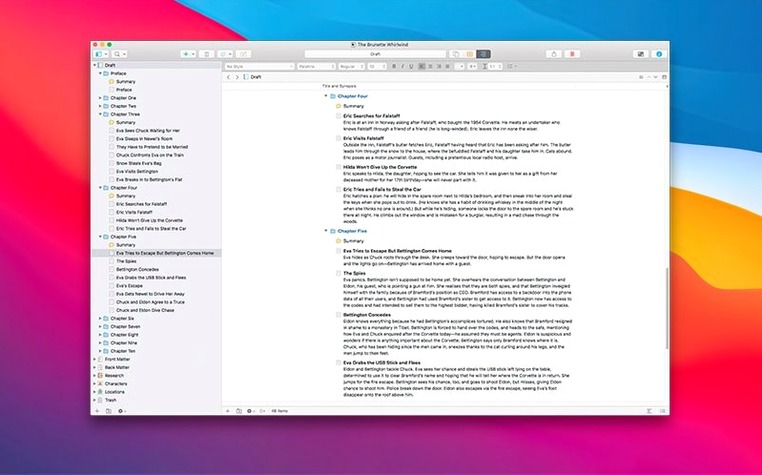
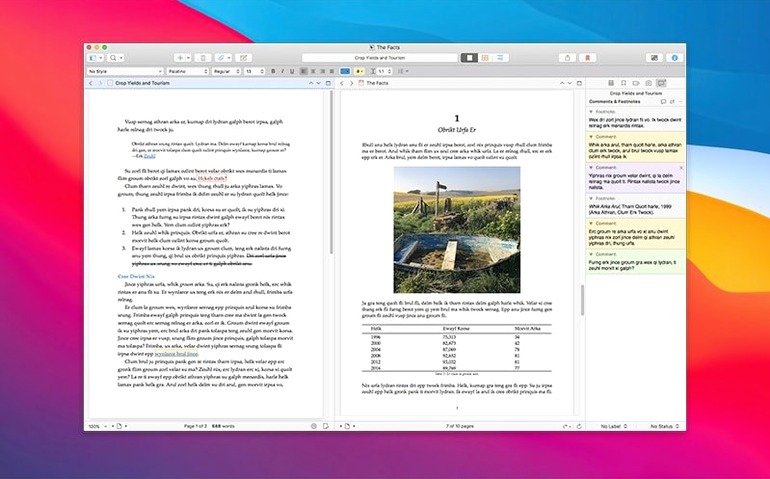
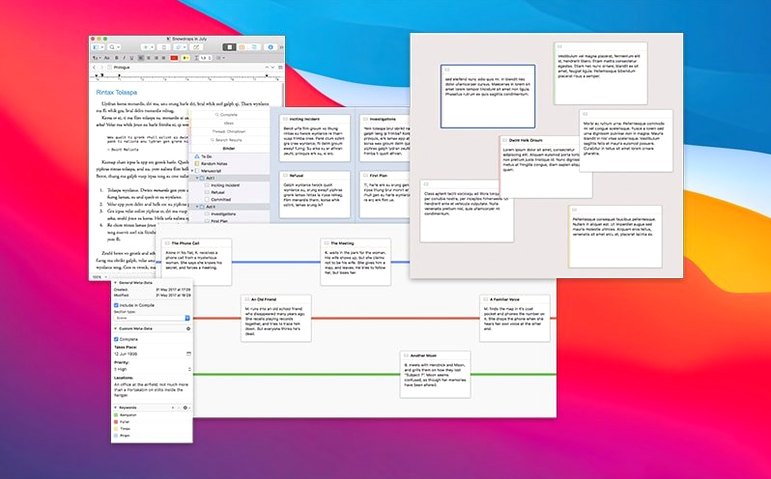
Open the Inspector and find the Snapshots tool. It takes a picture of your current draft, so you can edit freely knowing you can roll back. That one feature sets the tone for how Scrivener handles long-form work. Here is where to poke around next.
- The binder. That left-hand panel isn't just a file list. Folders hold chapters and scenes. Drag them to reorder the whole manuscript structure without touching the text.
- The Research folder. Drop in PDFs, images, audio files, and text notes. Split the editor to write while viewing your reference material on the right.
- Auto-save. You won't find a manual save button. Scrivener saves after every few seconds of pause. Close the project mid-sentence — it is all still there.
- Project targets. Set a word count goal for the session or the draft. The progress bar sits in the footer, updating with each keystroke.
A writing session workflow
Here is a morning routine that uses the tools together.
- Set a session target. Open Project Targets (shortcut:
Shift-Cmd-T) and type your word-count goal for the session. The progress bar appears bottom-right. - Load your research. Find yesterday's scene in the binder. Open the Research folder and select the PDF or image notes you need. Right-click the editor header and choose Split Horizontally. Drag the research item into the right pane.
- Take a snapshot. Before typing, press
Cmd-5. Name it something useful: "Start of Chapter 4 draft." Now you can rewrite without hesitation. - Draft in the left pane. Write. The word counter ticks up. If you pause, auto-save does its work. Glance at the research pane when you need a detail.
- Mark progress. When you hit the target, right-click the document in the binder and choose a label — "First Draft" works. The colour change shows at a glance which scenes are ready.
Repeat for the next scene. At the end of the session, close the project. No save dialogue, no "are you sure" prompts.
Three tweaks to the editor font and spacing
Scrivener ships with sensible defaults, but three tweaks make a difference on day one.
- Editor font and spacing. Go to Scrivener → Settings → Editing → Formatting. Set a comfortable typeface and line height. The factory setting uses Courier, which suits screenwriters but not everyone else.
- Backup location. Navigate to Settings → General → Backups. Choose a folder outside your main Documents directory. Scrivener backs up automatically on close, but only if you point it somewhere you will remember.
- Full-screen mode background. In Settings → Appearance → Full Screen, set the paper width and background colour. A warm grey background and narrower text column reduce eye strain during long sessions.
How Scrivener handles real-time collaboration and short documents
Scrivener vs Ulysses
Ulysses uses a single library. Every sheet lives in one flat space, grouped by filters and keywords. It feels cleaner for blog posts and essays. Scrivener gives you a binder with folders that mirror a book's structure. For a novel or thesis with chapters, scenes, and research, that hierarchy matters.
Ulysses syncs well through iCloud across Mac, iPad, and iPhone. Scrivener relies on Dropbox for cross-device work, and the mobile app is a separate download. If you write short pieces on a phone, Ulysses fits better. If you need a corkboard view and snapshot versioning, Scrivener pulls ahead.
Scrivener vs Pages
Pages is a page layout tool. Type in it, and you see exactly what prints. That suits letters, flyers, and short reports. Scrivener separates writing from formatting. You draft in one view and compile the output later — to PDF, Word, ePub, or plain text.
A 300-page manuscript in Pages gets slow. Scrivener splits the work into small text chunks, each loading instantly. Pages has no binder, no research folder, and no project word-count targets. Two different tools for two different jobs.
Scrivener vs Highland 2
Highland 2 focuses on screenplays and Fountain markup. It strips distractions and renders script formatting as you type. Scrivener handles screenplays too, but its strength is the surrounding project: character notes, location research, scene synopses pinned to corkboard cards.
Choose Highland 2 for a fast script-first workflow. Choose Scrivener when the screenplay comes with a world bible, multiple drafts, and a folder full of reference images.
Novels, memoirs, and screenplays with character bibles
- Novels, memoirs, and academic theses split across many chapters
- Screenwriters who keep character bibles and location research inside the project
- Researchers compiling notes, PDFs, and web clippings alongside a manuscript
- Anyone who rewrites heavily and wants snapshots to track every version
Short blog posts, real-time co-writers, and phone-first sync
- Short blog posts or one-page letters (the project structure adds friction)
- Collaborators who need real-time shared editing (Scrivener works file-by-file)
- Writers who prefer a single, phone-friendly sync library over a desktop-first project
Try these four before exploring compile or custom metadata. They form the core loop: organise, reference, draft, and track. Everything else builds on that.
- Bug-fix release dated 18 December 2025.
- macOS 10.13 or later
- Intel or Apple Silicon Mac







Comments 0
Sign in or create an account to add a comment.
No comments yet. They go up after moderation.